RetroSign GRX User Manual / December 2017
49
DELTA
Note:
If ‘Multiple files’ is selected all the marked series will be saved to individual Excel / Google
Earth files.
If ‘Single files’ is selected all the marked series will be saved in one Excel / Google Earth file.
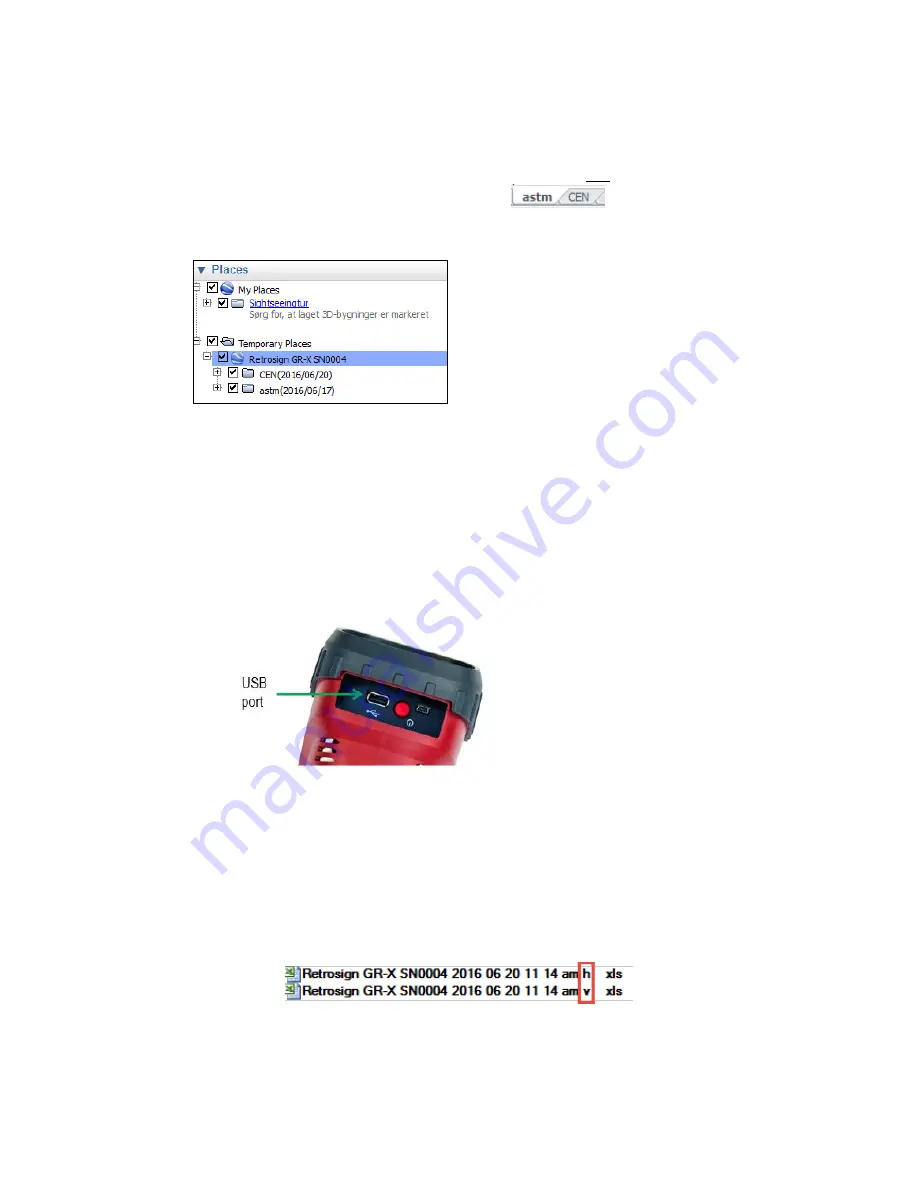
In Excel, each series will have their own tab sheet:
.
In Google Earth the series will be shown as multiple entries in the Temporary Places and
below the RetroSign GRX header:
Note
: if inspections have no location data, latitude/longitude coordinates will be set to 0/0
degrees in the .kmz file. You can also choose to have thumbnail pictures included in the
export file.
Continue exporting the data by following the below steps.
•
Insert an USB stick in the USB port:
•
Press ‘Export’ to transfer data to the USB stick.
The data transfer is completed when the message
‘Export completed successfully’ appears on the
screen. You may now remove the USB stick with the exported data and insert the USB stick to a
computer or similar.
The file name for syntax single file is:
‘
Retrosign GRX SNxxxx YYYY MM DD hh mm am v.xls
’. The
last letter (v or h) indicates vertical or horizontal Excel organization:
For multiple files the file name is:
‘Retrosign GRX series name + date of last series entry + v/h.xls
’
Summary of Contents for RetroSign GRX-1
Page 4: ...RetroSign GRX User Manual December 2017 4 DELTA...
Page 5: ...RetroSign GRX User Manual December 2017 5 DELTA...
Page 6: ...RetroSign GRX User Manual December 2017 6 DELTA...
Page 44: ...RetroSign GRX User Manual December 2017 44 DELTA Inspection page 1...
Page 45: ...RetroSign GRX User Manual December 2017 45 DELTA Inspection page 2...
Page 46: ...RetroSign GRX User Manual December 2017 46 DELTA Inspection page 3...
Page 51: ...RetroSign GRX User Manual December 2017 51 DELTA Vertical view Google Earth file...


