70
Installing System Components
4
With the lever on the hard drive carrier open, slide the hard drive into
the drive bay until the carrier contacts the backplane. See
Figure 3-6.
5
Close the handle to lock the drive in place.
Removing a Hard Drive From a Hard-Drive Carrier
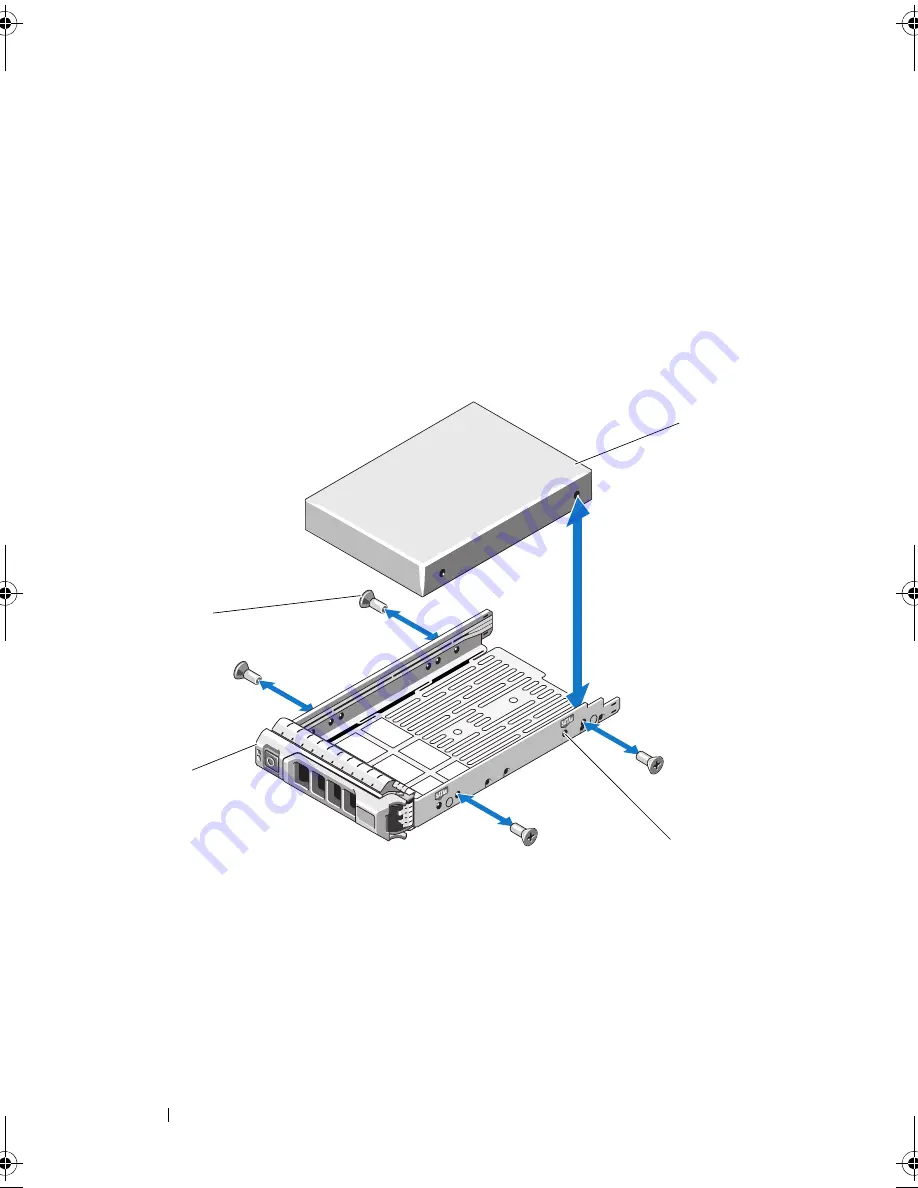
Remove the screws from the slide rails on the hard-drive carrier and separate
the hard drive from the carrier. See Figure 3-7.
Figure 3-7.
Installing a Hot-Swap Hard Drive Into a Drive Carrier
1
hard drive
2
SAS/SATA indicator
3
drive carrier
4
screws (4)
2
1
3
4
book.book Page 70 Wednesday, May 12, 2010 9:26 PM
Summary of Contents for PowerVault DL2200 CommVault
Page 10: ...10 Contents ...
Page 38: ...38 About Your System ...
Page 60: ...60 Using the System Setup Program and UEFI Boot Manager ...
Page 128: ...128 Installing System Components ...
Page 146: ...146 Troubleshooting Your System ...
Page 156: ...156 Jumpers and Connectors ...
Page 158: ...158 Getting Help ...
Page 164: ...164 Index ...


