6. Press the left or right
Arrow
button
to scroll to Scale Percent.
7. Press the down
Arrow
button
to scroll to Size.
8. Press the left or right
Arrow
button
to change the
size
(10-500).
9. From the
Copy Mode menu
change the copy settings, as desired.
10. Press the
Start
button
.
NOTE:
The printer starts making copies unless the
Preview
Mode is turned on. If so, press the
Start
button
to begin making copies.
Photo Layout
You can set the layout for making copies of photos on your printer. The following layouts are supported:
Borderless (default)
Bordered
2 per Page
3 per Page
4 per Page
9 per Page
2x2 Poster
3x3 Poster
4x4 Poster
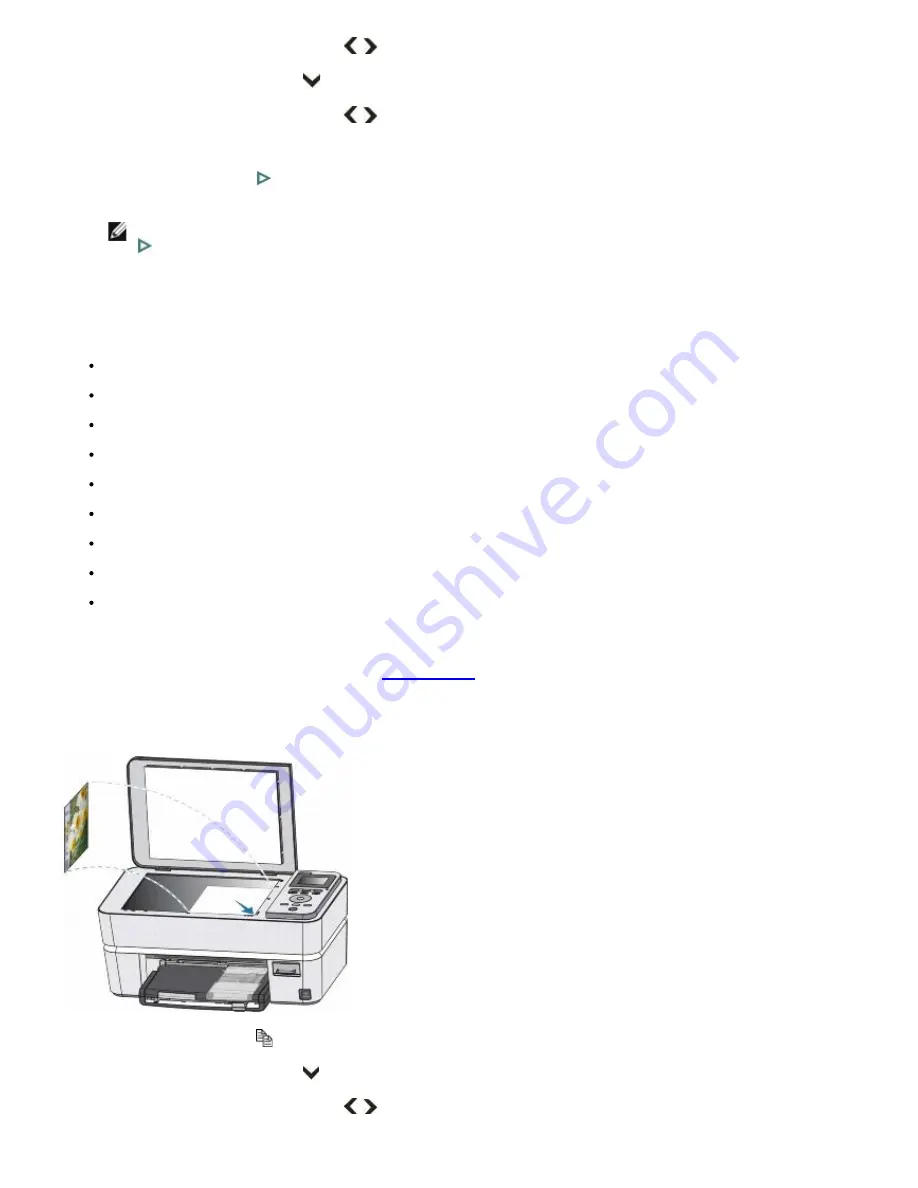
1. Turn on your printer.
2. Load the paper. For more information, see
Loading Paper
.
3. Load the original photo.
4. Press the
Copy
button
.
5. Press the down
Arrow
button
to scroll to Output.
6. Press the left or right
Arrow
button
to scroll to Photo Layouts.
Summary of Contents for P703w - Photo All-in-One Printer Color Inkjet
Page 22: ...18 Select your printer and click Next 19 Click Finish to complete the installation ...
Page 23: ...Back to Contents Page ...
Page 41: ...3 Close the top cover Back to Contents Page ...
Page 77: ...5 Click Copy tab 6 Select Draft Normal or Best 7 Click OK or Apply Copy Options ...
Page 104: ...Back to Contents Page ...


