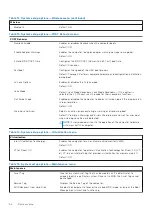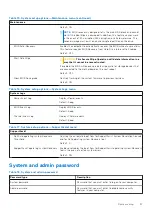
Table 19. Functions
M-Bist
L-Bist
Purpose
Evaluates the health condition of the
system board.
Checks if the system board is supplying
power to the LCD by performing an LCD
Power Rail test.
Trigger
Press the <M> key and power button
Integrated into the single LED error
code diagnostics. Automatically initiated
during POST
Indicator of fault
Battery LED light with
Solid Amber
Battery LED error code of [2,8] blinks
Amber x2, then pause, then blinks White
x8
Repair instruction
Indicates a problem with the system
board.
Indicates a problem with the system
board.
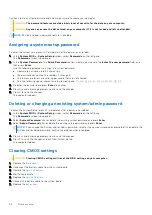
System board built-in self-test (M-BIST)
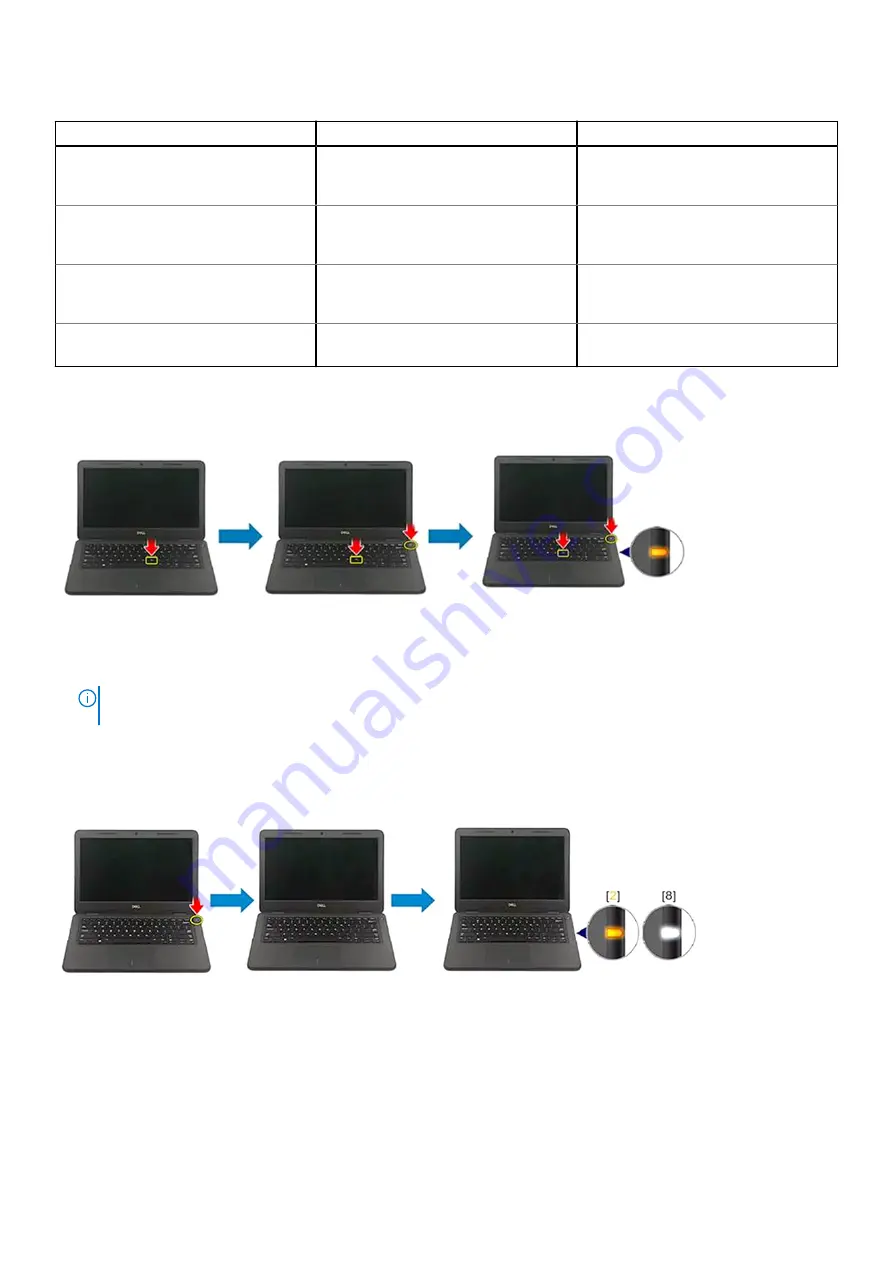
1. Press and hold both the M key and the power button to initiate M-BIST.
2. The battery-status light illuminates in amber when there is a failure with the system board.
3. Replace the system board to fix the issue.
NOTE:
The battery status LED will not illuminate if there is no failure present with the system board. If further
troubleshooting is required, proceed with the applicable Guided Resolution for No Power/No POST, etc.
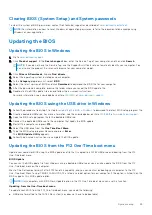
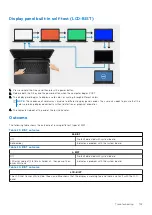
Display panel power rail built-in self-test (L-BIST)
L-BIST
(LCD Power Rail Test) is an enhancement to the single LED error code diagnostics and is
automatically initiated
during
POST
. L-BIST isolates if the LCD is receiving power from the system board. L-BIST checks if the system board is
supplying power to the LCD by performing an LCD Power Rail test. If there is no power going to the LCD, the battery status
LED flashes a
[2,8] LED error code.
102
Troubleshooting
Summary of Contents for Inspiron 7590 2in1
Page 17: ...Removing the base cover 17 ...
Page 22: ...22 Removing the battery ...
Page 24: ...Post requisites Replace the base cover 24 Replacing the battery ...
Page 26: ...26 Removing the memory modules ...
Page 28: ...Post requisites Replace the base cover 28 Replacing the memory modules ...
Page 30: ...30 Removing the wireless card ...
Page 32: ...Post requisites Replace the base cover 32 Replacing the wireless card ...
Page 36: ...36 Removing the I O board ...
Page 38: ...Post requisites Replace the base cover 38 Replacing the I O board ...
Page 45: ...Post requisites Replace the base cover Replacing the solid state drive 45 ...
Page 51: ...Removing the hard drive 51 ...
Page 56: ...56 Removing the touchpad ...
Page 58: ...58 Replacing the touchpad ...
Page 66: ...Post requisites 1 Replace the fan 2 Replace the base cover 66 Replacing the display assembly ...
Page 70: ...70 Removing the system board ...
Page 81: ...Removing the power button with fingerprint reader 81 ...
Page 85: ...Removing the palm rest and antenna assembly 85 ...

