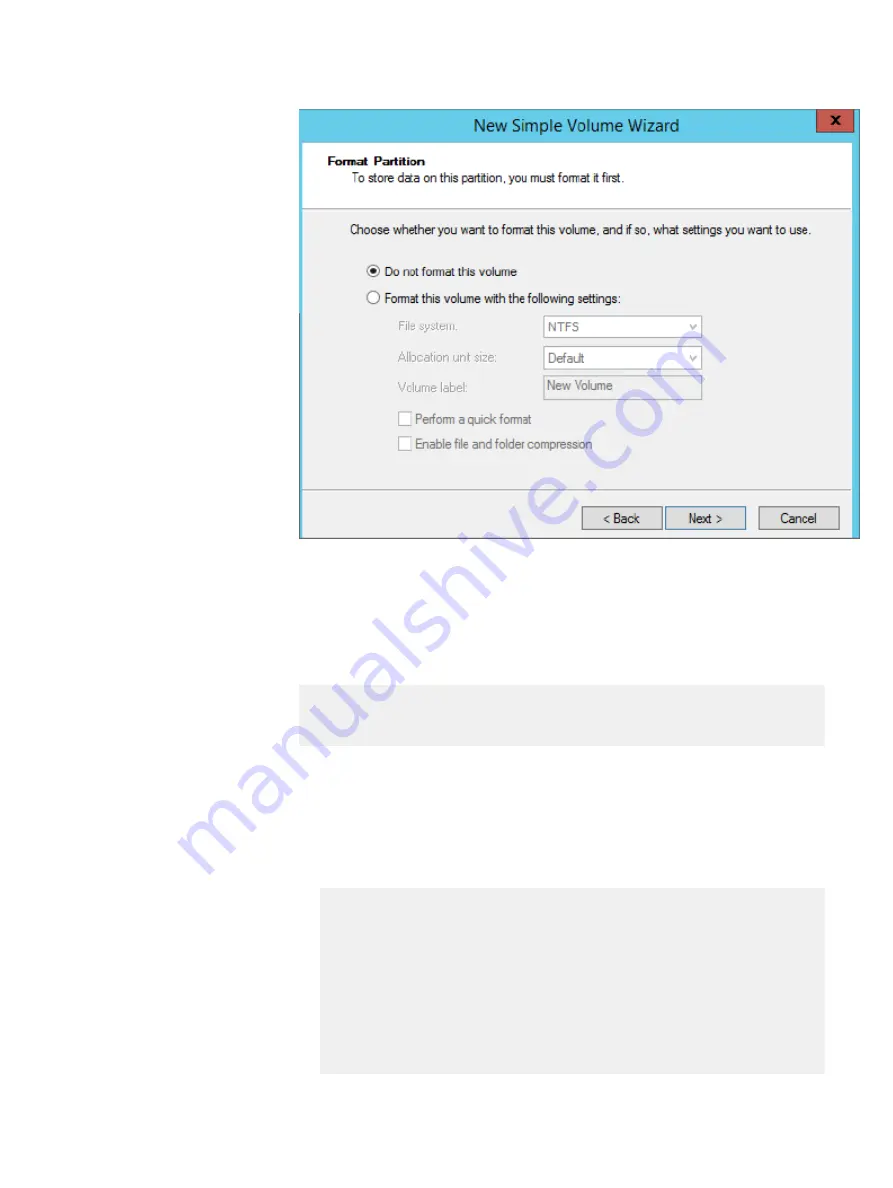
7. Continue scrolling through the wizard, and then click Finish to complete it.
A partition is created for use with DAS Cache.
8. From the Windows Start menu, open Windows PowerShell.
9. Verify that caching was enabled in-software defined storage environments
during installation:
(Get-ItemProperty -Path "HKLM:\SYSTEM\CurrentControlSet
\Services\fiodrv\parameters" -Name
AlwaysBypassOffset).AlwaysBypassOffset
If the output from this command is
64
, the feature was enabled.
10. If you are using DAS Cache 1.4.3, perform the following procedures.
a. On a system with DAS Cache installed, copy the following text to a text
editor:
"
Windows Registry Editor Version 5.00
[HKEY_LOCAL_MACHINE\SYSTEM\CurrentControlSet\Services\fiodrv
\Parameters]
"AlwaysBypassOffset"=dword:00000040
"AggressiveCachePopulation"=dword:00000000
"BypassWriteLengthThresholdSec"=dword:0000008
"RcMaxLengthKB"=dword:00000020
"LowSpaceBypassSectors"=dword:00000000
"FlusherCmdsNormalToBeStarted"=dword:00000001
"FlusherMaxCmdsToBeStarted"=dword:00000002
"
Additional Configurations
Additional actions after installing DAS Cache
69
Summary of Contents for EMC VxFlex Ready Node 13G
Page 6: ...FIGURES 6 Hardware Configuration and Operating System Installation Guide Windows Servers ...
Page 8: ...TABLES 8 Hardware Configuration and Operating System Installation Guide Windows Servers ...
Page 41: ...Figure 8 Connection Properties Windows 2012 Port Configuration Configure the ports 41 ...
Page 43: ...Figure 10 Connection Properties Windows 2012 Port Configuration Configure the ports 43 ...


