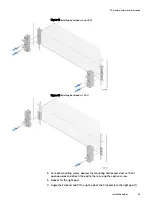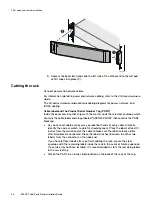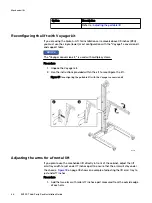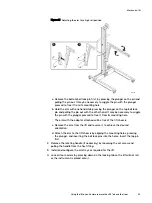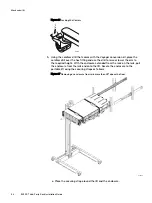
Figure 16 Best Practice: Using the portable lift adjacent to the long side of the enclosure
CL5431
Assembling and configuring the portable lift
Procedure
1. Using the instructions provided with the lift kit, assemble the portable lift.
2. Configure the lift depending on the height to which the instrument must be
lifted.
Option
Description
For installations at or
below 49 inches (28U)
above floor level:
You must use the lower (single) mast
configuration.
Refer to:
Using the lift on an enclosure less than
For installations > 49
inches (28U) above floor
level:
Use the "Voyager" conversion kit and a support
table kit with the lower (single) mast configuration.
See:
Using the lift on an enclosure more than 49"
Mechanical lift
Assembling and configuring the portable lift
47
Summary of Contents for ECS EX300
Page 1: ...ECS EX300 Third Party Rack Installation Guide 302 005 206 02 ...
Page 6: ...FIGURES 6 EX300 Third Party Rack Installation Guide ...
Page 7: ...Planning your lift 46 1 TABLES EX300 Third Party Rack Installation Guide 7 ...
Page 8: ...TABLES 8 EX300 Third Party Rack Installation Guide ...
Page 13: ...Third Party Rack Installation Overview Components for EX300 systems 13 ...
Page 14: ...Third Party Rack Installation Overview 14 EX300 Third Party Rack Installation Guide ...
Page 17: ...Figure 1 PDU component location Rail Installation Dell EMC PDU rail and component location 17 ...
Page 42: ...Bring the system online 42 EX300 Third Party Rack Installation Guide ...


