Procedure
1. Determine where to mount the system, and mark the location at the front and
back of the cabinet.
Note
Install the left rail assembly first.
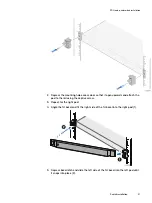
2. Fully extend the rear sliding bracket of the rail.
3. Position the rail end piece labeled Left Front facing inward and orient the rear
end piece to align with the holes on the rear cabinet flanges.
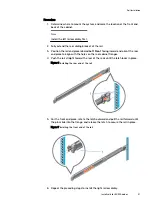
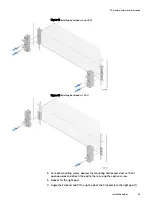
4. Push the rail straight toward the rear of the rack until the latch locks in place.
Figure 6 Installing the rear end of the rail
5. For the front end piece, rotate the latch outward and pull the rail forward until
the pins slide into the flange, and release the latch to secure the rail in place.
Figure 7 Installing the front end of the rail
6. Repeat the preceding steps to install the right rail assembly.
Rail Installation
Install rails for EX300 nodes
21
Summary of Contents for ECS EX300
Page 1: ...ECS EX300 Third Party Rack Installation Guide 302 005 206 02 ...
Page 6: ...FIGURES 6 EX300 Third Party Rack Installation Guide ...
Page 7: ...Planning your lift 46 1 TABLES EX300 Third Party Rack Installation Guide 7 ...
Page 8: ...TABLES 8 EX300 Third Party Rack Installation Guide ...
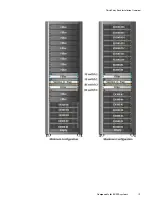
Page 13: ...Third Party Rack Installation Overview Components for EX300 systems 13 ...
Page 14: ...Third Party Rack Installation Overview 14 EX300 Third Party Rack Installation Guide ...
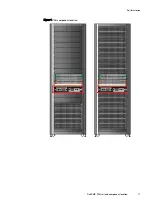
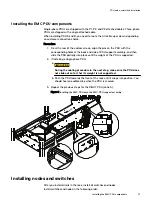
Page 17: ...Figure 1 PDU component location Rail Installation Dell EMC PDU rail and component location 17 ...
Page 42: ...Bring the system online 42 EX300 Third Party Rack Installation Guide ...

