UM-0085-B09
DT80 Range User Manual
Page 191
RG
9. Now connect the DT80 to the computer using the USB cable. This will trigger the Windows "plug and play"
process to complete driver installation.
You may notice a flurry of activity in the system tray area. The actual sequence of events depends on your
operating system.
•
For Windows XP, the drivers that you pre-installed in Step 5 will be automatically installed with a minimum
of fuss. A couple of "New hardware found" balloon messages will appear, then finally it should say "Your
new hardware is ready to use"
•
For Windows Vista, you will be asked whether you want to locate and install driver software, or do nothing.
Specify that you do want to locate and install drivers. It will then search for the drivers on Windows Update.
Assuming you have a working internet connection, it should find the drivers there and install them. If not
then the Windows Update search will time out and it will install the drivers that you pre-installed in Step 5.
Eventually Windows should report that "Your new hardware is ready to use".
•
For Windows 7, the initial prompt will be skipped and it will go straight to Windows Update. As with Vista, if
this is successful then it will install the drivers it finds there, otherwise it will eventually time out and use the
pre-installed drivers.
•
Windows 8
Note:
DtUsb Driver actually consists of two separate Windows drivers – a USB driver and a virtual COM port driver. You may
therefore see the above "plug and play" process occur twice, once for each driver.
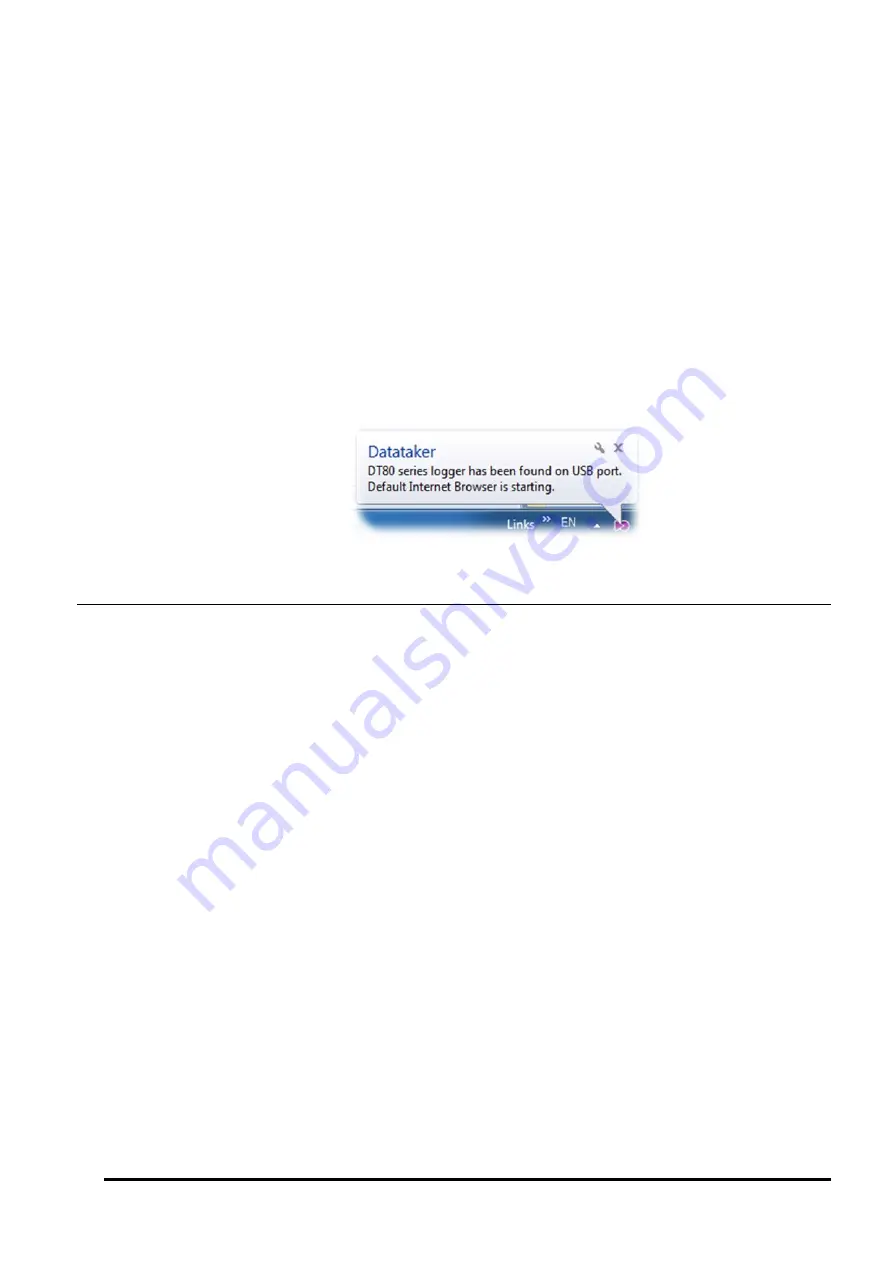
10. Once the two parts of DtUsb Driver have been installed, DtUsb should notice that a logger has been connected.
A new icon should appear in the system tray.
11. DtUsb will now automatically launch your default web browser and display the
dEX
home page.
12. If desired, you may now log off as administrator and log in as a normal user. DtUsb will be loaded automatically
when any user logs in to the computer.
Using DtUsb
DtUsb is a background process, which is started automatically when any user logs in to the computer. It will, however, do
nothing until a DT80 is connected via USB.
When a DT80 is connected, DtUsb will:
•
establish a PPP connection to the logger over the USB link (PPP is a protocol that allows TCP/IP traffic to be
passed over a point-to-point serial link)
•
provide a local IP address, typically 127.1.1.1, which effectively becomes the DT80's IP address.
•
display the purple icon in the task bar, which will remain visible whilst the logger is connected
•
optionally, automatically launch your default web browser and display the
dEX
home page
Applications such as a web browser, FTP client,
DeTransfer
or a Modbus client can then connect to the logger's
services using the 127.1.1.1 address, and DtUsb will forward their requests on to the logger.
DtUsb assumes that all logger services are operating using their default port numbers. If you experience problems
accessing a particular service, check the following DT80 profile settings
PROFILE COMMAND_SERVER PORT=7700
PROFILE HTTP_SERVER PORT=80
PROFILE MODBUS_SERVER TCPIP_PORT=502
Remember also that the USB port function must be set to
COMMAND
(which is the default) in order for DtUsb to work, i.e.
PROFILE USB_PORT FUNCTION=COMMAND
DtUsb GUI
For the most part, DtUsb is intended to be invisible – its main purpose is simply to provide a TCP/IP connection over
USB so that
dEX
and other logger services can be accessed.
However, DtUsb does include a simple graphical user interface (GUI). To access this, double click on the purple icon
while a logger is connected. Alternatively, you can find a link to DtUsb on the Windows Start menu, in the
dataTaker
folder.
The DtUsb GUI comprises three screens, selected by clicking on the tabs along the top. Each screen contains the same
three buttons along the bottom:


