


DATAPROCESS EUROPE S.p.A.
ST 230 USER MANUAL Pag.
27
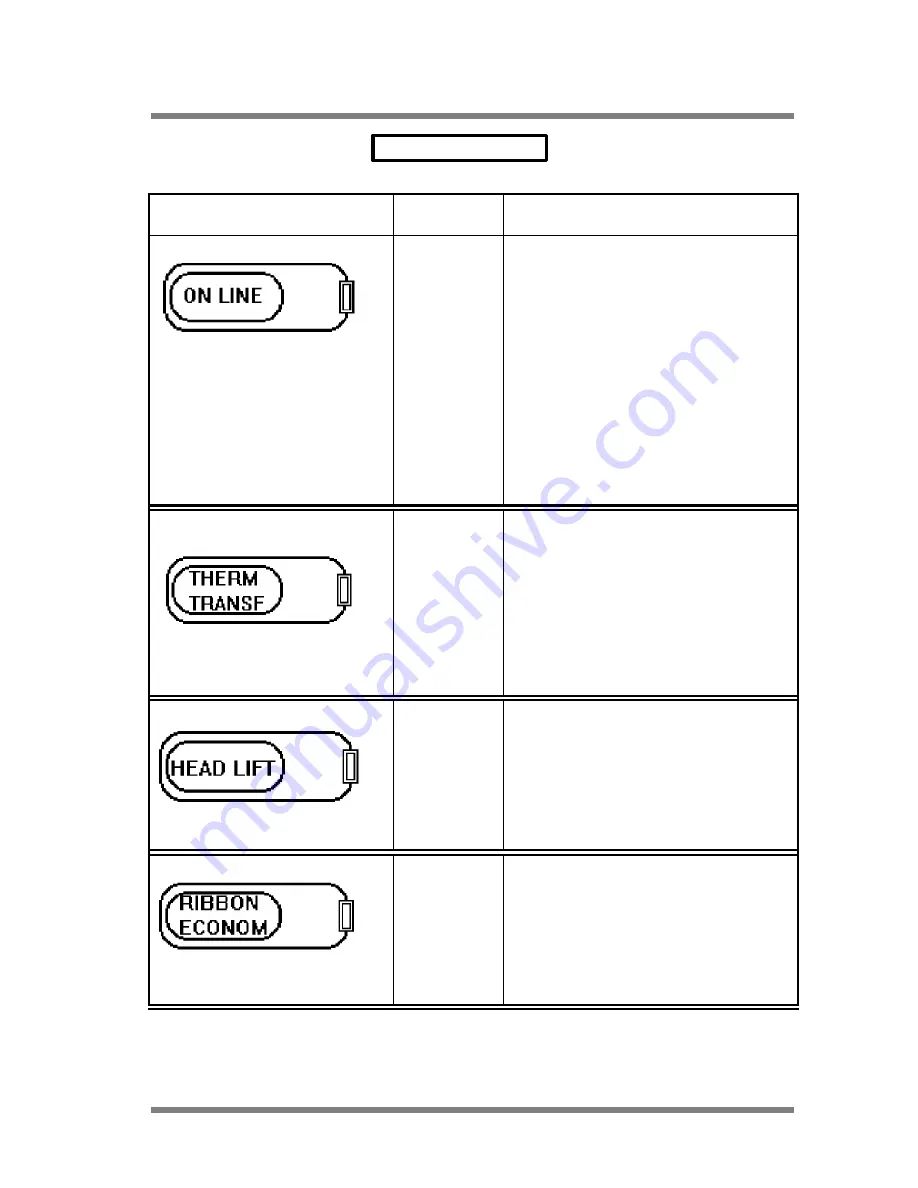
LIGHT LEDS TABLE
LIGHT LED
STATUS
MEANING
ON
OFF
FLASH
The printer in ON LINE status and is ready to
execute the commands coming from serial line.
The printer can be both in printing status or in
OFF LINE. It is not possible to execute line
commands that will be stored on the buffer with
exception of those executable in real time.
The printer can be both in printing status or in
OFF LINE. It is not possible to execute line
commands that will be stored on the buffer with
the exception of those executable in real time.
ON
OFF
The printer is ready to print in thermal/transfer
mode.
The printer is ready to print in direct thermal
ON
OFF
The printhead is lifted by its motor and the
printer is ready to execute special functions.
The printhead is in contact with the paper
(normal functioning mode).
ON
OFF
The economizer device is abled.
The economizer device is disabled.


