


DAP-600P
Wireless AC2600 Wave 2 MU-MIMO Dual Band
PoE Access Point / Router
User Manual
Configuring via Web-based Interface
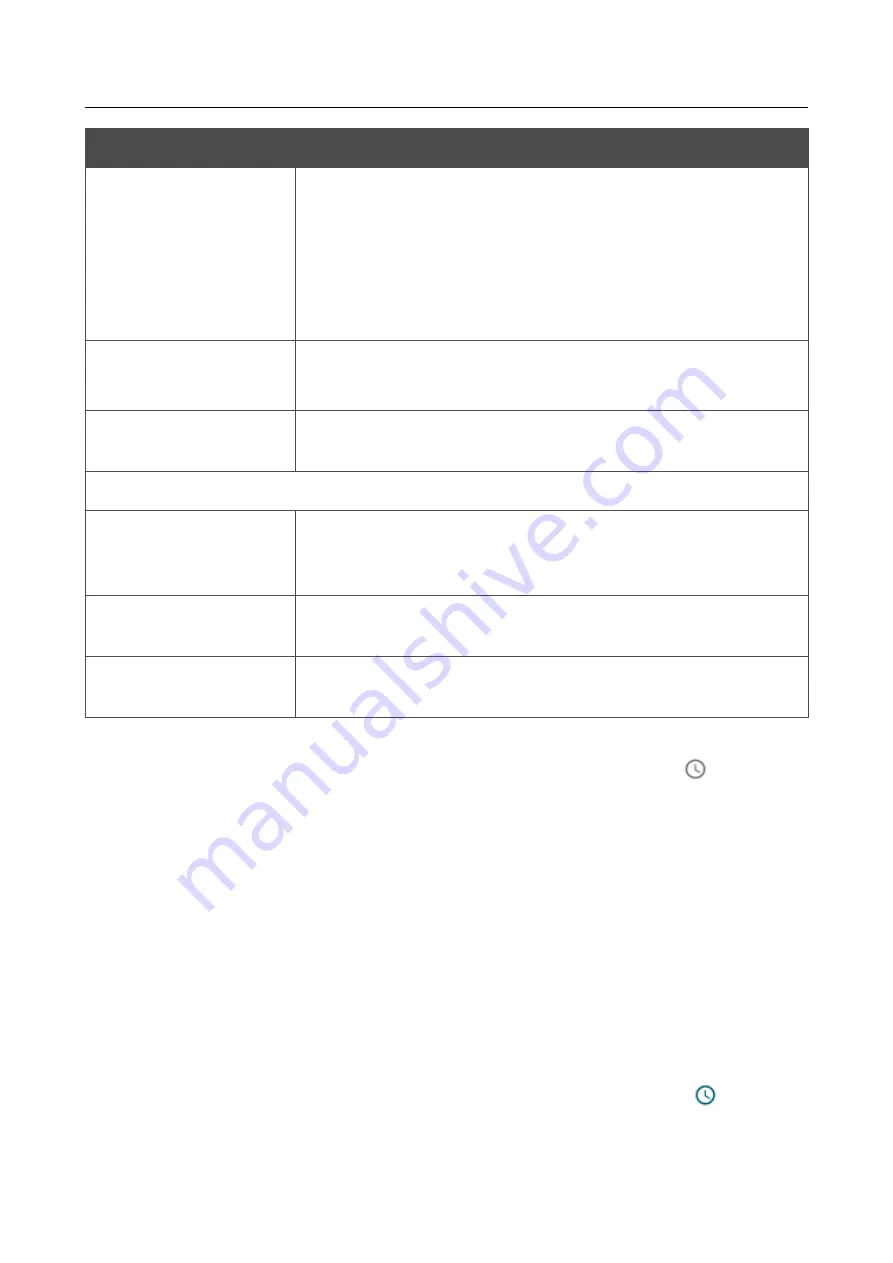
Parameter
Description
Start IPv4 address /
Start IPv6 address
The destination host start IPv4 or IPv6 address.
If it is necessary to specify a single address, leave the
End IPv4
address / End IPv6 address
field blank.
You can choose a device connected to the access point's LAN at the
moment. To do this, select the relevant IPv4 or IPv6 address from the
drop-down list (the field will be filled in automatically).
End IPv4 address /
End IPv6 address
The destination host end IPv4 or IPv6 address.
Subnet IPv4 address /
Subnet IPv6 address
The destination subnet IPv4 or IPv6 address. The field is displayed
when the
Subnet
value is selected from the
Set as
drop-down list.
Ports
Destination port
A port of the destination IP address. You can specify one port,
several ports separated by a comma, or a range of ports separated by
a colon.
Set source port
manually
Move the switch to the right to specify a port of the source IP
address manually. Upon that the
Source port
field is displayed.
Source port
A port of the source IP address. You can specify one port, several
ports separated by a comma, or a range of ports separated by a colon.
Click the
APPLY
button.
To set a schedule for the IP filter rule, click the
Add Schedule
button (
) in the line
corresponding to this rule. In the opened window, you can create a new schedule (see the
section, page 207) or use the existing one. Existing schedules are displayed in the
Interval of
execution
drop-down list in the simplified mode.
To enable the IP filter rule at the time specified in the schedule and disable it at the other time,
select the
Enable
value from the
Action for rule upon activation of schedule
drop-down list
and click the
SAVE
button.
To disable the IP filter rule at the time specified in the schedule and enable it at the other time,
select the
Disable
value from the
Action for rule upon activation of schedule
drop-down
list and click the
SAVE
button.
To edit a rule, select the relevant line in the table. In the opened window, change the needed
parameters and click the
APPLY
button.
To change or delete the schedule for a rule, click the
Select schedule
button (
) in the line
corresponding to this rule. In the opened window, change the parameters and click the
SAVE
button
or click the
DELETE FROM SCHEDULE
button.
Page
192
of 235


