


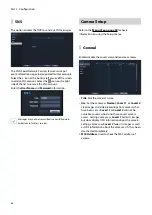

Part 3 - Configuration
53
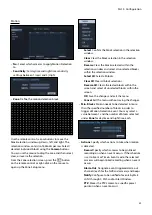
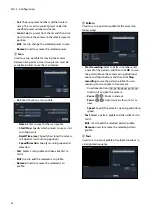
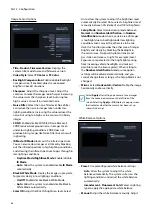
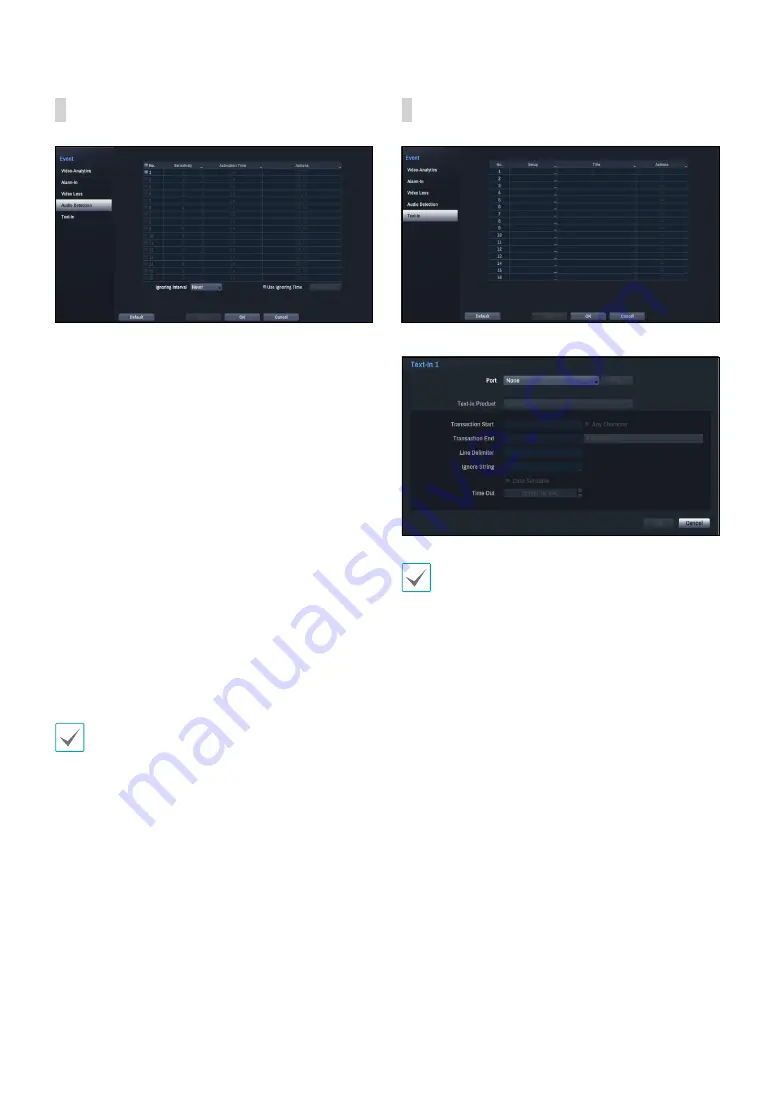
Audio Detection
•
No.
: Select which cameras to apply Audio Detection
to.
•
Sensitivity
: Set to between 1 (Low) and 5 (High).
•
Activation Time
: Specify how long audio detection
has to last in order for it to be considered an event.
Audio detections that do not last for the specified
duration of time will not be considered as events.
•
Actions
: Specify which actions to take when audio
detection events occur.
-
Record
: Specify which cameras to begin linked
recording on when an event occurs. If the schedule
is set to Event or Time & Event mode, the selected
cameras will begin linked recording when an event
occurs.
-
Alarm-Out
: Designate event-triggered alarm-out
channels (each for the NVR and camera) and beeps.
-
Notify
: Configure to be notified of events by Mail,
LAN1 through 5, SNS, and/or Alert Window.
-
PTZ
: Moves the PTZ camera to a specific preset
position when an event occurs.
In order to use the Callback feature, the NVR must be
registered on the remote program.
•
Ignoring Interval
: The system does not produce
event log entries or issues remote notifications
regarding audio detected during the specified time
following the initial audio detection. Set a value
between 1 sec and 5 secs or choose
Never
.
•
Use Ignoring Time
: Select
Time Setup
to specify the
audio detection ignore time. Audio detection will be
disabled during the specified time frame.
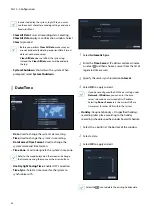
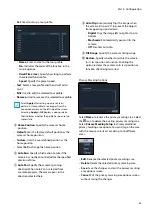
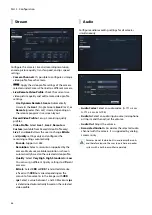
Text-In
•
Setup
: Configure text-in devices.
• It's possible to batch configure all text-in devices
with the exception for port settings.
• An influx of large amounts of text-in data from
multiple channels can hinder system performance.
•
Text-In Product
: The setup window is updated so
that the portion below the port setting matches the
corresponding text-in device. Displayed screenshot
illustrates Generic Text settings.
•
Transaction Start
: Once
Transaction Start
has been
designated, the system will recognize the specified
string as the beginning of a transaction. You can
choose the Any Character setting. Under this setting,
any character will trigger the system into recognizing
the start of a new transaction.
•
Transaction End
: Once
Transaction End
has been
designated, the system will recognize the specified
string as the end of a transaction. Select
0 more
line(s)
next to Transaction End and specify a value
between 1 and 10. The system will recognize the
specified Transaction End string plus the number of
lines as being the end of a transaction.


