Loading
19
Press paper forward
button
Loading Originals into the Scanner
Scanners: HD5450, HD4250, HD4230, HD3650,
HD3630, HD2530
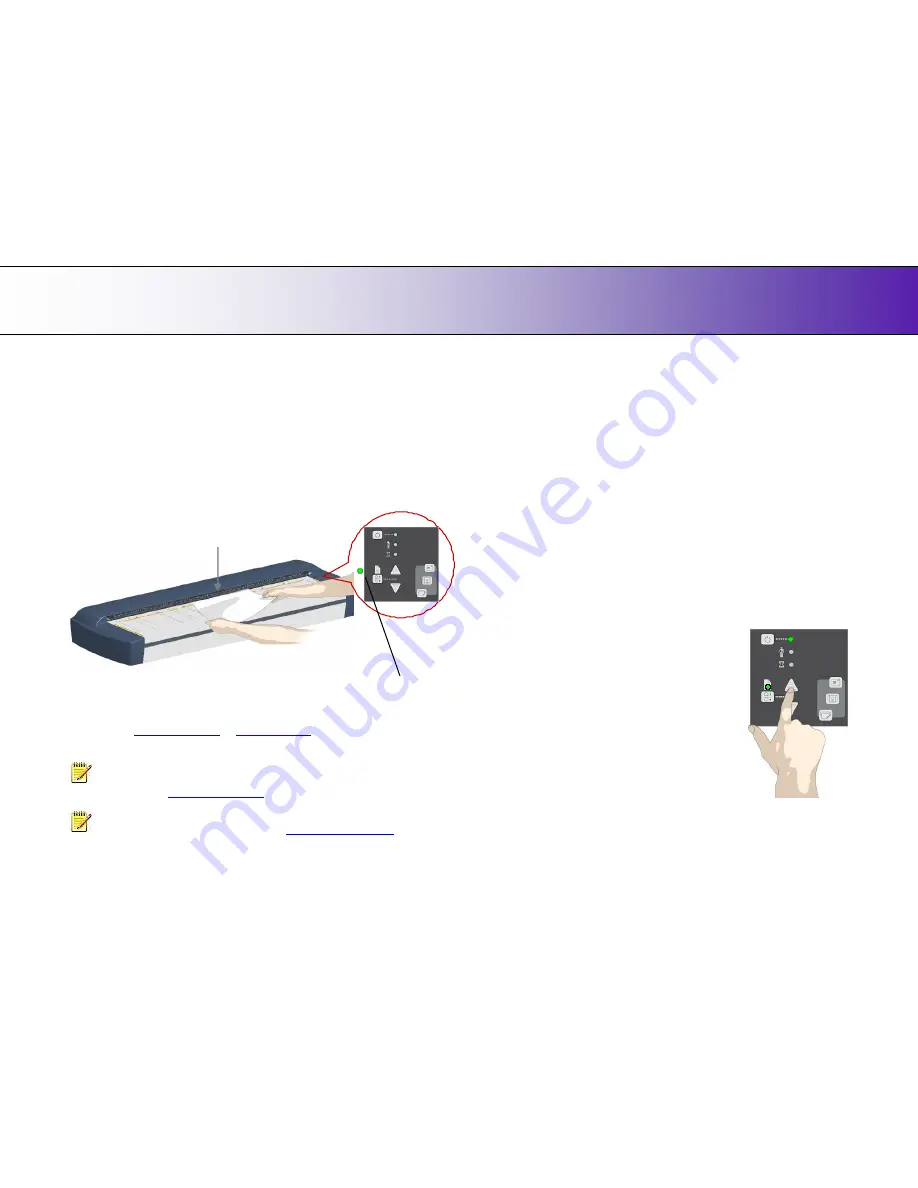
Load, face down, at the scanner
’
s center
Load your document with the image side facing
downwards
. Align the
center of the document with the center arrow marking on the scanner bed.
Use the standard size markings to help align the document for a straight
scan path.
Feed the original at the scanner
’
s center
Paper ready LED lights green when paper is engaged.
Load the paper, face down. Hold with both hands and align the document
’
s center
with the scanner center marking.
You can use
automatic loading
or
manual loading
. These 2 loading options
are selected in the scan/copy application dialogs on your PC. Read the
instructions about
Automatic
and
Manual
loading n the next sections.
NOTE:
The availability of the automatic and manual loading options
will depend on your
scan/copy software
and its level of compatibility with
the scanner model.
NOTE
: See also this guide
’
s section on
Scanning Thick Media
for
instructions on loading thick media originals.
Automatic loading
With
automatic loading
, the scanner takes the original as soon as you
insert it in the paper slot. Automatic loading is reliable for most jobs and
especially useful for batch scanning jobs.
1. Make sure the Paper handling option
“
Auto load
”
is set in your
scanning application.
2. Align the center of the document with the center arrow marking on the
scanner bed.
3. Push the original into the insertion slot until you feel it contact the
rollers and the Paper Ready LED lights green (yellow for thick media).
4. The scanner will grab the original automatically and move it into start-
scan position.
5. A delay factor can be set in the scanning application. The delay will
give you time to control straight positioning of the document in cases
where the scanner is grabbing the original too fast.
Manual loading
1. Make sure the Paper handling option
“
Manual
”
is set in your scanning application.
2. Align the center of the document with the center
arrow marking on the scanner bed.
3. Push the original into the insertion slot until you
feel it contact the rollers and the Paper Ready
LED lights green (yellow for thick media).
4. While holding the original in place with one
hand, use the other hand to press and hold
down the Paper Forward button on the scanner.
5. The original moves into the start-scan position.


