Loading
30
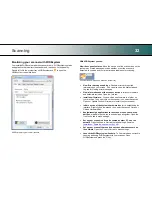
Paper Pressure Adjustment
– for thin media
When scanning, the document is evenly pressed down to ensure a
distortion-free scan. When scanning thin and fragile documents such as
newspapers and trace-paper, you will often want to reduce the default
pressure in order to avoid paper jams and damage to the original. Your
scanner supports a
Paper Pressure Adjustment
feature for reducing the
normal (default) pressure applied.
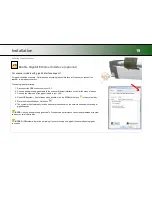
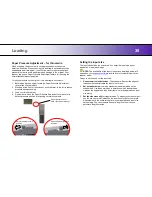
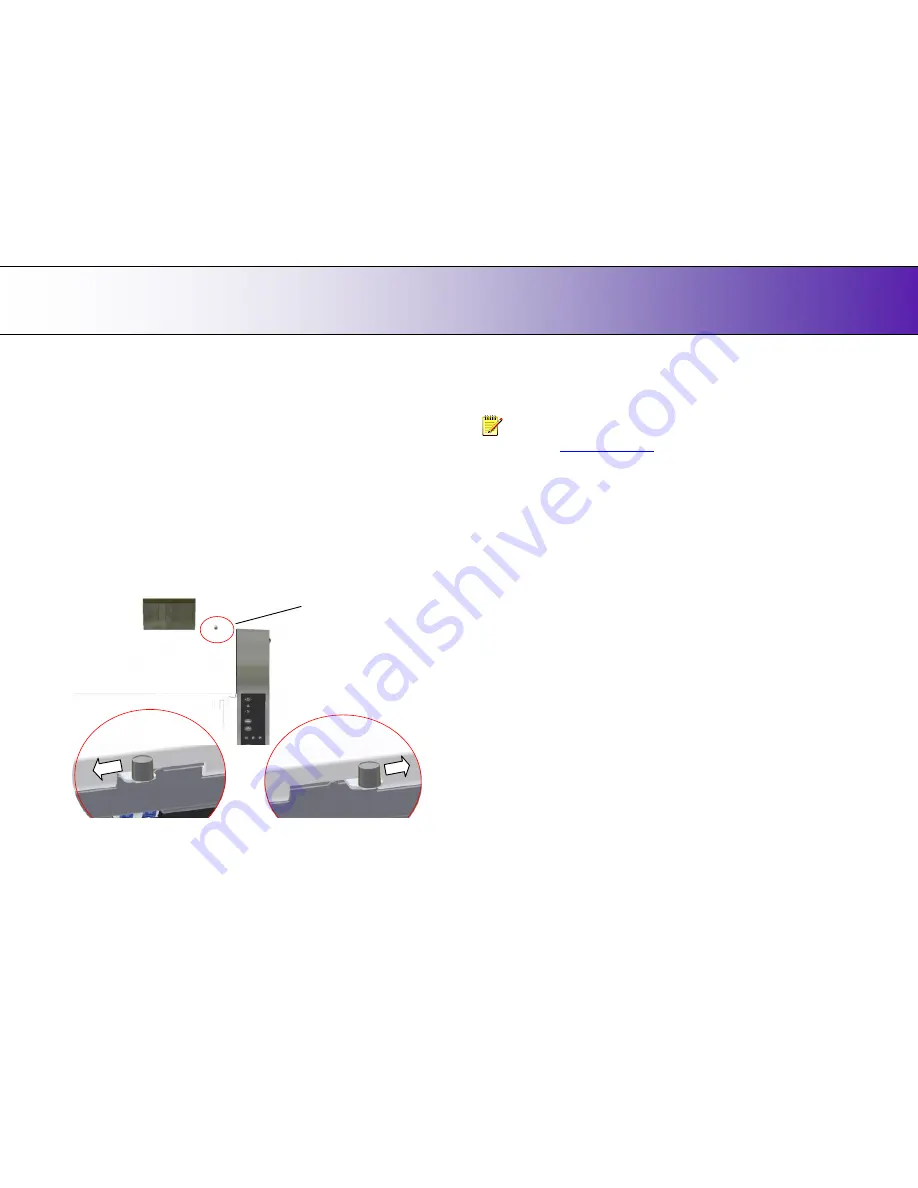
To reduce pressure on the original
– thin and fragile documents:
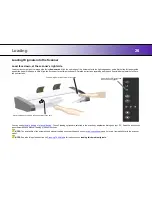
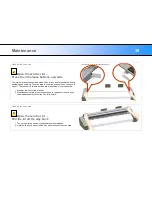
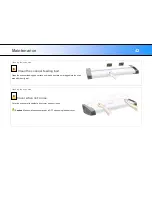
1. Before loading the original, locate the Paper Pressure Adjustment
lever
at the scanner‟s back.
2. Standing at the front of the scanner, push the lever to the left to reduce
pressure during scanning.
3. Load your thin document.
4. Remember to move the Paper Pressure Adjustment lever back to its
default pressure position for scanning normal documents.
Normal paper pressure
position
Reduced paper pressure
position
Paper pressure Lever
–
back, right side of scanner
Setting the input size
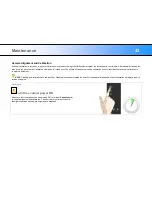
The
Input size
defines the scan area. You enter the input size in your
application‟s input size dialogs.
NOTE:
The availability of the
Input size
options described below will
depend on your
scan/copy software
and its level of compatibility with the
scanner model.
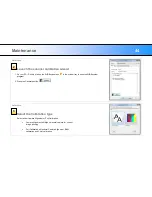
3 ways to set find and set the input size:
1.
Use
automatic size detection -
The scanner will detect the edges of
the document and calculate the input size for you.
2.
Set a
standard size
- common standard sizes are marked on the
scanner bed. Use these markings to determine which standard size
matches the original and then select
that size in the application‟s
input
size
dialog.
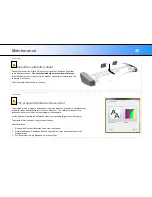
3.
Set the size
manually
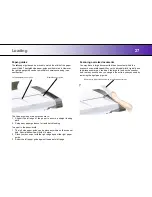
for irregular sizes. To measure your document -
use the scanner‟s ruler just above the insertion slot. Enter your width
measurement in the
width
setting field
in your application‟s
input size
setup dialog. You can measure and set a
length
value or choose
automatic length detection.

