Loading
28
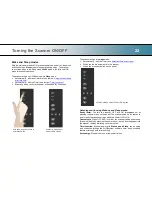
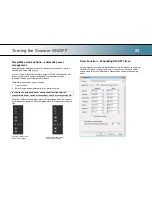
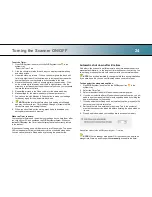
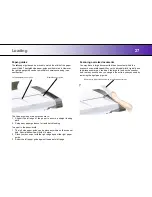
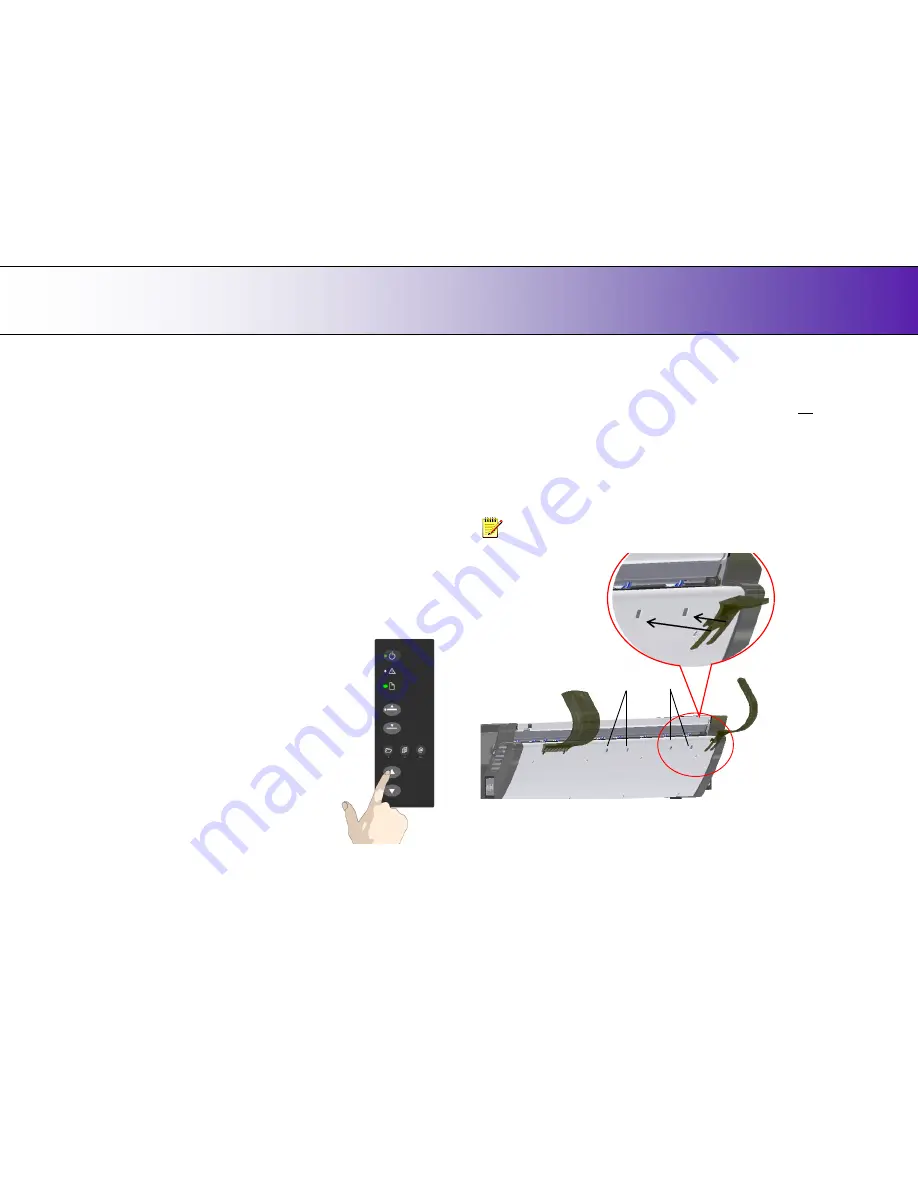
Press paper forward
button
Automatic loading
With
automatic loading
, the scanner takes the original as soon as you
insert it in the paper slot. Automatic loading is reliable for most jobs and
especially useful for batch scanning jobs. See also
Fast Loading
below.
1.
Make sure the Paper handling option “
Auto load
” is set in your
scanning application.
10. Load the document normally as described above.
11. Push the original into the insertion slot until you feel it contact the
rollers and the Paper Ready LED lights green.
12. The scanner will grab the original automatically and move it into start-
scan position.
13. A delay factor can be set in the scanning application. The delay will
give you time to control straight positioning of the document in cases
where the scanner is grabbing the original too fast.
Manual loading
With
manual loading
, you have more control over loading. The scanner
takes the original when you press the paper forward button. Manual loading
is for single scans (not batch), fragile documents or when you want time to
align the document before it is fed.
1. Make sure the p
aper handling option “
Manual
”
is set in your scanning application.
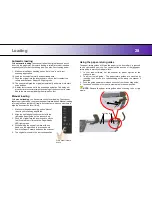
2. Align the right edge of the document with the
right edge paper guide on the scanner bed.
3. Push the original into the insertion slot until you
feel it contact the rollers and the Paper Ready
LED lights green.
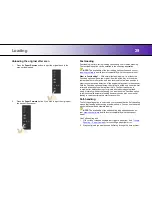
4. While holding the original in place with one
hand, use the other hand to press and hold
down the Paper Forward button on the scanner.
5. The original moves into the start-scan position.
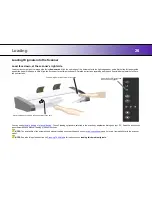
Using the paper-return guides
The paper-return guides will force the paper to the front after it is scanned
so you can retrieve it quickly. You can adjust the position of the left paper-
return guide to match your paper width.
1. In your scan software, set the scanner for paper ejection at the
scanner‟s rear.
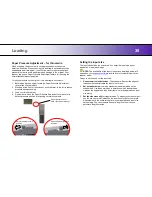
2. To adjust the left guide - The paper-return guides are mounted by
inserting their hooks into corresponding
holes along the scanner‟s
backside.
3. Push the guide upwards to release its hooks from its mounting holes.
4. Insert and push down to mount in other holes in the new position.
NOTE:
Remove the paper-return guides when scanning thick or rigid
media.
Mounting holes

