2 System Installation
CommPact Installation Manual
9
3.
Open the SIM card holder on the Main Board; insert the SIM card
*
(see p. 5, Figure
1-2 ).
4.
Close the Housing.
5.
Plug the Power AC cable into the wall outlet.
In five minutes since power-up, the sounder will sound. To silence the sounder, press your
user code (default user code is 1234).
At this stage, do not connect the backup battery. Ignore any trouble conditions that
may appear on the LCD Display (e.g. Low Battery).
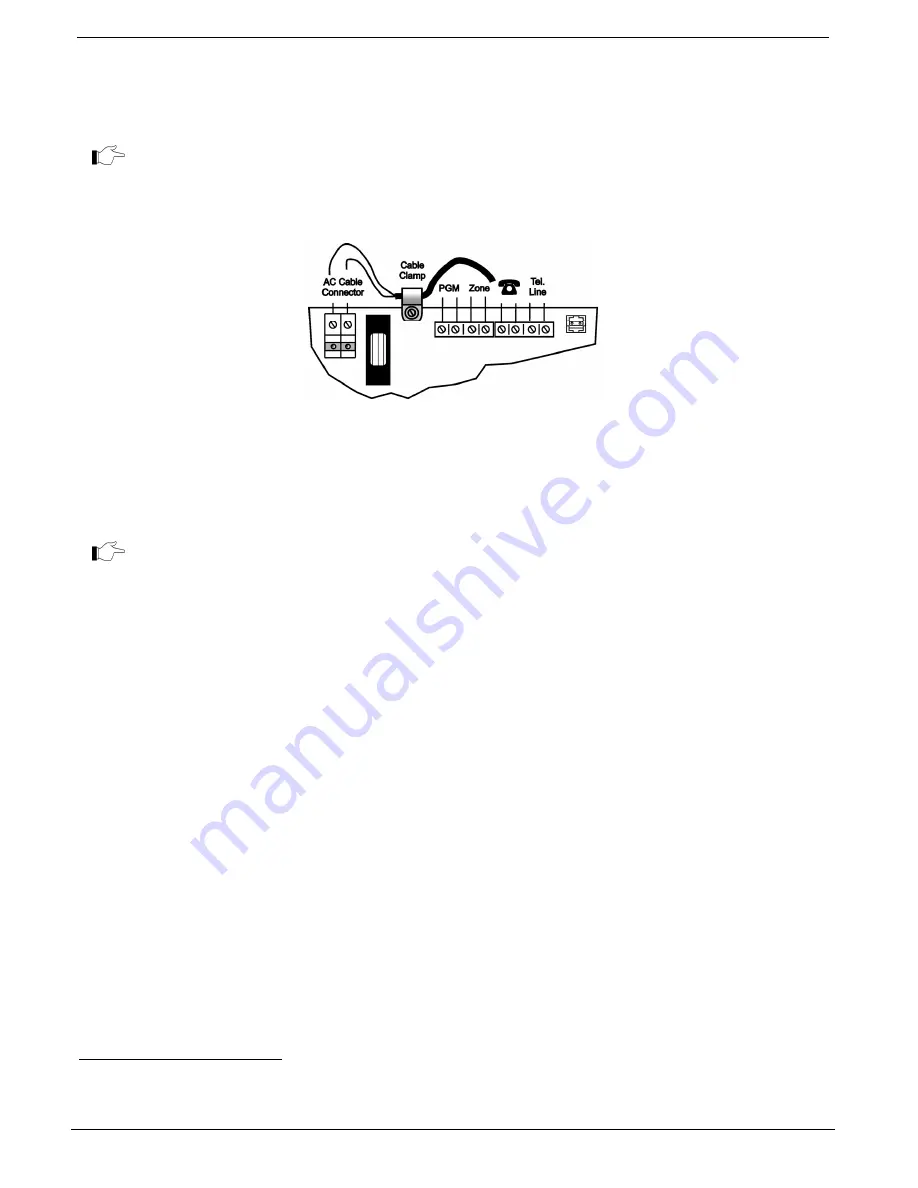
Figure 2-5: Main Board Wiring Scheme
2.2.2. Stage
2:
Selecting Language and Defaults
The Control System supports several languages. Language and defaults settings must be defined
before any configuration parameters are set or any transmitters registered.
Setting language and defaults automatically initializes the Control System. This means that
all prior configuration settings are reset to the default settings and all previously registered
transmitters are deleted from the Control System.
To select language and defaults:
1.
Press '
√ʹ.
2.
Enter your Engineer code (the default Engineer code is
1111
).
3.
From the Programming menu, select Devices [971].
4.
Select default and press '
√ʹ.
5.
Select language (Voice + LCD display) and press '
√ʹ.
6.
Press '
√ʹ once more to initialize the Control Syst
em
2.2.3.
Stage 3 – Register the Transmitters
For the Control System to recognize a device, its transmitter must be registered. In general terms,
transmitter registration means sending two transmissions from a device when the Control System is
in Registration mode.
To register a device:
1.
Press '
√ʹ.
2.
Enter your Engineer code.
3.
From the Programming menu, select Devices [91].
4.
Select the type of transmitter you want to register. For example, if you want to register a
wireless detector to a zone, select Zones.
*
optional feature
Summary of Contents for Control system
Page 84: ...Appendix A Menu Structure CommPact Installation Manual 80 Appendix A Menu Structure ...
Page 85: ...Appendix A Menu Structure CommPact Installation Manual 81 ...
Page 86: ...Appendix A Menu Structure CommPact Installation Manual 82 ...
Page 87: ...Appendix A Menu Structure CommPact Installation Manual 83 ...
Page 88: ...Appendix A Menu Structure CommPact Installation Manual 84 ...
Page 89: ...Appendix A Menu Structure CommPact Installation Manual 85 ...
Page 90: ...Appendix A Menu Structure CommPact Installation Manual 86 ...


