


82
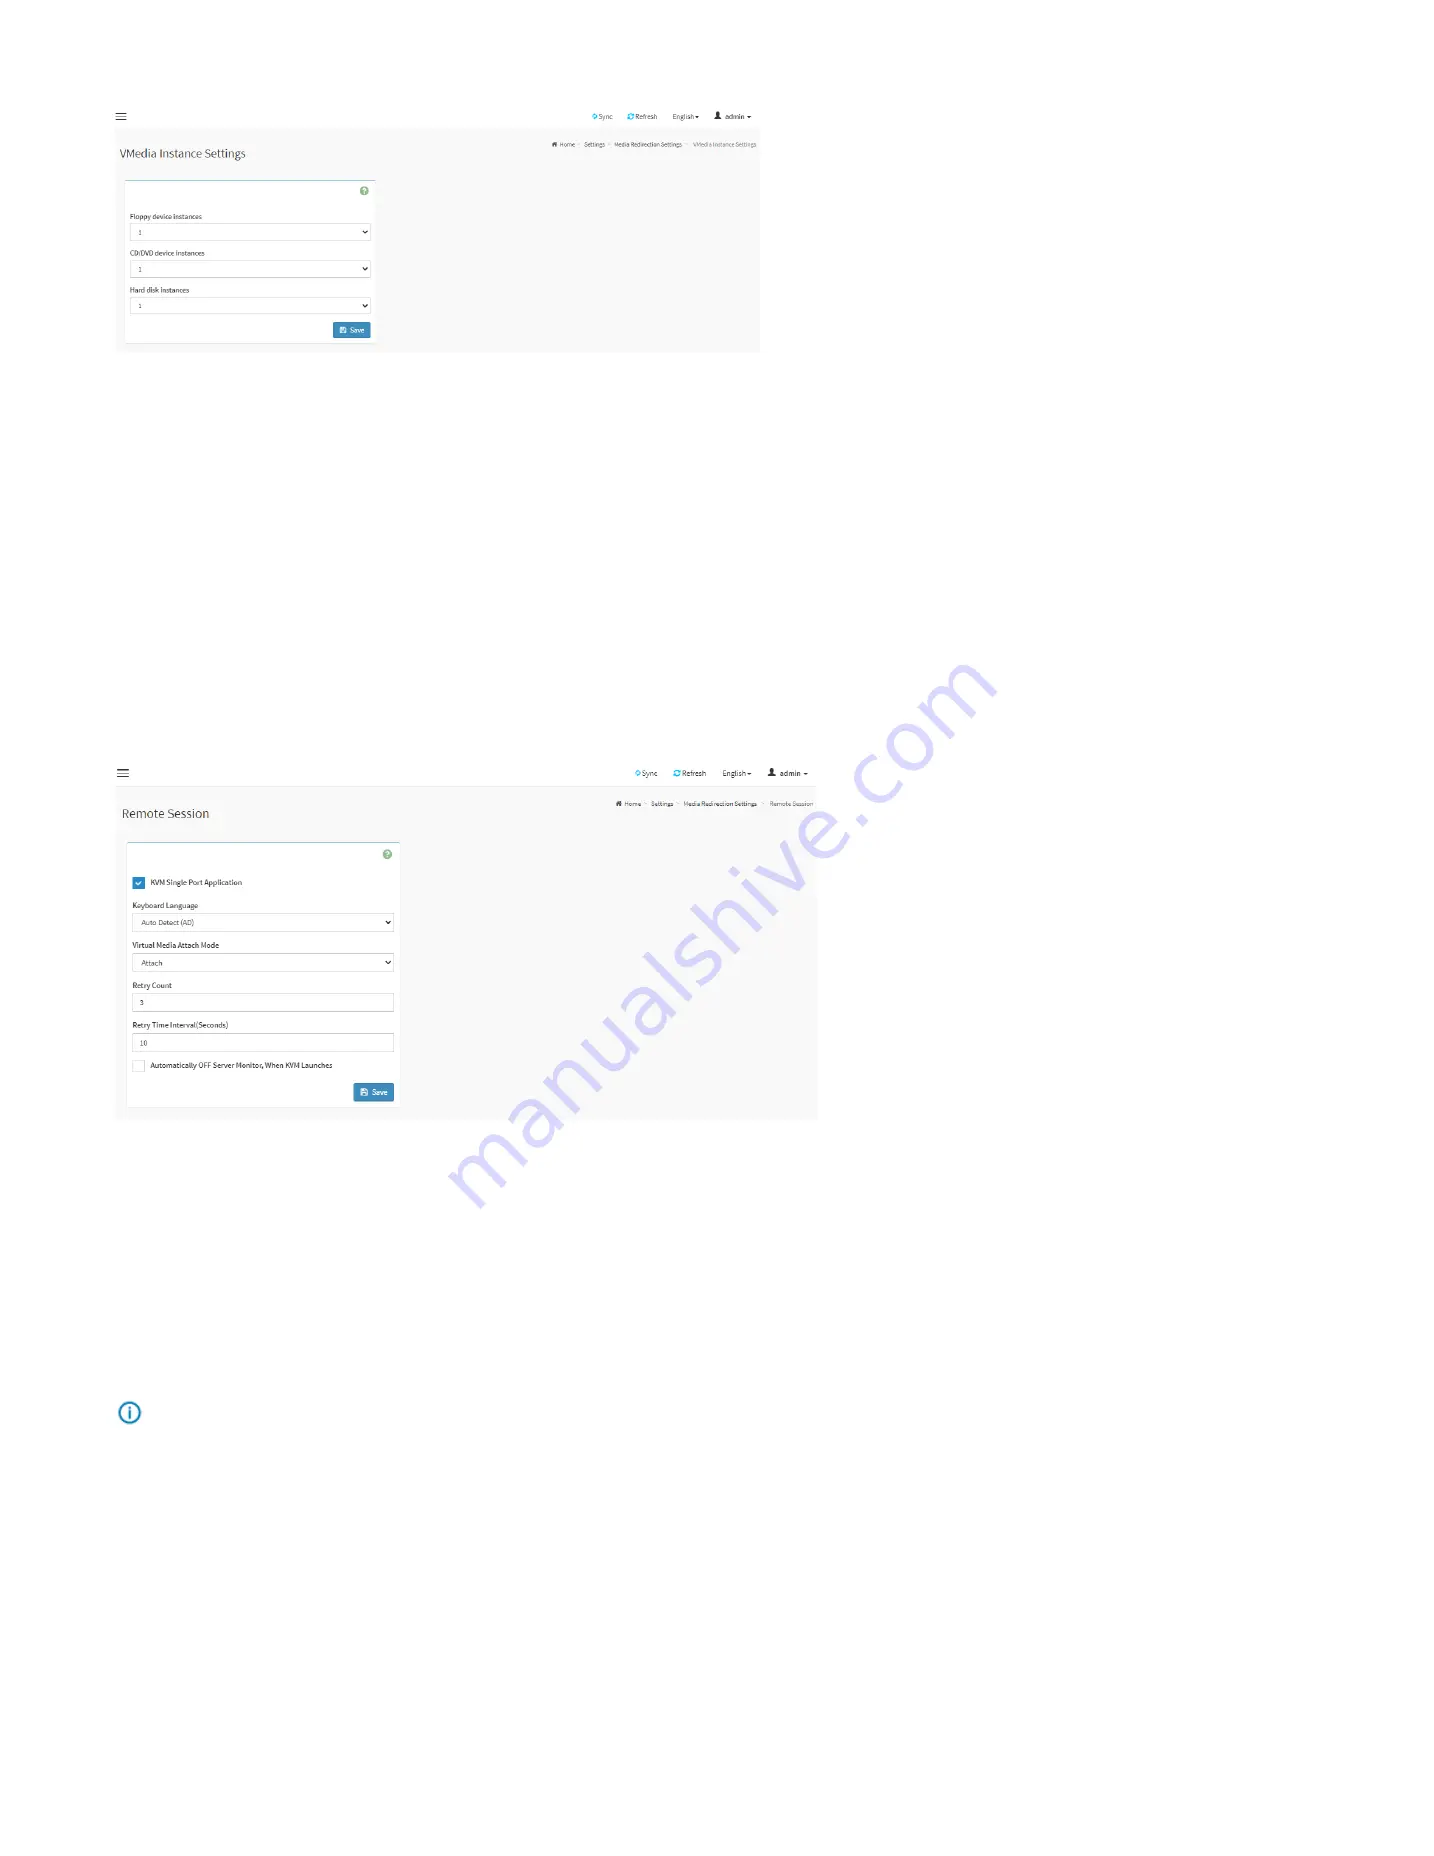
VMedia Instance Settings Page
Floppy device instances:
The number of floppy devices supported for Virtual Media redirection.
CD/DVD device instances:
The number of CD/DVD devices supported for Virtual Media redirection.
Hard disk instances:
The number of hard disk devices supported for Virtual Media redirection.
Encrypt Media Redirection Packets:
Check the box to enable Media Encryption support.
Power Save Mode:
To enable or disable the virtual USB devices visibility in the host. If this option is enabled, Virtual media devices will be connected to the Host machine only at
the instance launching KVM session. If this option is disabled, Virtual media devices will remain connected to the host machine all the time irrespective of KVM session status.
28.7.5.3. Remote Session
This page is used to configure remote session configuration settings.
Remote Session Page
KVM Single Port Application:
Check the box to enable single port support when using JViewer(Java KVM). On changing this configuration, KVM and VMedia Sessions will be
restarted. If this support is enabled, KVM session will not use its dedicated port whereas both Web and KVM sessions will be established only via Web Port. If this support is
disabled, KVM and Web sessions will use their own dedicated ports respectively.
Enable KVM Encryption:
Check the box to enable KVM Encryption for the next redirection session when using JViewer(Java KVM). If KVM Encryption is enabled, the KVM session
will use the Secure port.
Keyboard Language:
This option is used to select the keyboard supported languages for both H5Viewer(HTML5 KVM) and JViewer(Java KVM).
Retry Count:
This option is used to retry the redirection session for certain number of attempts.
Retry Time Interval(Seconds):
This option is used to give time interval for each attempts.
Automatically OFF Server Monitor, When KVM Launches:
Check the box to enable Automatically OFF Server Monitor, When KVM Launches.
Note
:
It will automatically close the existing remote redirection either KVM or Virtual media sessions on Single Port enable/Disable or KVM Encryption Enable/Disable.
Summary of Contents for ORION HF210-G5
Page 1: ...ORION HF210 G5 User Manual...
Page 13: ...12 8 4 Support and Certification Labels...
Page 14: ...13 9 Chassis Layout The following illusration shows inside of the ORION HF210 G5 system...
Page 19: ...18 11 2 Jumper Functionality...
Page 20: ...19...
Page 22: ...21 11 4 Block Diagram...
Page 31: ...30 Step 3 Twist the card and remove from chassis...
Page 37: ...36...
Page 39: ...38 Step 3 Turn over the cage and unscrew 4 screws Step 4 Replace the SSD...
Page 44: ...43 Step 9 Rotate and close the PCIe release latch...
Page 68: ...67 FRU File ID Product Extra...
Page 124: ...123 Step 14 Click on OK Step 15 Wait until the Processing Window completes...
Page 125: ...124 Step 16 Click on Proceed Step 17 Click on OK to proceed the BIOS update...
Page 126: ...125 Step 18 Wait until the BIOS update completes and then click on OK...


