


73
General Settings:
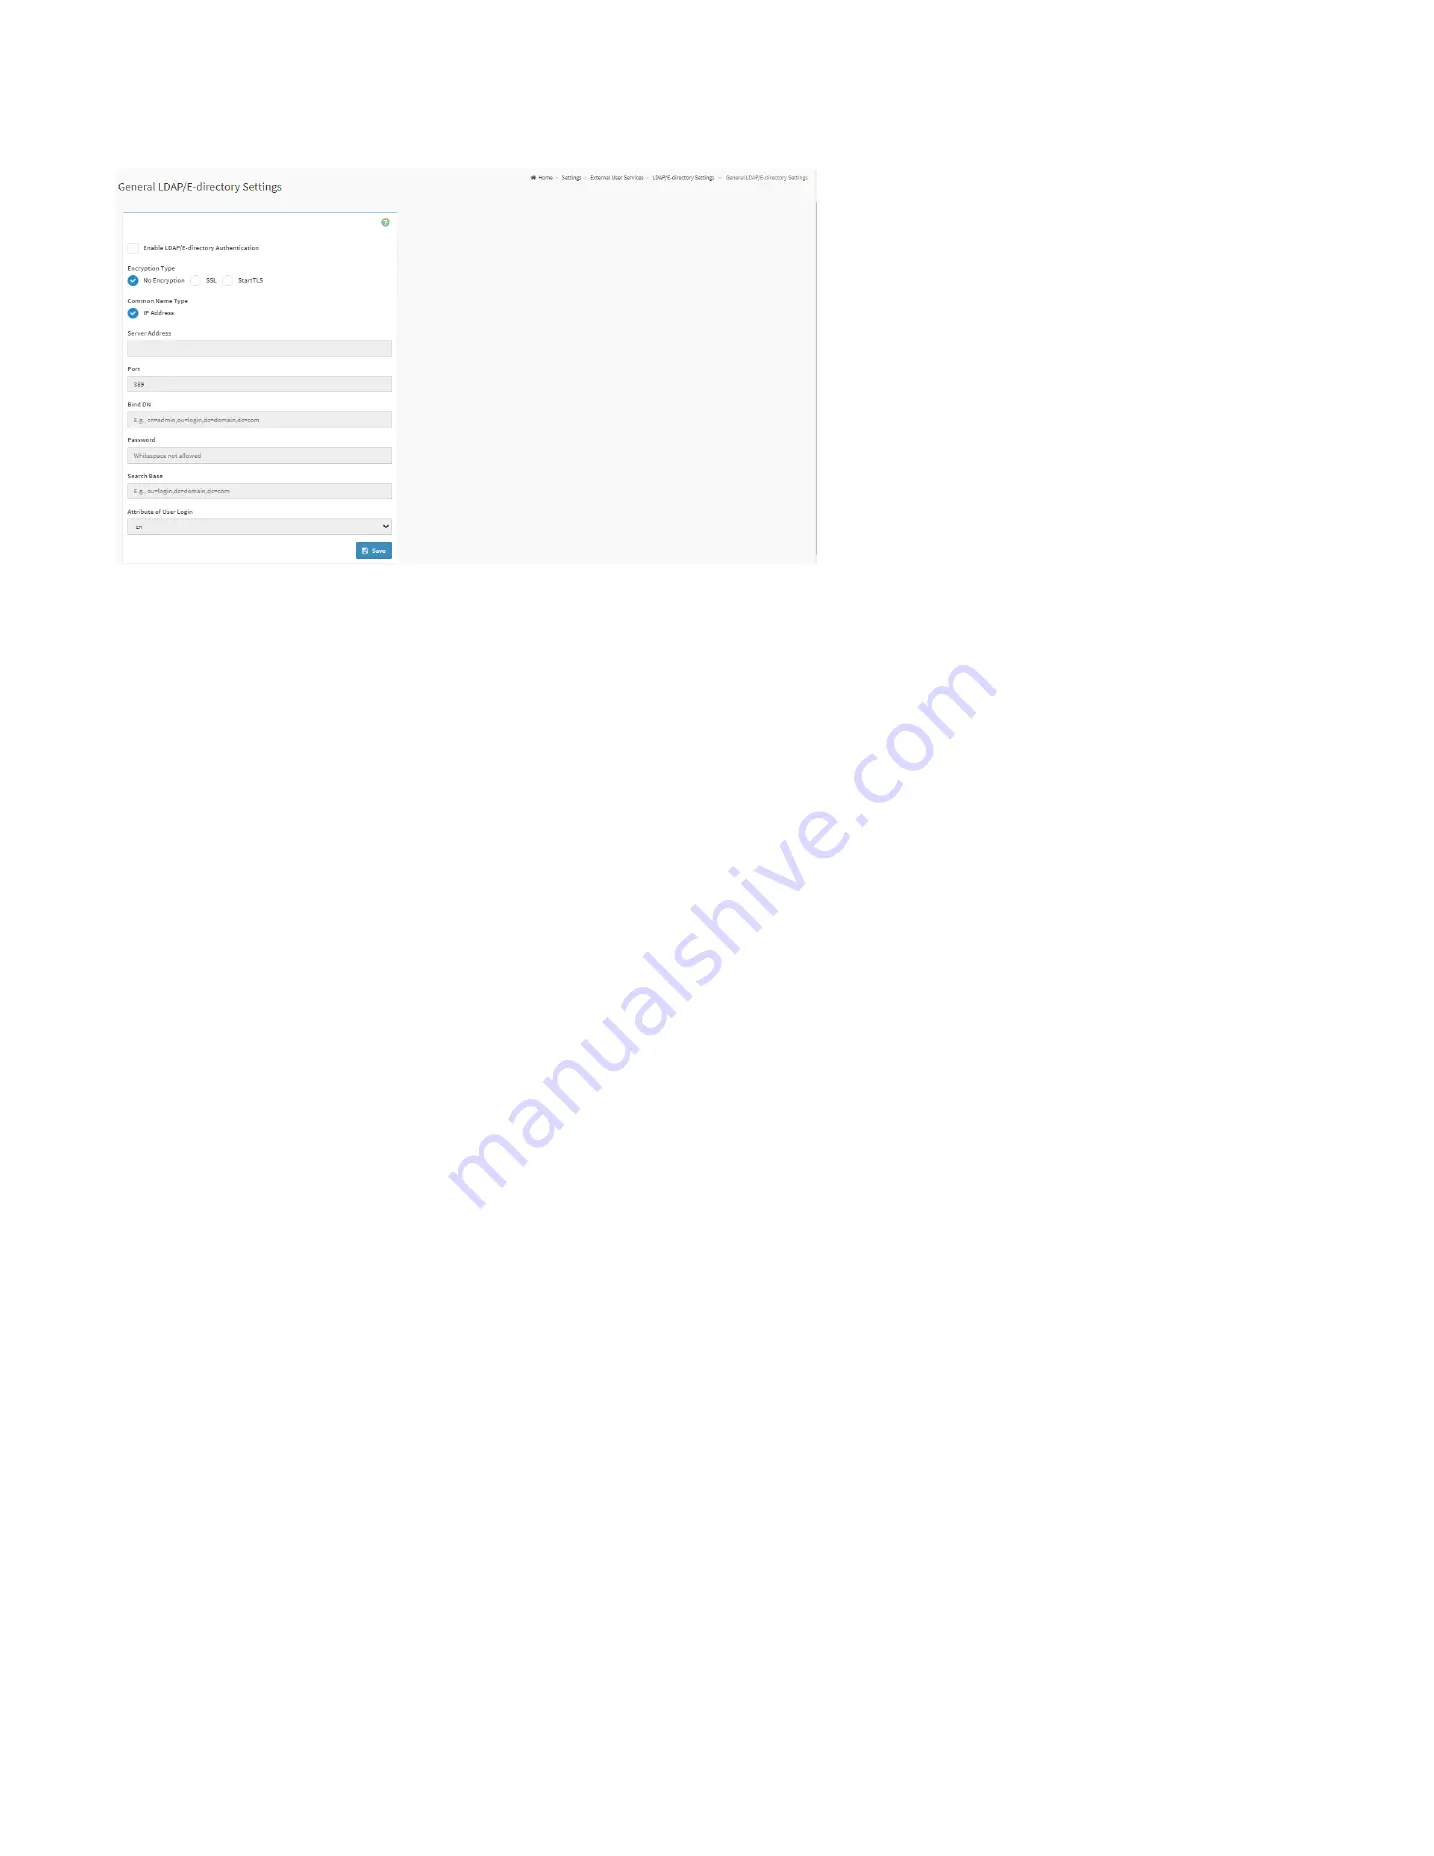
This page is used to configure LDAP/E-Directory settings.
General Settings Page
Enable LDAP/E-Directory Authentication:
Check the box to enable LDAP/E-Directory authentication.
Encryption Type:
Select the encryption type for LDAP/E-Directory.
Common Name Type:
Select the Common Name Type for LDAP/E-Directory.
Server Address:
The IP address (IPv4 or IPv6) of LDAP/E-Directory server.
Port:
The port of LDA/E-Directory server.
Bind DN:
The
Bind DN
is used during bind operation, which authenticates the client to the server.
Password:
The password of LDA/E-Directory server.
Search Base:
The Search base tells the LDAP server which part of the external directory tree to search. The search base may be something equivalent to the organization, group of
external directory.
Attribute of User Login:
To find the LDAP/E-Directory server which attribute should be used to identify the user.
CA Certificate File:
To identify the certificate of the trusted CA certs.
Certificate File:
To find the client certificate filename.
Private Key:
To find the client private key filename.
Summary of Contents for ORION HF210-G5
Page 1: ...ORION HF210 G5 User Manual...
Page 13: ...12 8 4 Support and Certification Labels...
Page 14: ...13 9 Chassis Layout The following illusration shows inside of the ORION HF210 G5 system...
Page 19: ...18 11 2 Jumper Functionality...
Page 20: ...19...
Page 22: ...21 11 4 Block Diagram...
Page 31: ...30 Step 3 Twist the card and remove from chassis...
Page 37: ...36...
Page 39: ...38 Step 3 Turn over the cage and unscrew 4 screws Step 4 Replace the SSD...
Page 44: ...43 Step 9 Rotate and close the PCIe release latch...
Page 68: ...67 FRU File ID Product Extra...
Page 124: ...123 Step 14 Click on OK Step 15 Wait until the Processing Window completes...
Page 125: ...124 Step 16 Click on Proceed Step 17 Click on OK to proceed the BIOS update...
Page 126: ...125 Step 18 Wait until the BIOS update completes and then click on OK...


