TVDR4 – 9 – 16H
22
Once you have entered your title, highlight
Close
and press the button.
Highlight the box beside
Unit ID
and press the button. Change the number by highlighting it
and using the
Up
and
Down
arrow buttons to increase and decrease the number.
After you have created a title, assigned a unit ID number and selected a language, you can save
your changes by highlighting
OK
and pressing the button. Selecting
Cancel
exits the screen
without saving the changes.
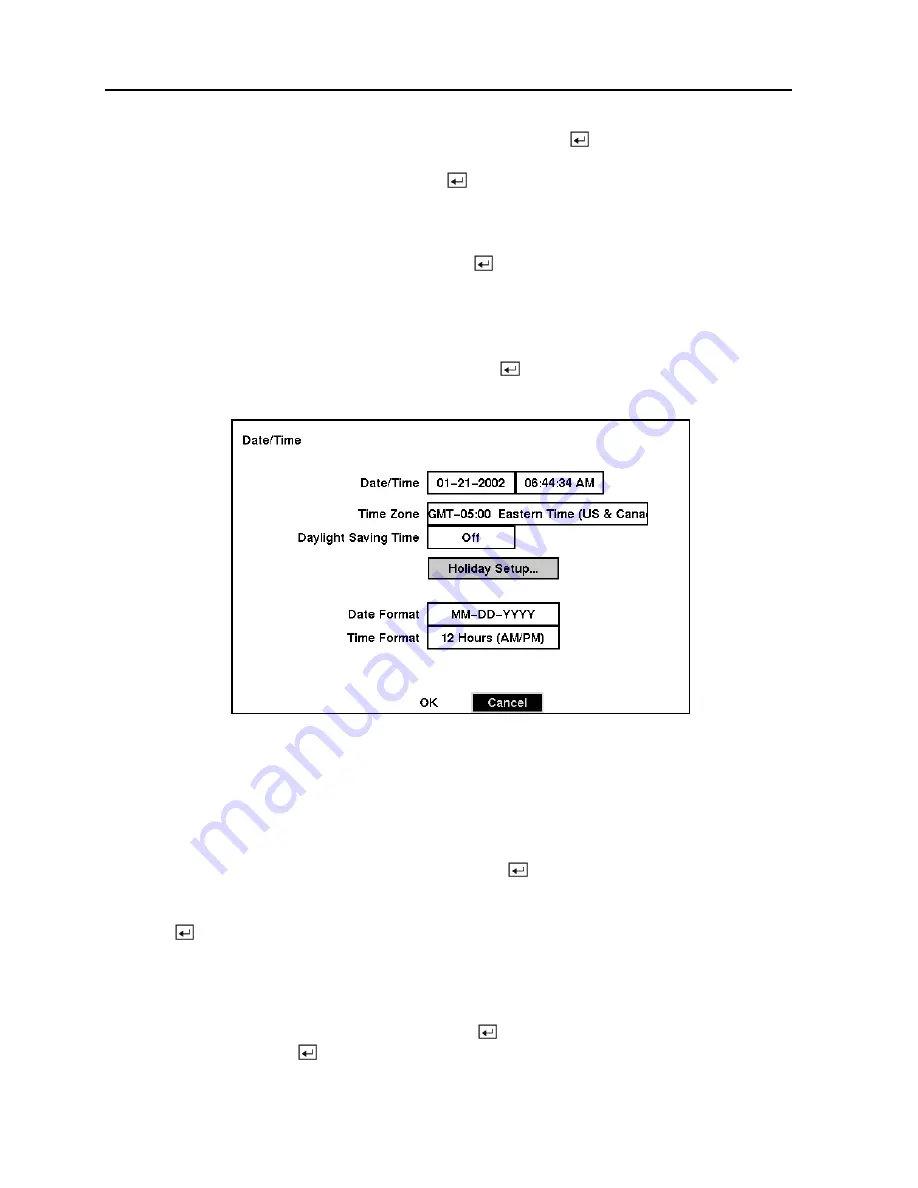
Date/Time Setup
Highlight
Date/Time
in the Main Menu and press the button. The
Date/Time
setup screen
appears.
Figure 26 — Date/Time setup screen.
CAUTION: If you set a date and time that is older than some of your recorded
images, any images with dates and times later than the new setting will be
deleted.
Highlight the first box beside
Date/Time
and press the button. The individual sections of the
date highlight. Use the
Up
and
Down
arrow buttons to change the number. Use the
Left
and
Right
arrow buttons to move between month, date and year. Once you have the correct date,
press the button.
NOTE: The clock will not start running until you have restarted the unit, so you may wish
to set the time last.
Highlight the box beside
Time Zone
and press the button. Select the time zone you are in
from the list and press the button.


