Programmable DC Power Supply (with Solar Array Simulation) 62000H Series
Operating & Programming Manual
3-62
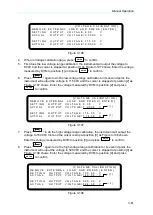
9.
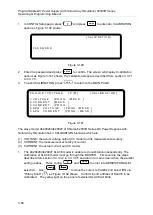
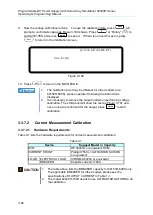
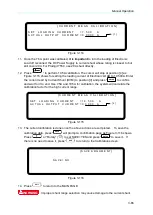
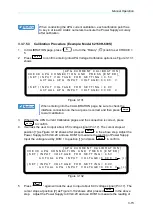
Now the voltage calibration is done. To save the calibration data, press “
SAVE
” will
prompt a confirmation page as Figure 3-109 shows.
Press “
1
” or “Rotary” (
) to
set SAVE=YES and press “
ENTER
” to save it. If there is no need to save it, press
“
EXIT
” to return to the Calibration screen.
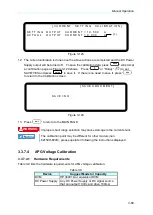
[ S A V E A R G U M E N T ]
S A V E = N O
Figure 3-109
10.
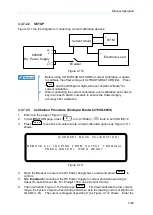
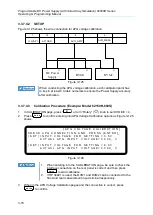
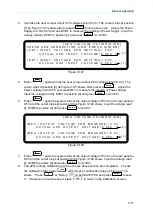
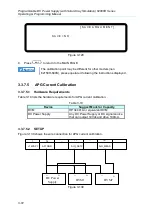
Press “
EXIT
” to return to the MAIN PAGE.
1.
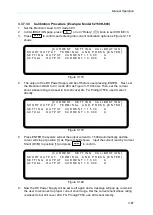
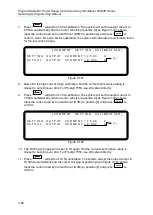
The calibration point may be different for other models (non
62150H-600S), please operate it following the instructions
displayed.
2.
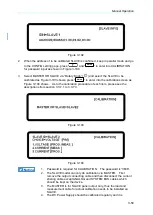
It is necessary to remove the output load when performing voltage
calibration. The LCD panel will show the text as Figure 3-107 and
once no load is confirmed for the output, press “
ENTER
” to start
calibration.
3.3.7.2
Current Measurement Calibration
3.3.7.2.1
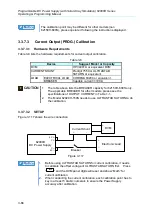
Hardware Requirements
Table 3-7 lists the hardware requirements for current measurement calibration.
Table 3-7
Device
Suggest Model or Capacity
DVM
HP 34401A or equivalent DVM
CURRENT SHUNT
Prodigit 7550 or ULTRASTAB SATURN
or equivalent
LOAD
ELECTRICAL LOAD
CHROMA 63204 or equivalent
BREAKER
Capable current>=100A
CAUTION
1.
The table above lists the BREAKER capacity for 62150H-600S only.
The applicable BREAKER for other models, please see the
specifications of OUTPUT CURRENT in Table 1-1.
2.
The model 62020H-150S needs to use ULTRASTAB SATURN to do
the calibration.

