


89
LW502/LWU502 User's Manual - Operating Guide
020-001057-01 Rev. 1 (06-2016)
OPTION menu
Item
Description
SERVICE
(continued)
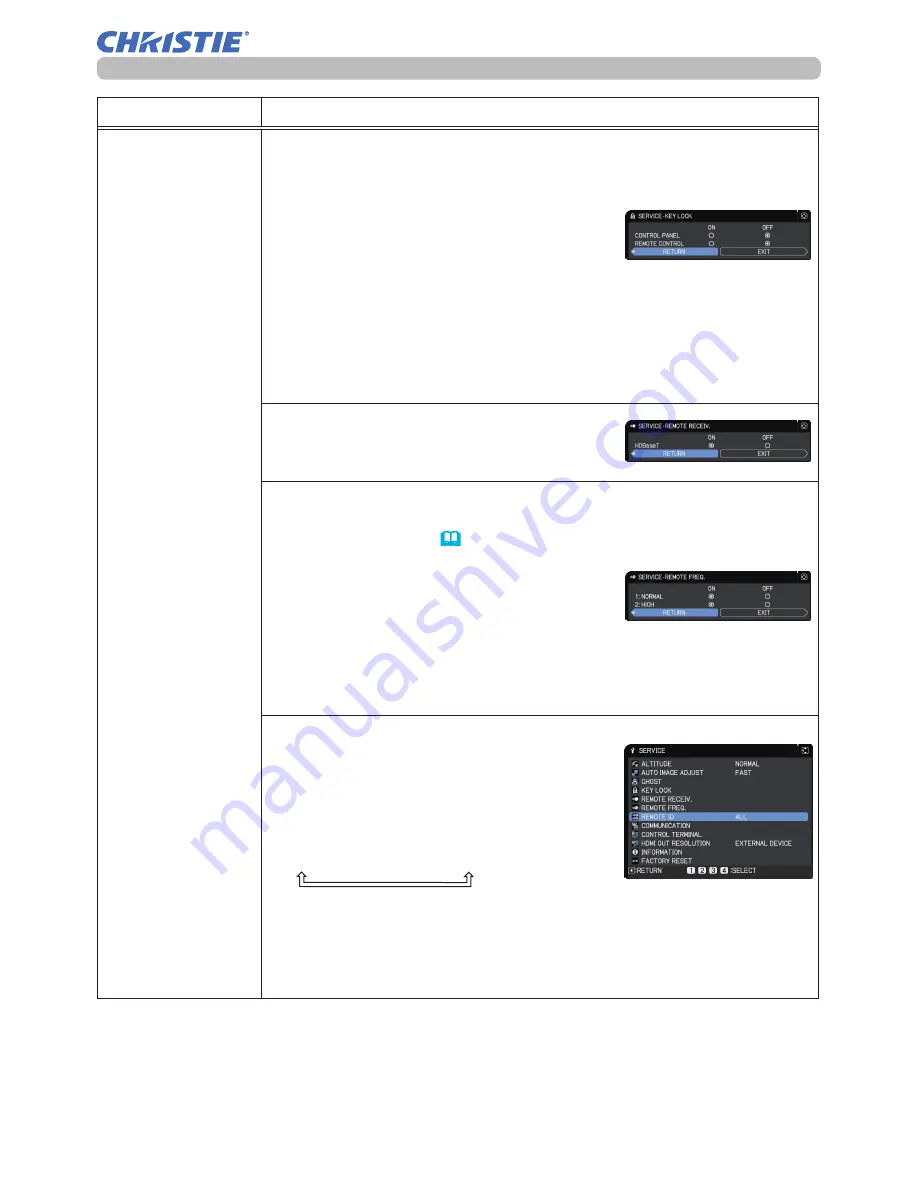
KEY LOCK
(1) Use the ▲/▼ buttons to choose the operations control.
CONTROL PANEL
ó
REMOTE CONTROL
(2) Use the ◄/► buttons to select ON or
OFF.
ON
ó
OFF
Selecting ON in Step 2 locks the buttons except
STANDBY/ON
on
the operations control selected in Step 1.
Selecting OFF releases the locked buttons on the operations
control selected in Step 1.
• Use this function to prevent tampering or accidental operation.
• You cannot disable both options at the same time.
REMOTE RECEIV.
Switch it using the ◄/► button.
ON
ó
OFF
REMOTE FREQ.
(1) Use the ▲/▼ button to change the projector's remote sensor
frequency setting (
4
,
28
).
1:NORMAL
ó
2:HIGH
(2) Use the ◄/► button to change the
projector's remote sensor on or off.
ON
ó
OFF
If the remote control does not function correctly, disable either of
them.
• You cannot disable both options at the same time.
REMOTE ID
This menu is displayed when selecting this
item and pressing any of the ID 1-4 buttons
of the optional remote control.
Use the ▲/▼ buttons on the REMOTE ID
menu to select ID and press the ► button.
ALL
ó
1
ó
2
ó
3
ó
4
The projector is controlled by the remote control whose
ID
button
is set the same number as this number. When the ALL is selected,
the projector is controlled by a remote control irrespective of the ID
setting.
• Available only in optional remote control.
(continued on next page)
Summary of Contents for LW502
Page 1: ...LW502 LWU502 User s Manual detailed Operating Guide 020 001057 01 ...
Page 2: ......
Page 127: ......


