102
Audio Dubbing
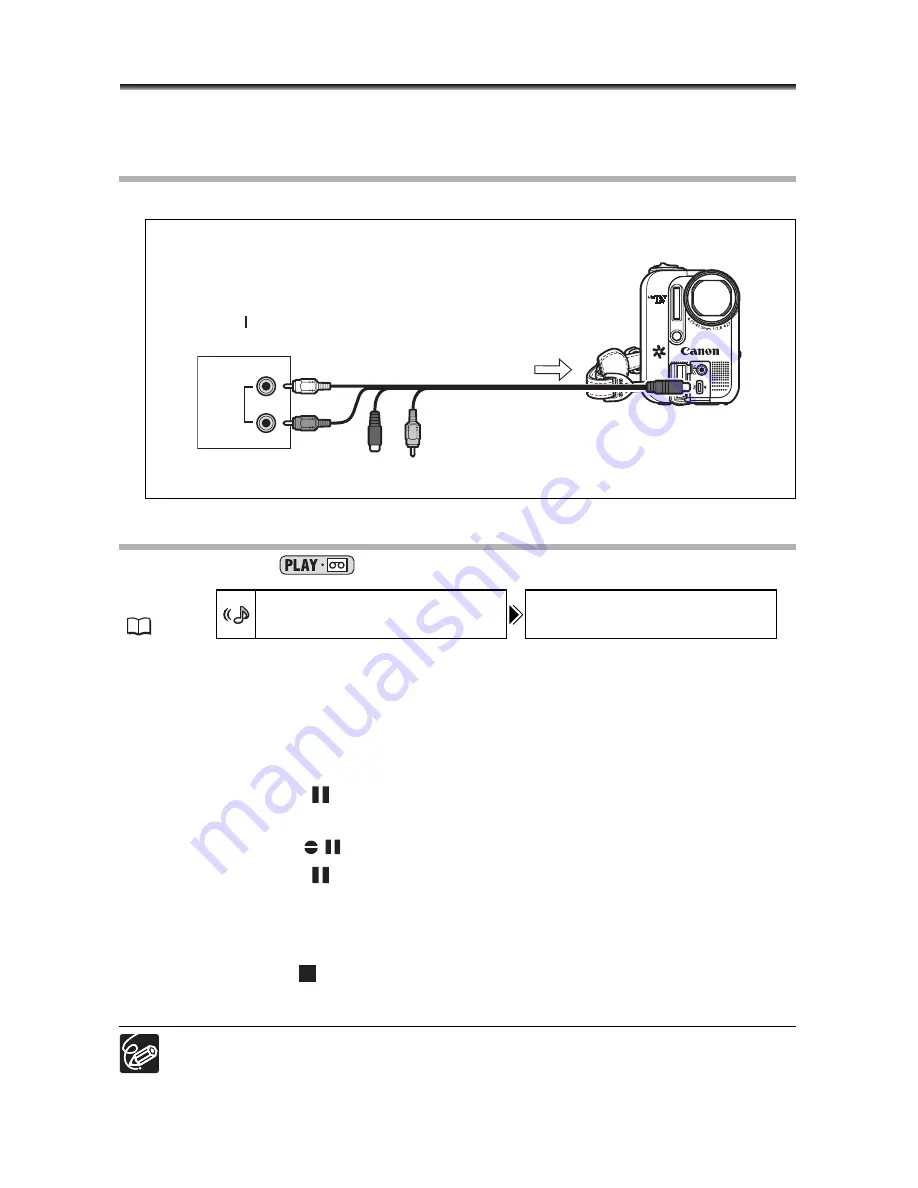
You can add sound from audio devices (AUDIO IN) or with the microphone.
This function is operated with the wireless controller.
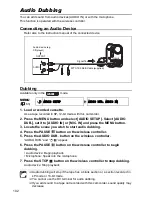
Connecting an Audio Device
Refer also to the instruction manual of the connected device.
Dubbing
Available only in the
mode.
1. Load a recorded cassette.
Use a tape recorded in SP, 12-bit mode with this camcorder.
2. Press the MENU button and select [AUDIO SETUP]. Select [AUDIO
DUB.], set it to [AUDIO IN] or [MIC. IN] and press the MENU button.
3. Locate the scene you wish to start audio dubbing.
4. Press the PAUSE
button on the wireless controller.
5. Press the AUDIO DUB. button on the wireless controller.
“AUDIO DUB.” and “
” appear.
6. Press the PAUSE
button on the wireless controller to begin
dubbing.
• Audio device: Begin playback.
• Microphone: Speak into the microphone.
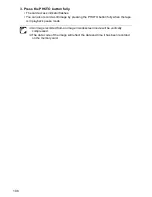
7. Press the STOP
button on the wireless controller to stop dubbing.
Audio device: Stop playback.
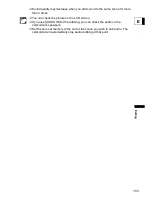
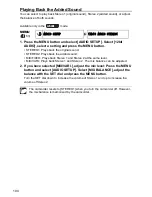
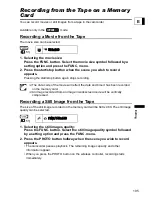
Audio dubbing will stop if the tape has a blank section or a section recorded in
LP mode or 16-bit mode.
You cannot use the DV terminal for audio dubbing.
If you add sound to a tape not recorded with this camcorder, sound quality may
decrease.
MENU
(
63)
AUDIO SETUP
AUDIO DUB. AUDIO IN
AUDIO
R
R
L
Signal flow
MTC-100 Multi Cable (supplied)
Audio device (e.g.
CD player)
OUTPUT
Summary of Contents for opture S1
Page 198: ......

