


Clearing Paper Jams
8-8
8
T
rou
b
les
hoo
tin
g
Fixing Unit (Inside the Main Unit)
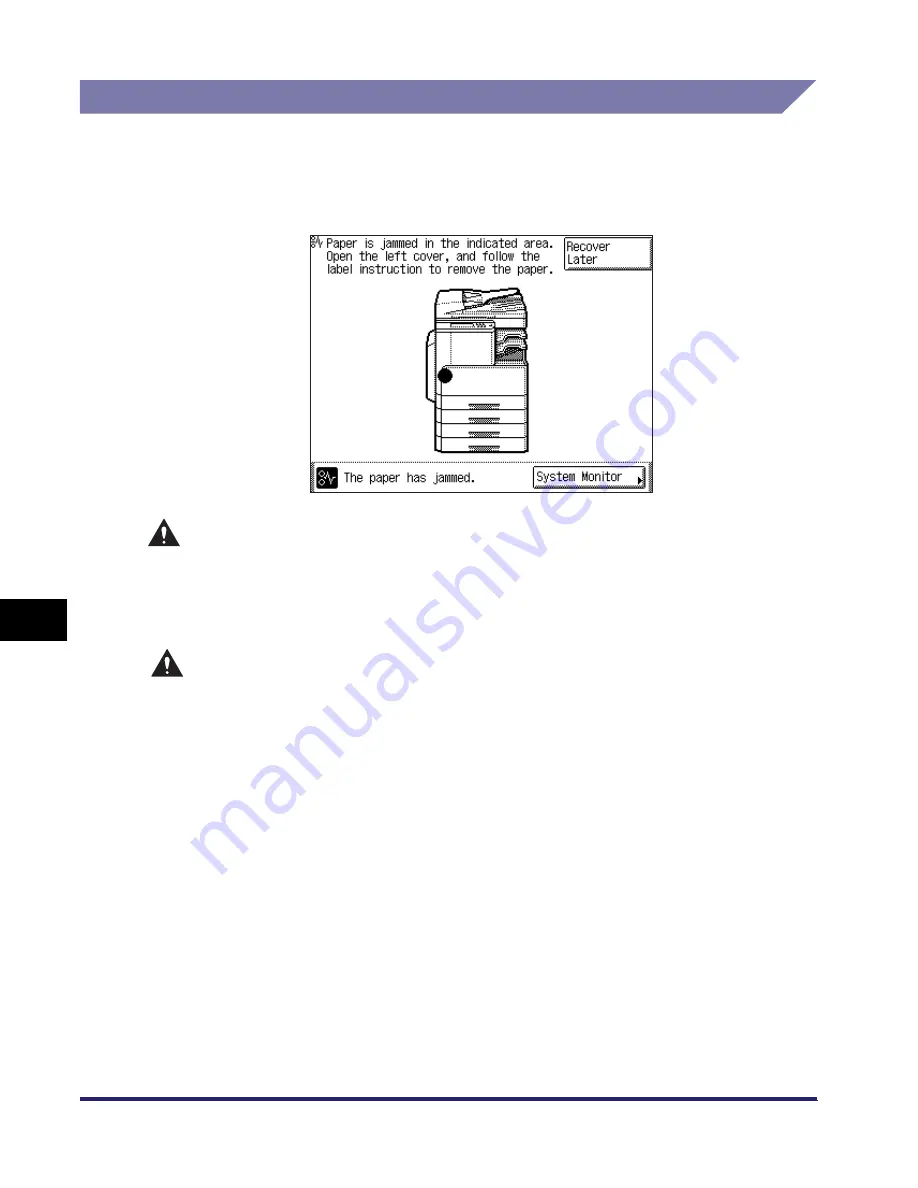
If a paper jam occurs in the fixing unit, a screen similar to the one shown below
appears on the touch panel display. Check the location of the paper jam, and follow
the procedure described below, and the procedure that appears on the touch panel
display, to remove the jammed paper.
WARNING
There are some areas inside the machine which are subject to high-voltages.
When removing jammed paper or when inspecting the inside of the machine, do
not allow necklaces, bracelets, or other metal objects to touch the inside of the
machine, as this may result in burns or electrical shock.
CAUTION
•
The fixing unit and its surroundings inside the machine may become hot during
use. When removing jammed paper or when inspecting the inside of the
machine, do not touch the fixing unit and its surroundings, as doing so may
result in burns or electrical shock.
•
When removing jammed paper, take care not to cut your hands on the edges of
the paper.
•
When removing paper which has become jammed inside the machine, take care
not to allow toner on the jammed paper to come into contact with your hands or
clothing, as this will dirty your hands or clothing. If they become dirty, wash
them immediately with cold water. Washing with warm water will set the toner
and make it impossible to remove the toner stains.
•
When removing paper which has become jammed inside the machine, remove
the jammed paper gently to prevent the toner on the paper from scattering and
getting into your eyes or mouth. If toner gets into your eyes or mouth, wash
them immediately with cold water and immediately consult a physician.
Summary of Contents for iMAGERUNNER 2018i
Page 2: ...imageRUNNER 2030i 2025i 2022i 2018i Reference Guide 0 Ot ...
Page 99: ...Available Paper Stock 2 46 2 Basic Operations ...
Page 122: ...Card Reader E1 3 23 3 Optional Equipment 11 Press OK ...
Page 129: ...Card Reader E1 3 30 3 Optional Equipment 4 Press Done 5 Press OK ...
Page 132: ...Card Reader E1 3 33 3 Optional Equipment 5 Press Done 6 Press OK ...
Page 135: ...Card Reader E1 3 36 3 Optional Equipment ...
Page 341: ...Consumables 7 48 7 Routine Maintenance ...
Page 391: ...Service Call Message 8 50 8 Troubleshooting ...


