Changing the Type of Paper
Follow these steps to change the type of paper specified on the printer after you have loaded paper.
If you continue using the same type of paper and set
Keep media type
to
Enable
, when you load paper, the
media type selected before
Enable
was set is selected automatically, eliminating the need to set the media
type. (See "
Using the Same Type of Paper Regularly
.")
Important
• For best printing results, the printer fine-tunes the print head height and the feed amount for each type
•
of paper. Be sure to select the type of paper to use correctly before printing.
• Because the printer fine-tunes the feed amount for each type of paper, the margins and the size of
•
printed images may vary depending on the type of paper used. If margins and the size of images are
not as you expected, adjust the paper feed amount.
(See "
• Rolls and sheets have different printing areas, and sheets having a larger bottom margin than rolls.
•
(See "
Changing the Type of Paper
Note
• When you load roll paper, a menu for selecting the media type appears on the operation panel. Tap
•
the media type.
If no barcode has been printed on the roll paper and you have set
Manage remaining roll amount
to
Barcodes
, specify the roll length after selecting the media type. (See "
.")
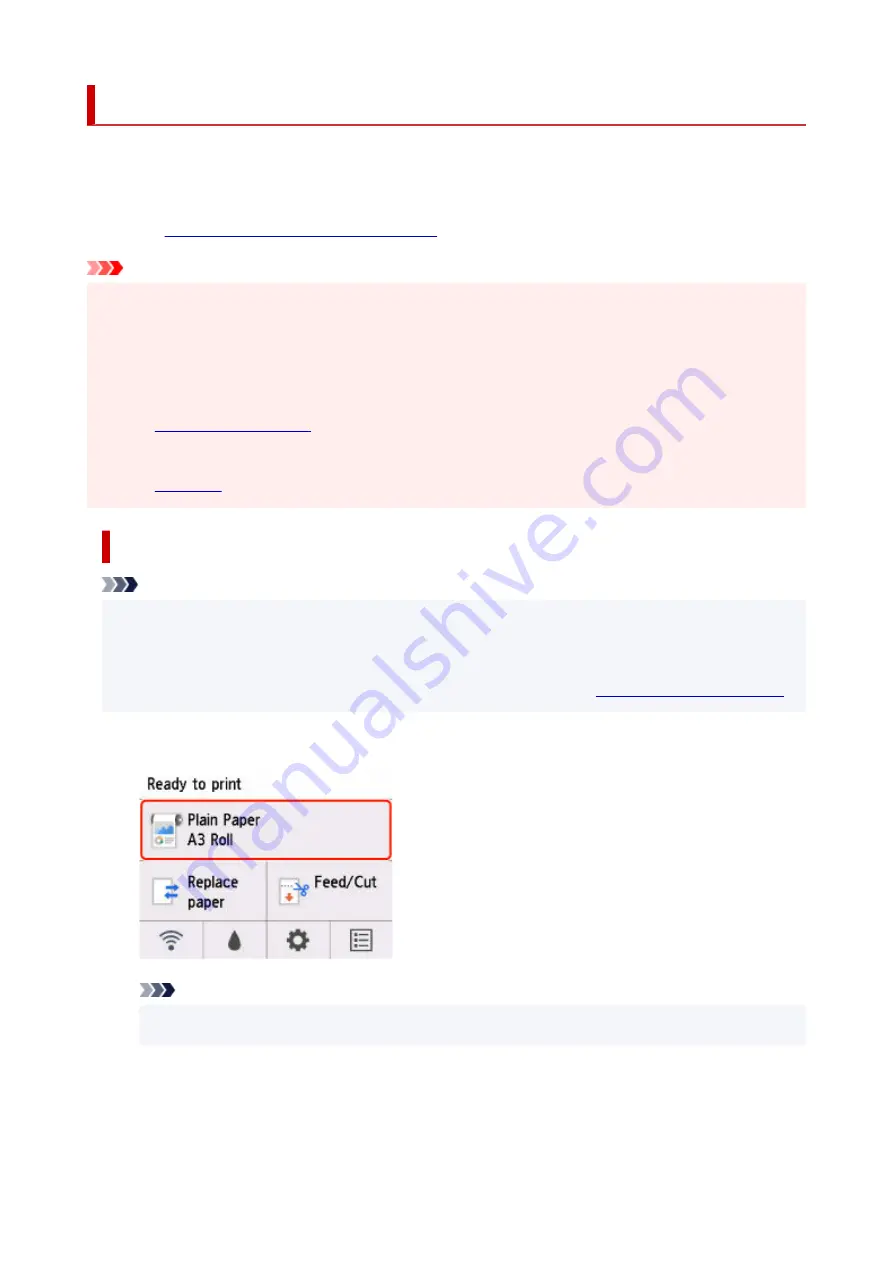
1.
Tap paper settings display area on Home screen of operation panel.
1.
Note
• If the Home screen does not appear, press the
HOME
button.
•
2.
Tap
Paper settings
.
2.
3.
Tap
Type
.
3.
92
Summary of Contents for imagePROGRAF GP-300
Page 1: ...GP 300 GP 200 GP 5300 GP 5200 Online Manual English ...
Page 17: ...B510 840 ...
Page 50: ...Optional accessories Stand Roll Holder Set 50 ...
Page 59: ...Start printing Important Do not move the release lever during printing 59 ...
Page 68: ...Note The screen may differ slightly depending on the model you are using 68 ...
Page 70: ...Pausing Printing Pausing Printing 70 ...
Page 86: ...86 ...
Page 117: ...5 Tap ON 5 117 ...
Page 127: ...127 ...
Page 128: ...Basket Using the Basket 128 ...
Page 192: ...Data on the hard disk are erased 192 ...
Page 222: ...3 Select OK 3 The resending setting is completed 222 ...
Page 282: ...Adjusting Feed Amount Adjusting Feed Amount Adjusting Vacuum Strength 282 ...
Page 298: ...Note For instructions on replacing the ink tanks see Replacing Ink Tanks 298 ...
Page 306: ...306 ...
Page 330: ...Cutter Blade Cutter Blade Replacing the Cutter Blade 330 ...
Page 346: ...346 ...
Page 357: ...Specifications Specifications Print Area 357 ...
Page 404: ...Adjusting Color Balance Adjusting Brightness Adjusting Contrast 404 ...
Page 460: ...Printing from Printer Printing Data Saved on USB Flash Drive 460 ...
Page 482: ...Printer Driver Windows Printer Driver macOS Printer Driver 482 ...
Page 499: ...Adjusting Color Balance Adjusting Brightness Adjusting Contrast 499 ...
Page 530: ...3 Select Save in Job Box in Output Method 3 530 ...
Page 531: ...531 ...
Page 543: ...5 In the list select the target job 5 6 Select Edit 6 7 Select Delete 7 8 Select Yes 8 543 ...
Page 558: ...Media Type Selection does not Match Loaded Media Type 558 ...
Page 583: ...583 ...
Page 618: ...Cleaning the Printer Exterior 618 ...
Page 620: ...Move the printer to a different environment or let the paper dry before rolling it 620 ...
Page 691: ...1201 Cause The ink tank cover is open What to Do Close the ink tank cover 691 ...
Page 692: ...1210 Cause The ink tank cover is open What to Do Close the ink tank cover 692 ...
Page 718: ...1500 Cause The ink in the ink tank is running low What to Do Prepare a new ink tank 718 ...
Page 791: ...Contact your Canon dealer for assistance 791 ...


