Page 26
Series 90 Setup Manual
TESTDIAG MENUS
TestDiag has four menus of commands for setting up and running self tests or system
diagnostics. As in other Windows applications, commands that do not apply to the situation at
the time the menu is opened are grayed out and cannot be selected. Commands in bold, below,
are TestDiag-specific commands. All other commands are familiar Windows commands. These
menus and commands are as follows:
File
Tester
View
Help
Diagnose System
Status Bar
About TestDiag
Print Preview
Settings
Print Setup
Reset
Exit
File Menu
Select File from the Menu Bar to display the File Menu. The File Menu commands are similar
to other Windows applications for controlling the printer and for closing down or exiting from
the TestDiag program.
Tester Menu
The Tester Menu has operating commands relating to the selecting and testing of a Cablescan
continuity tester. For the standalone testers such as the Model 64 through TestMate, TestDiag
commands the testers to run their built-in self test function ( the same test that is run when
selected from tester front panel controls).
Diagnose System
The Diagnose System command initiates the test according to the selections checked. The
test can also be initiated by the button in the middle of the screen labeled
DIAG
.
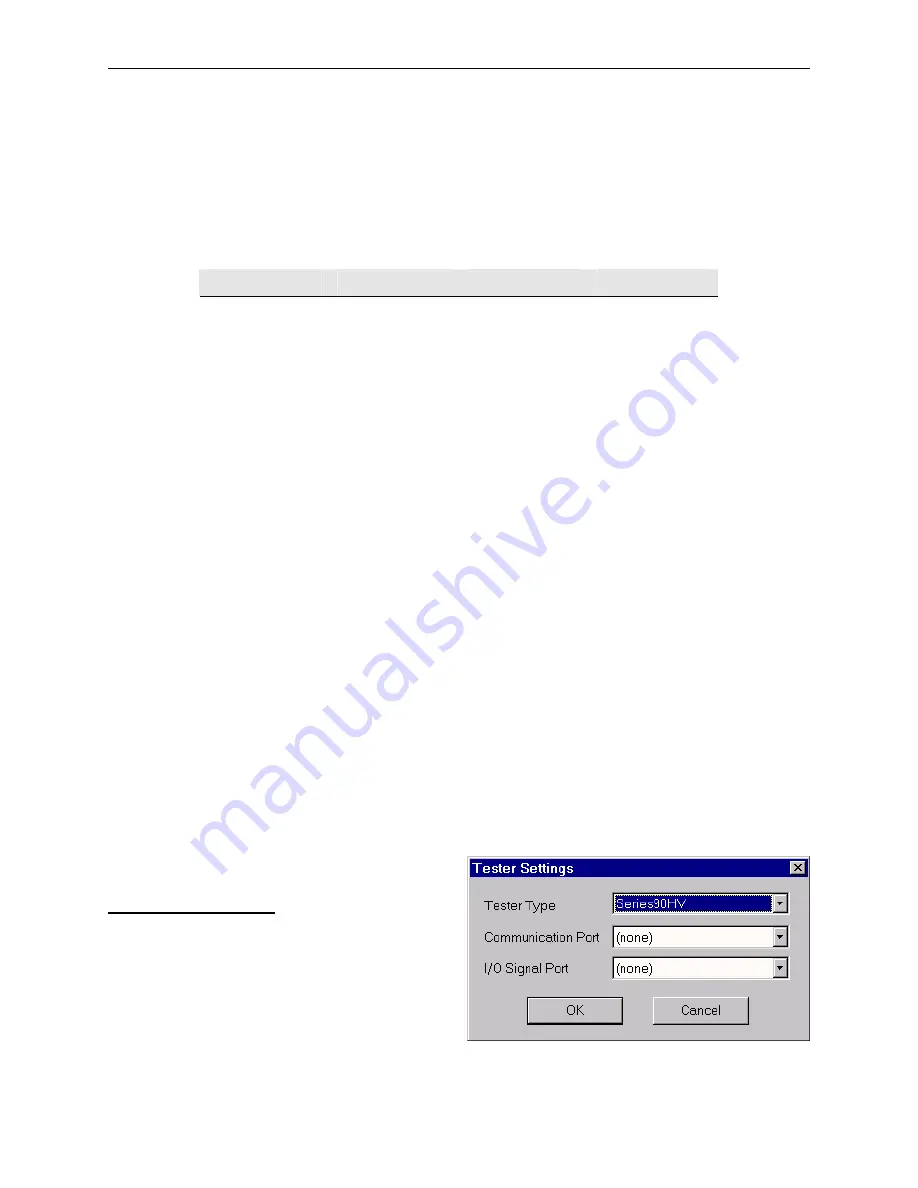
Settings
The Settings command opens a Tester Settings dialog box for specifying the type of tester
connected, the communication (COM) port used on the PC, and the I/O signal port. These
settings are described below.
Setting Tester Type
Specifies the type of tester that is connected.
Tester Type is selected by clicking the drop-
down list. The Status bar on the TestDiag
screen will display the selected tester model.
Summary of Contents for 90 Series
Page 1: ...Cablescan Series 90 SETUP MANUAL 90 90 ...
Page 2: ......
Page 56: ......
Page 57: ...5900407 Rev D Cablescan ...


