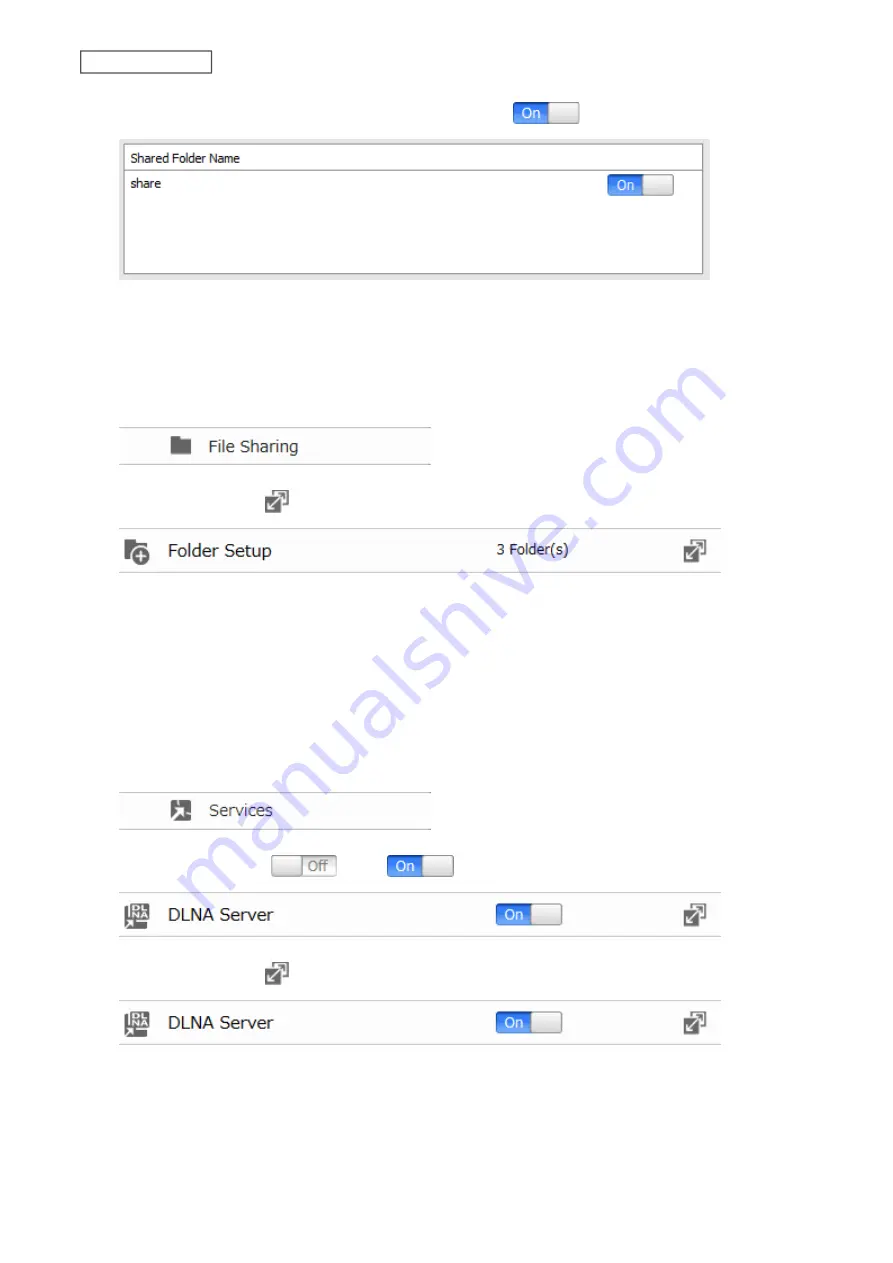
3
Move the switch for the folder you’ll use for DLNA media to the
position as well.
4
Click
Apply
.
Using a Computer (Advanced Settings)
1
From Advanced Settings, click
File Sharing
.
2
Click the settings icon (
) to the right of “Folder Setup”.
3
Select the folder that you want to share with media players and other DLNA-compatible devices.
4
Click
Edit
.
5
Under “LAN Protocol Support”, select the “DLNA” checkbox and click
OK
.
6
Click
Close
.
7
Click
Services
.
8
Move the DLNA switch (
) to the
position to enable DLNA.
9
Click the settings icon (
) to the right of “DLNA Server”.
10
Click
Edit
.
98
Chapter 6 Multimedia
Summary of Contents for LinkStation 200 Series
Page 27: ...4 Configure the desired settings then click OK 26 Chapter 2 File Sharing...
Page 28: ...Using a Mobile Device 1 From Settings tap Folder Setup 27 Chapter 2 File Sharing...
Page 29: ...2 Tap Create Folder 28 Chapter 2 File Sharing...
Page 33: ...4 Enter the desired settings then click OK 32 Chapter 2 File Sharing...
Page 34: ...Using a Mobile Device 1 From Settings tap Users 33 Chapter 2 File Sharing...
Page 35: ...2 Tap Create User 34 Chapter 2 File Sharing...
Page 38: ...3 Click Add Group 37 Chapter 2 File Sharing...
Page 42: ...Using a Mobile Device 1 From Settings tap Folder Setup 41 Chapter 2 File Sharing...
Page 43: ...2 Tap the shared folder that you want to set access restrictions for 42 Chapter 2 File Sharing...
Page 74: ...73 Chapter 4 Remote Access...
Page 90: ...6 Click Time Machine 89 Chapter 5 Backup...
Page 91: ...7 Click Select Backup Disk 8 Select the shared folder then click Use Disk 90 Chapter 5 Backup...


