1
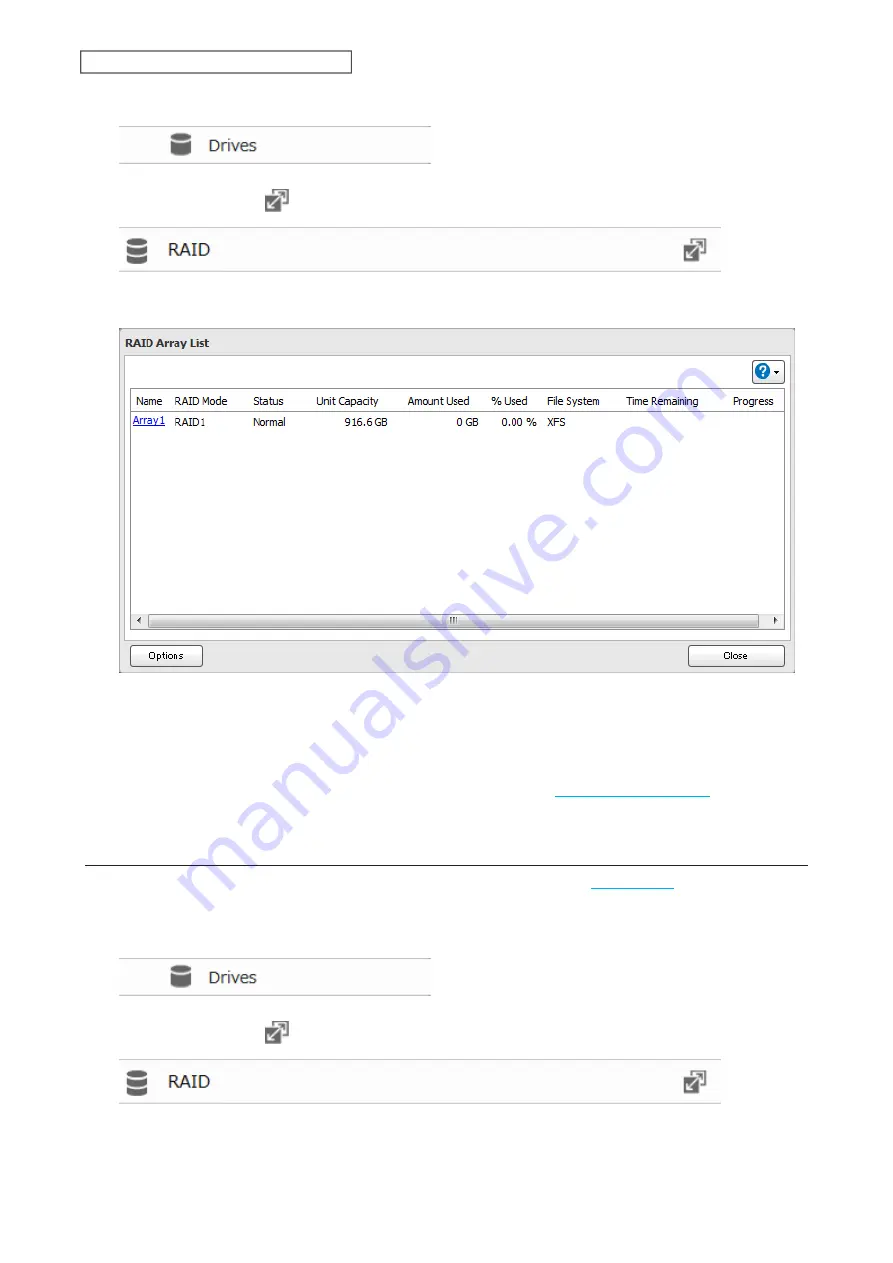
From Advanced Settings, click
Drives
.
2
Click the settings icon (
) to the right of “RAID”.
3
Click
Array1
.
4
Click
Delete RAID Array
.
5
The “Confirm Operation” screen will open. Enter the confirmation number, then click
OK
.
6
Click
OK
when finished. Next, create a shared folder by referring to the
section in
chapter 2.
Creating a RAID Array
Before creating a new RAID array, first put the drives into JBOD by referring to the
section above. Then,
follow the procedure below.
1
From Advanced Settings, click
Drives
.
2
Click the settings icon (
) to the right of “RAID”.
53
Chapter 3 RAID Modes and Drive Management
Summary of Contents for LinkStation 200 Series
Page 27: ...4 Configure the desired settings then click OK 26 Chapter 2 File Sharing...
Page 28: ...Using a Mobile Device 1 From Settings tap Folder Setup 27 Chapter 2 File Sharing...
Page 29: ...2 Tap Create Folder 28 Chapter 2 File Sharing...
Page 33: ...4 Enter the desired settings then click OK 32 Chapter 2 File Sharing...
Page 34: ...Using a Mobile Device 1 From Settings tap Users 33 Chapter 2 File Sharing...
Page 35: ...2 Tap Create User 34 Chapter 2 File Sharing...
Page 38: ...3 Click Add Group 37 Chapter 2 File Sharing...
Page 42: ...Using a Mobile Device 1 From Settings tap Folder Setup 41 Chapter 2 File Sharing...
Page 43: ...2 Tap the shared folder that you want to set access restrictions for 42 Chapter 2 File Sharing...
Page 74: ...73 Chapter 4 Remote Access...
Page 90: ...6 Click Time Machine 89 Chapter 5 Backup...
Page 91: ...7 Click Select Backup Disk 8 Select the shared folder then click Use Disk 90 Chapter 5 Backup...


