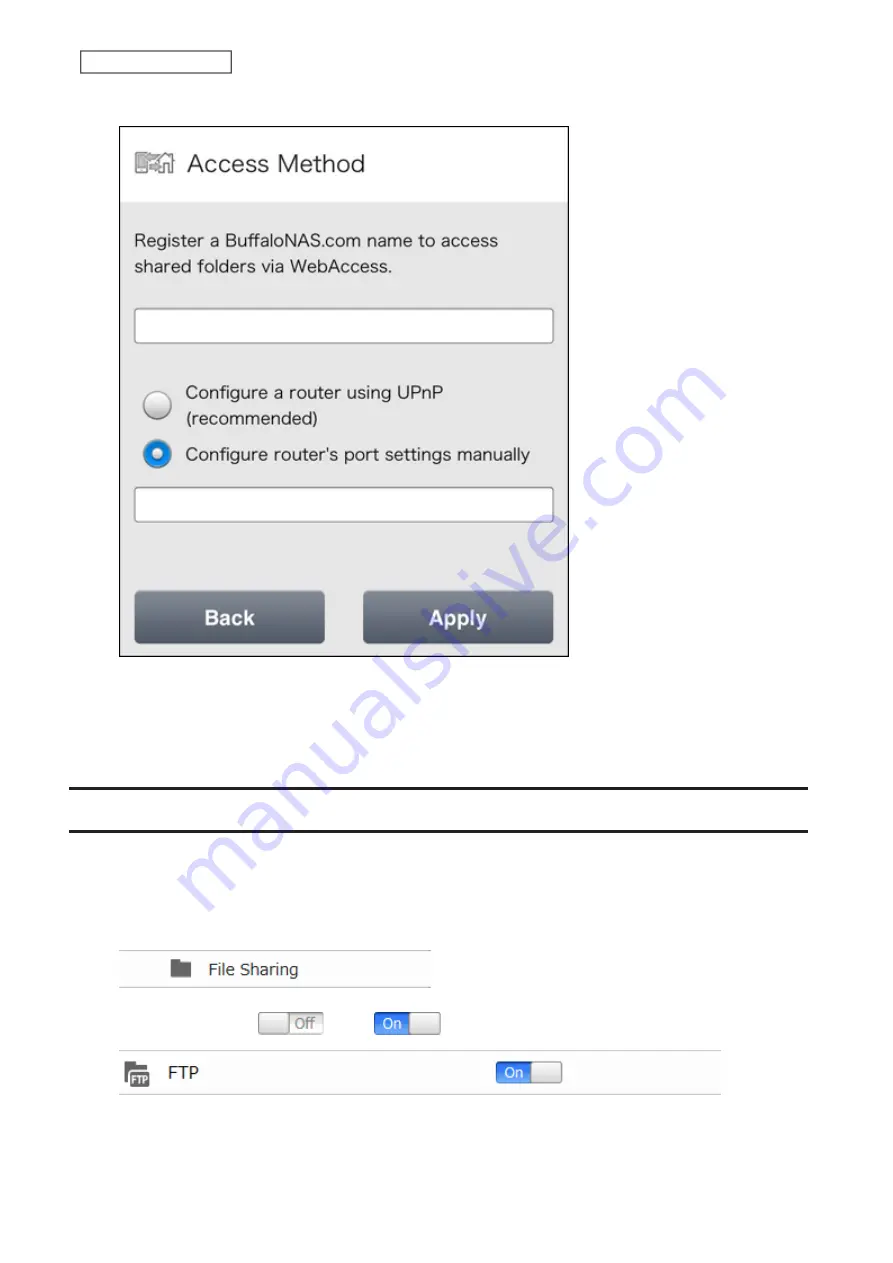
2
Enter the desired BuffaloNAS.com name.
3
Select “Configure router's port settings manually”, enter the router’s port number, and tap
Apply
.
4
When configuring the required settings on the Buffalo NAS device is finished, next configure the router using
the port number set at step 3 above.
FTP
By default, the LinkStation’s shares are only accessible by users connected to the same network or router as the
LinkStation. The optional FTP server allows users outside the local network to access the LinkStation.
Note:
FTP is intended for users who already have FTP client software and have experience with it.
1
From Advanced Settings, click
File Sharing
.
2
Move the FTP switch (
) to the
position to enable FTP.
77
Chapter 4 Remote Access
Summary of Contents for LinkStation 200 Series
Page 27: ...4 Configure the desired settings then click OK 26 Chapter 2 File Sharing...
Page 28: ...Using a Mobile Device 1 From Settings tap Folder Setup 27 Chapter 2 File Sharing...
Page 29: ...2 Tap Create Folder 28 Chapter 2 File Sharing...
Page 33: ...4 Enter the desired settings then click OK 32 Chapter 2 File Sharing...
Page 34: ...Using a Mobile Device 1 From Settings tap Users 33 Chapter 2 File Sharing...
Page 35: ...2 Tap Create User 34 Chapter 2 File Sharing...
Page 38: ...3 Click Add Group 37 Chapter 2 File Sharing...
Page 42: ...Using a Mobile Device 1 From Settings tap Folder Setup 41 Chapter 2 File Sharing...
Page 43: ...2 Tap the shared folder that you want to set access restrictions for 42 Chapter 2 File Sharing...
Page 74: ...73 Chapter 4 Remote Access...
Page 90: ...6 Click Time Machine 89 Chapter 5 Backup...
Page 91: ...7 Click Select Backup Disk 8 Select the shared folder then click Use Disk 90 Chapter 5 Backup...


