7
Click
Add
.
8
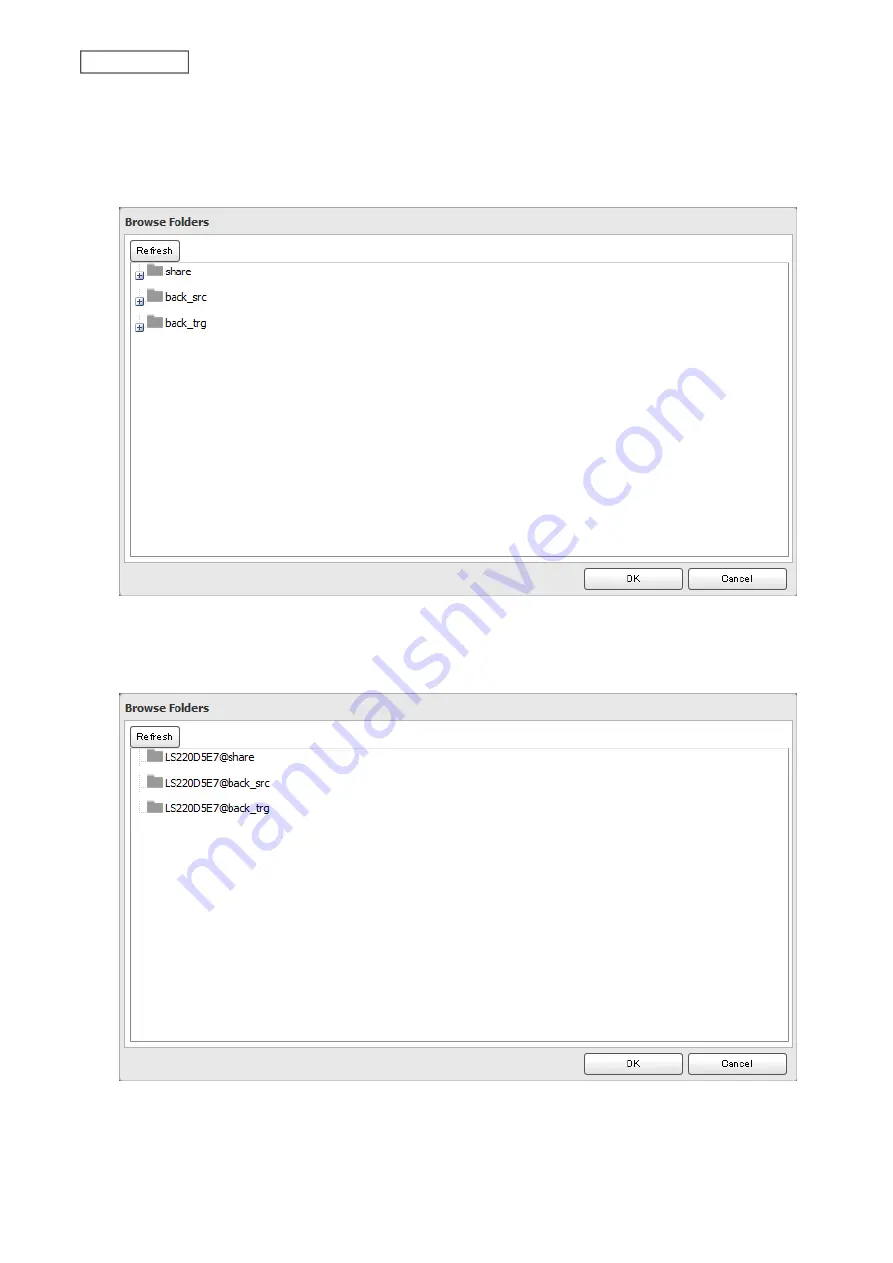
Click
Browse
under “Backup Source Folder Name”.
9
Select the shared folder that will be the backup source, then click
OK
.
10
Click
Browse
under “Backup Target Folder Name”.
11
Select the shared folder that will be the backup destination, then click
OK
.
12
Click
OK
. The backup job will be added to the backup jobs list.
84
Chapter 5 Backup
Summary of Contents for LinkStation 200 Series
Page 27: ...4 Configure the desired settings then click OK 26 Chapter 2 File Sharing...
Page 28: ...Using a Mobile Device 1 From Settings tap Folder Setup 27 Chapter 2 File Sharing...
Page 29: ...2 Tap Create Folder 28 Chapter 2 File Sharing...
Page 33: ...4 Enter the desired settings then click OK 32 Chapter 2 File Sharing...
Page 34: ...Using a Mobile Device 1 From Settings tap Users 33 Chapter 2 File Sharing...
Page 35: ...2 Tap Create User 34 Chapter 2 File Sharing...
Page 38: ...3 Click Add Group 37 Chapter 2 File Sharing...
Page 42: ...Using a Mobile Device 1 From Settings tap Folder Setup 41 Chapter 2 File Sharing...
Page 43: ...2 Tap the shared folder that you want to set access restrictions for 42 Chapter 2 File Sharing...
Page 74: ...73 Chapter 4 Remote Access...
Page 90: ...6 Click Time Machine 89 Chapter 5 Backup...
Page 91: ...7 Click Select Backup Disk 8 Select the shared folder then click Use Disk 90 Chapter 5 Backup...


