6
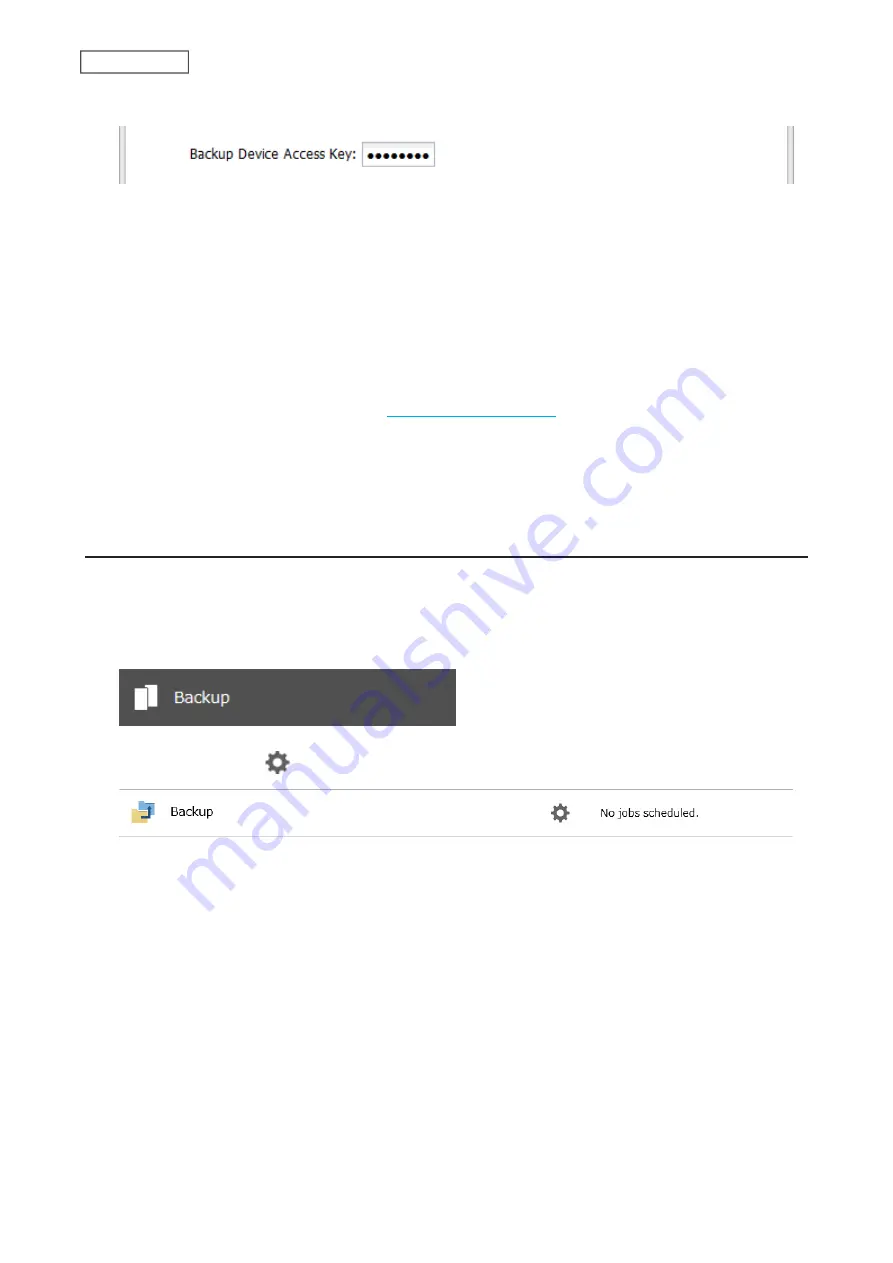
Enter the desired characters into the backup device access key field and click
OK
.
Note:
You may leave this field blank if you do not want a backup device access key, but for security reasons
we highly recommend entering one for the shared folder. If a backup device access key is configured for the
shared folder, that folder will not show up as a target for the backup source or destination when configuring a
backup job on another Buffalo NAS device unless it’s entered. You may create multiple folders using different
backup device access keys for backup, but only one access key can be used on the LinkStation. Folders that are
configured with a different access key cannot be used.
A backup destination has been created.
Note:
If you want to back up to a Buffalo NAS device on another network, follow the procedure below to add the
Buffalo NAS device so it can be used as a backup destination.
(1) Create a new backup job by referring to the
section below.
(2) On the screen that allows you to select a shared folder, click
List of Servers
.
(3) Click
Add
; enter the IP address or hostname of the destination Buffalo NAS device, then click
OK
.
(4) Click
Close
when finished.
(5) Click
Refresh
and make sure the desired Buffalo NAS device has been added to the list.
Configuring a Backup Job
You can configure backup jobs by using another shared folder on the Buffalo NAS device or a USB drive connected
to the LinkStation as a destination. You can also back up to a Buffalo NAS device on another network as long as the
two networks are connected by a VPN or the route is configured properly.
1
From Settings, click
Backup
.
2
Click the settings icon (
) to the right of “Backup”.
70
Chapter 4 Backup
Summary of Contents for Link Station LS710D
Page 24: ...3 Click Create Folder 23 Chapter 2 File Sharing...
Page 31: ...2 Tap Create User 30 Chapter 2 File Sharing...
Page 34: ...3 Click Add Group 33 Chapter 2 File Sharing...
Page 73: ...5 Click Add 72 Chapter 4 Backup...
Page 79: ...3 Click Edit 4 Click Browse 5 Select the shared folder and click OK 78 Chapter 4 Backup...
Page 81: ...2 Click Time Machine 80 Chapter 4 Backup...
Page 82: ...3 Click Select Backup Disk 4 Select the shared folder then click Use Disk 81 Chapter 4 Backup...
Page 93: ...4 Click the Options tab 5 Click Edit 92 Chapter 5 Cloud Services and Remote Access...
Page 97: ...7 Enter the desired job name and click Next 96 Chapter 5 Cloud Services and Remote Access...
Page 98: ...8 Select Backup and click Next 97 Chapter 5 Cloud Services and Remote Access...
Page 100: ...10Specify the sync period and click Next 99 Chapter 5 Cloud Services and Remote Access...
Page 106: ...7 Enter the desired job name and click Next 105 Chapter 5 Cloud Services and Remote Access...
Page 107: ...8 Select Restore and click Next 106 Chapter 5 Cloud Services and Remote Access...
Page 112: ...6 Enter the desired job name and click Next 111 Chapter 5 Cloud Services and Remote Access...
Page 115: ...9 Specify the sync period and click Next 114 Chapter 5 Cloud Services and Remote Access...
Page 122: ...4 Click the Options tab 5 Click Edit 121 Chapter 5 Cloud Services and Remote Access...
Page 127: ...3 Tap NAS Setup 126 Chapter 5 Cloud Services and Remote Access...
Page 130: ...129 Chapter 5 Cloud Services and Remote Access...
Page 147: ...6 Select a file to move and click Action 7 Click Move 146 Chapter 6 Multimedia...
Page 152: ...7 Click Delete 8 Click Delete again 151 Chapter 6 Multimedia...


