


8
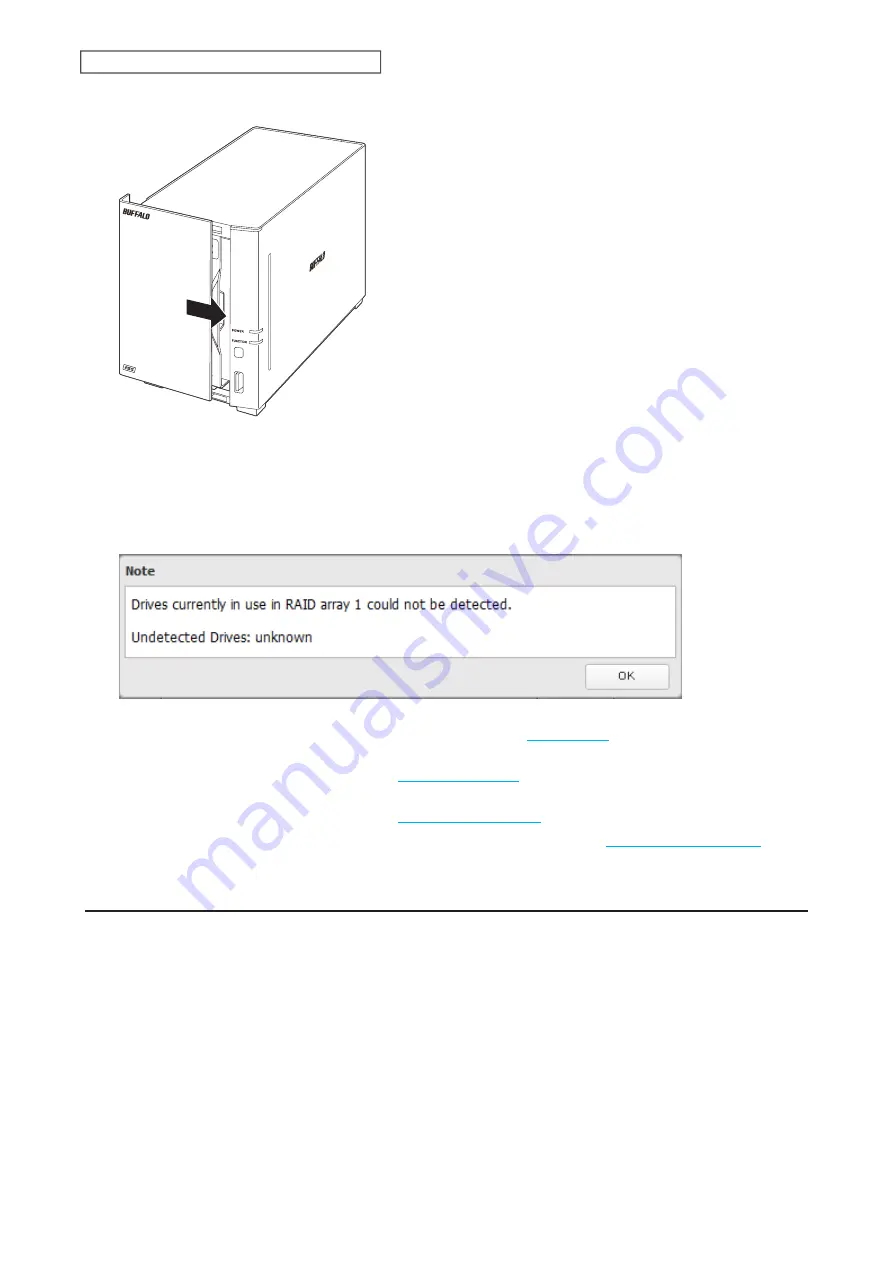
Return the front panel and slide it right to close.
9
Connect all cables, then turn on the LinkStation.
10
Log in to Settings using NAS Navigator2.
11
When the following window appears after logging in, click
OK
.
12
Delete the RAID array that held the failed drive by referring to the
section in chapter 3.
13
Format the replaced drive by referring to the
section in chapter 3.
14
Create a new RAID 0 array by referring to the
section in chapter 3.
The new RAID 0 array will be created. Next, create a shared folder by referring to the
section in chapter 2.
Drive Replacement for a JBOD
If a drive used in a JBOD fails, you will need to format the replaced drive after replacing the defective drive with a
new drive.
Note:
If a drive malfunctions in JBOD, all data on the drive will be lost.
1
Turn the LinkStation off and remove all cables.
194
Chapter 10 Drive Replacement and Troubleshooting
Summary of Contents for Link Station LS710D
Page 24: ...3 Click Create Folder 23 Chapter 2 File Sharing...
Page 31: ...2 Tap Create User 30 Chapter 2 File Sharing...
Page 34: ...3 Click Add Group 33 Chapter 2 File Sharing...
Page 73: ...5 Click Add 72 Chapter 4 Backup...
Page 79: ...3 Click Edit 4 Click Browse 5 Select the shared folder and click OK 78 Chapter 4 Backup...
Page 81: ...2 Click Time Machine 80 Chapter 4 Backup...
Page 82: ...3 Click Select Backup Disk 4 Select the shared folder then click Use Disk 81 Chapter 4 Backup...
Page 93: ...4 Click the Options tab 5 Click Edit 92 Chapter 5 Cloud Services and Remote Access...
Page 97: ...7 Enter the desired job name and click Next 96 Chapter 5 Cloud Services and Remote Access...
Page 98: ...8 Select Backup and click Next 97 Chapter 5 Cloud Services and Remote Access...
Page 100: ...10Specify the sync period and click Next 99 Chapter 5 Cloud Services and Remote Access...
Page 106: ...7 Enter the desired job name and click Next 105 Chapter 5 Cloud Services and Remote Access...
Page 107: ...8 Select Restore and click Next 106 Chapter 5 Cloud Services and Remote Access...
Page 112: ...6 Enter the desired job name and click Next 111 Chapter 5 Cloud Services and Remote Access...
Page 115: ...9 Specify the sync period and click Next 114 Chapter 5 Cloud Services and Remote Access...
Page 122: ...4 Click the Options tab 5 Click Edit 121 Chapter 5 Cloud Services and Remote Access...
Page 127: ...3 Tap NAS Setup 126 Chapter 5 Cloud Services and Remote Access...
Page 130: ...129 Chapter 5 Cloud Services and Remote Access...
Page 147: ...6 Select a file to move and click Action 7 Click Move 146 Chapter 6 Multimedia...
Page 152: ...7 Click Delete 8 Click Delete again 151 Chapter 6 Multimedia...


