


Scan Using Your Computer
57
5
Scan Using ControlCenter4 in Advanced Mode (Windows
®
)
5
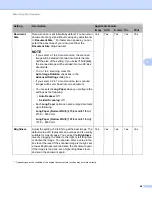
There are five scan options:
Image
,
OCR
,
,
File
and
.
This section briefly introduces the
Scan
tab function. For more details of each function, click
(
Help
).
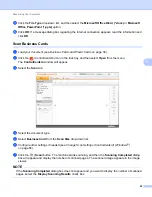
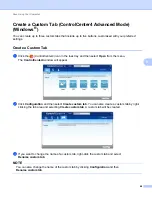
Basic Scan
5
1
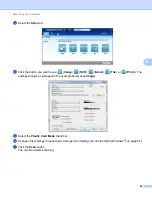
Select the
Scan
tab.
2
Click (
Image
), (
OCR
), (
), (
File
) or
(
). The Scan Settings dialog box
appears.
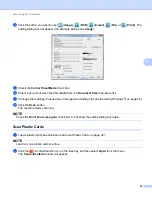
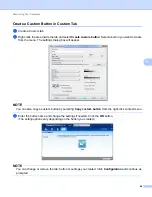
3
Do one of the following:
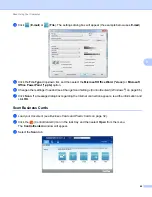
For (
Image
)
Select the application from the drop-down list and click
Scan
.
The image will appear in the application you have chosen.
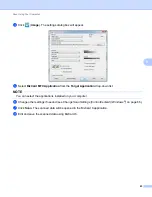
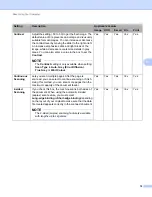
For (
OCR
)
Configure the OCR settings and click
Scan
.
The application you have chosen will open with the converted text data.
For (
)
Configure the attached file settings and click
Scan
.
Your default E-mail application will open and the image will be attached to a new E-mail.
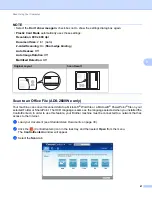
For (
File
)
Select your
Scan Location
and other settings. Click
Scan
.
The image will be saved in your chosen folder.
For (
)
Select your printer from the drop-down list, configure the printer settings, and then click
Scan
.
The scanned document will print.
NOTE
• (For
Image
and
OCR
)
If you have installed the Evernote application in your computer, you can select Evernote from the drop-
down list and then click
OK
to upload the scanned data to Evernote directly.
• (For
OCR
)
Nuance™ PaperPort™ 12SE must be installed on your computer.


