
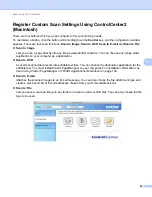


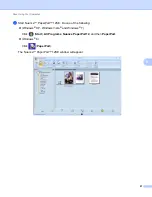


Scan Using Your Computer
94
5
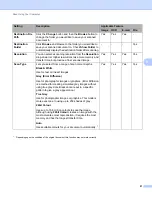
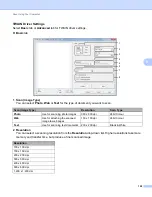
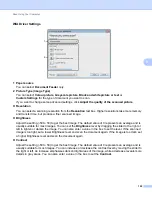
You can configure more settings in the
Advanced Settings
dialog box. Click the
Advanced Settings
button.
Setting
Description
Applicable Feature
Image
OCR
File
Brightness
Adjust the setting (0 to 100) to get the best image. The
default value of 50 represents an average and is usually
suitable for most images. You can set the
Brightness
level by dragging the slider to the right or left to lighten or
darken the image. If the scanned image is too light, set a
lower Brightness level and scan the document again. If the
image is too dark, set a higher Brightness level and scan
the document again.
Yes
Yes
Yes
Yes
Contrast
Adjust the setting (0 to 100) to get the best image. The
default value of 50 represents an average and is usually
suitable for most images. You can increase or decrease
the contrast level by moving the slider to the right or left.
An increase emphasizes dark and light areas of the
image, while a decrease reveals more details in grey
areas.
NOTE
The
Contrast
setting is only available when setting
Scan Type
to
Auto
,
Grey (Error Diffusion)
,
True Grey
or
24bit Colour
.
Yes
Yes
Yes
Yes
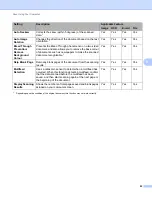
Colour Drop
Remove a specific colour from your scanned images.
Select one of the following colour to remove:
Chromatic colours
Use to remove all other colours except Black.
Red
Use to remove the Red colour.
Green
Use to remove the Green colour.
Blue
Use to remove the Blue colour.
Custom
The Custom dialog box will open. You can select the
colour that you want to remove.
Yes
Yes
Yes
Yes


