Boxfish ROV Owner’s Manual
p33
V1.3 All rights reserved. Information and specifications may change at any time without notice.
Apply and test vacuum on ROV pressure vessel
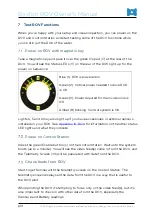
While underwater it’s critical to protect the electronics inside the ROV from
water ingress. We do this by creating a vacuum inside the ROV and ensuring
that the pressure does not change. You can monitor the pressure via the
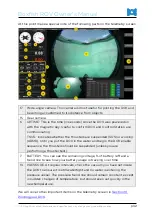
PRESSURE
data
(21)
on the telemetry screen.
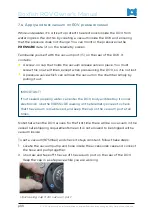
Familiarise yourself with the vacuum port
(15)
on the rear of the ROV. It
contains:
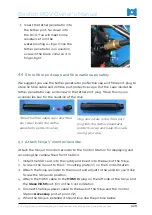
A screw-on cap that holds the vacuum release valve in place. You must
screw this on at all times, except when pressurising the ROV, so it is not lost.
A pressure valve which can remove the vacuum in the chamber simply by
pulling it out.
Note that when the ROV arrives for the first time there will be no vacuum in the
vessel: safe shipping requirements mean it is not allowed to be shipped with a
vacuum inside.
To set a vacuum (875mbar) and check it stays constant, follow these steps:
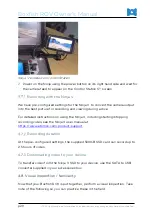
Locate the vacuum pump and hose inside the accessories case and connect
the hose and pump together.
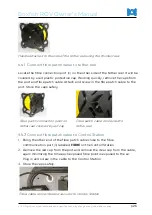
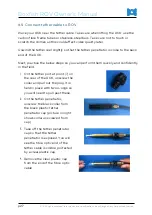
Unscrew and take off the cap of the vacuum port on the rear of the ROV.
Keep the cap in a safe place while you are working.
Unscrewing cap from vacuum port
IMPORTANT!
If not sealed properly, water can enter the ROV body and destroy its inner
electronics. Use the PRESSURE reading on the telemetry screen to check
that the vacuum is maintained, and keep the cap on the vacuum port at all
times.

