112
Chapter 9 Recording Your Own Performances
Selecting Between Audio Quality
When recording, select whether to give priority to audio
quality or recording length in the Recording Quality
Selection screen.
Hi-Fi:
Select this to record with high sound quality.
LONG:
Select this when you want to increase the
amount of time for recording.
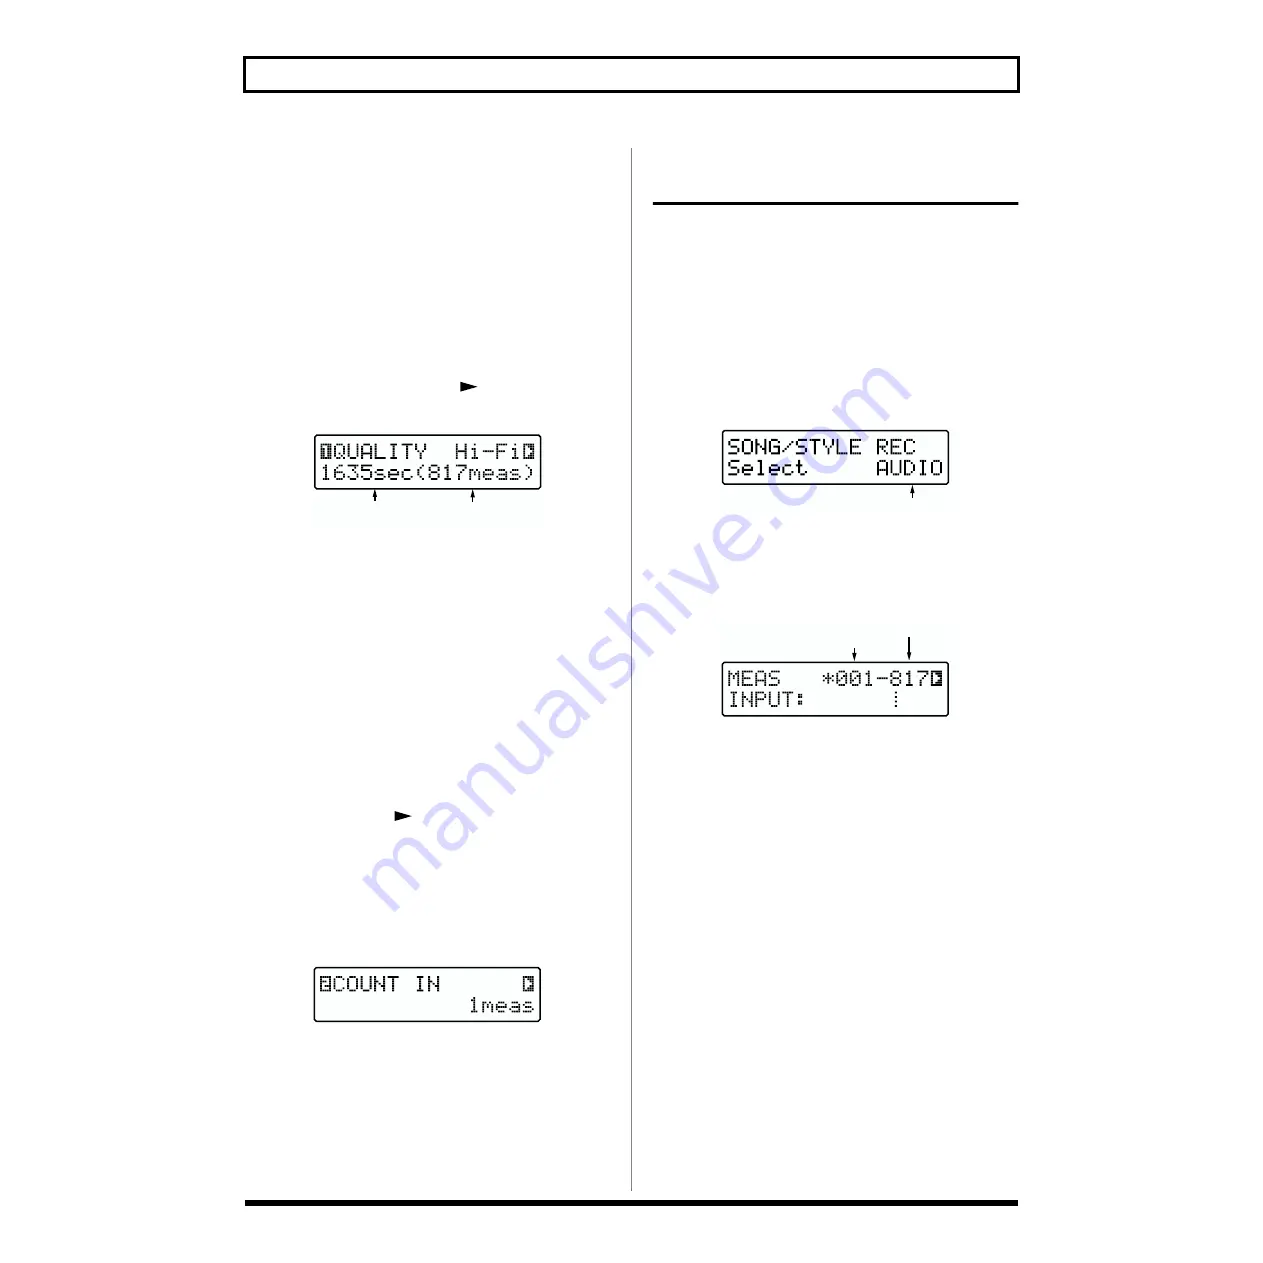
Checking the available recording time
When the audio track record standby screen (p. 112) is
displayed, you can press [CURSOR
] several times to
access the following screen.
fig.RE09-02
In this screen, you can verify the available recording time
and number of measures at the selected recording quality.
* Understand that the indicated time is merely an estimate, and
as such includes a certain margin for error.
By pressing [LONG REC] to switch the recording quality,
you can compare the available recording time for “LONG”
and “Hi-Fi.”
* You cannot change the recording mode if there is audio data
already recorded to the Selected song.
Count-In Settings
When the audio track record standby screen is displayed,
you can press [CURSOR
] several times to access the
count-in setting screen.
Setting the count-in to “1meas” (measure) or “2meas”
(measures) in the Count-In settings screen enables you to
begin recording after a count-in is played.
Adding the count-in allows you to confirm the starting point
and the tempo used for the recording.
fig.RE09-03
* The count-in is sounded when you begin recording from the
top of the song (the first measure). The count-in is not sounded
when you start recording at a point later in the song, even if
you've set it so a count-in is to be played. When starting audio
recording at a point in the song other than the beginning, you
can have the song be played instead of a count-in at the lead-up
to recording by setting the point where the song starts playing
at a point several measures before the start of recording.
Recording Operations
(New Recordings)
1.
Select the User Song to be recorded.
* You can’t select User Songs stored on memory cards if no card
is inserted.
2.
Adjust the tempo as needed (p. 60).
3.
Press [REC], getting the button to light.
[SONG], [CHORD], and [AUDIO TRACK] flash, and the
Recording Track Selection screen appears.
* When a User Style is selected, [STYLE] flashes.
ig.RE09-04
* To cancel, press [EXIT].
4.
Press [AUDIO TRACK] to select the Audio Track.
The Record Standby screen for the Audio Track appears.
fig.RE09-06
* If the song contains no audio data, “*” appears in the display.
5.
Use [CURSOR] and [VALUE] to set the starting and
final measures of the range to rerecorded.
* You cannot set the starting measure for rerecording at an
earlier point than the starting measure of the performance (the
measure indicated in the left display).
* By pressing [FWD] [RWD] or [RESET] you can change the
measure at which the playback will begin. However, it is not
possible to set this later than the recording start measure.
6.
Press [LONG REC] to select the recording mode.
Hi-Fi:
Select this to record with high sound quality.
LONG:
Select this when you want to have more time
for recording.
When “LONG” is selected, [LONG REC] lights up.
Available recording time
and maximum number of measures
Recording Track
Starting measure
Final measure


