


18
SM_151815_rev00
Service Manual DEVILLE 35 since year 2017
22
23
24
Remove the scraper seals from the casting:
-
Place the inferior beak of the open wrench under the seal.
-
Pry on the seal itself to remove the scraper seal from the casting.
-
Do the same operation on the other seal.
Tool(s) required :
-
22mm open wrench
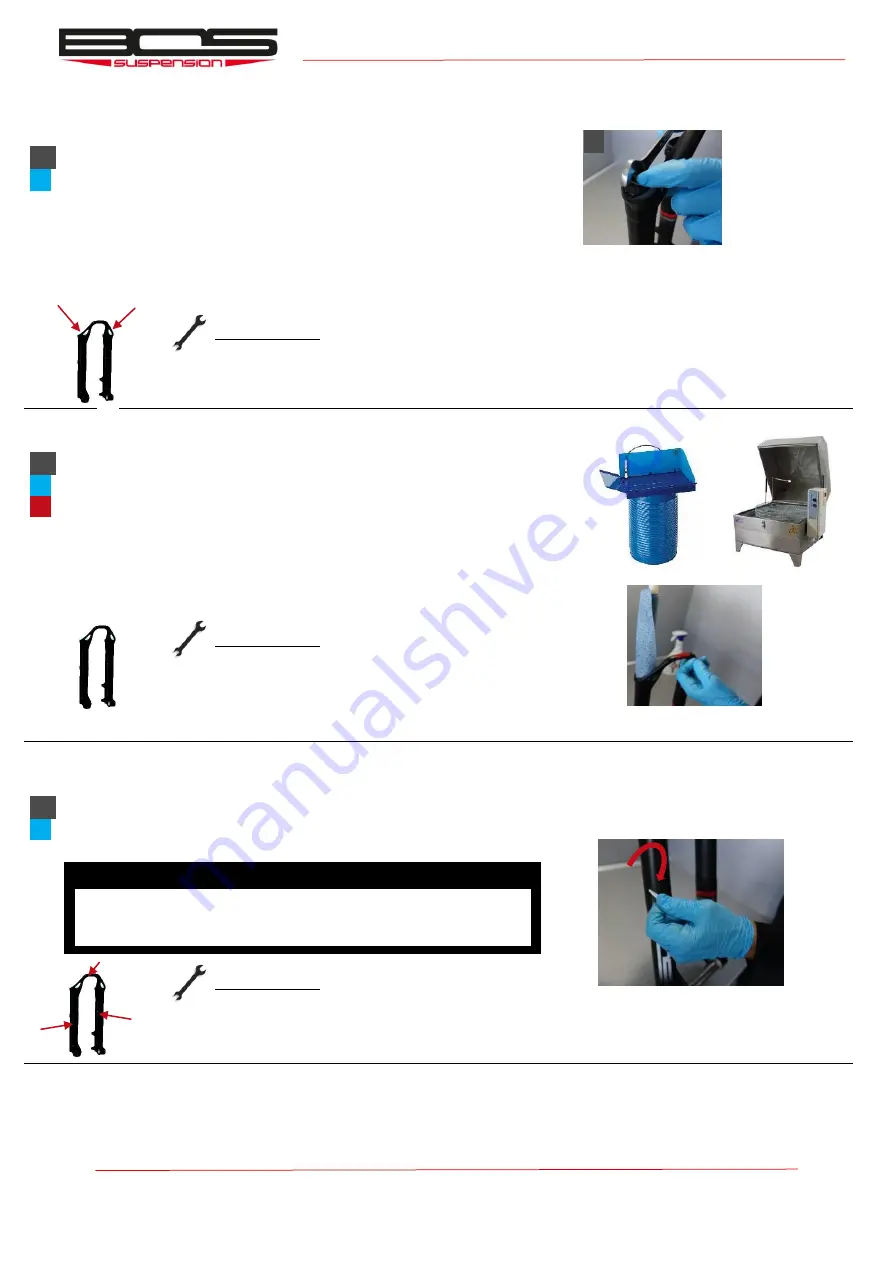
Clean the casting:
-
Oil fountain with brush + bottlebrush.
-
Washer.
OR (if not equipped):
-
Isopropyl a brush + bottle brush.
-
Hot water + soap.
Tool(s) required :
-
Oil fountain with brush
-
Bottlebrush
-
Washer
-
Isopropyl a brush
-
Soap
Take off the stickers from the casting:
-
Peel off the sticker from the casting by hand (you could use a plastic tool to
start in an angle).
-
Clean the casting with isopropyl alcohol and rag.
Tool(s) required :
-
Spray of isopropyl alcohol
-
Rag
1
INFORMATION
Doing this operation after HOT washing will make it easier to remove
the adhesive.


