4-46
BE1-BPR Functional Description
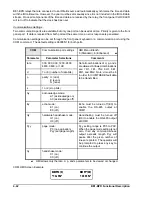
LCD Contrast Adjustment
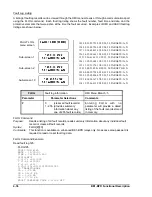
The LCD contrast may be adjusted from the front panel using the LCD CONTRAST menu screen. Pressing
the EDIT +/- key will scroll through an adjustment range of 1-20 with 10 being the nominal setting.
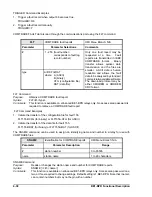
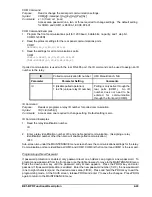
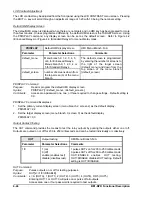
Default HMI Display Screen
The default HMI screen is displayed when there are no targets and no HMI key has been pressed for more
than four minutes. Unless programmed differently, the default HMI screen is the TARGETS screen. Using
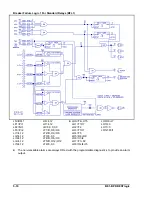
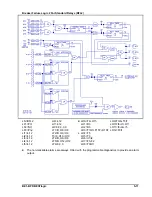
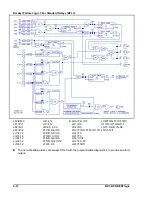
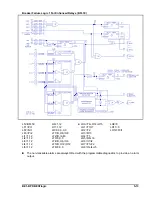
the PDISPLAY command, any display screen can be set as the default screen. Refer to Figure 4-2
(Enhanced Relays) or Figure 4-3 (Standard Relays) for menu display maps.
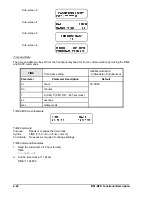
PDISPLAY
Default HMI display screen
HMI Menu Branch: N/A
Parameter
Parameter Selections
Comments
default_menu
Menu branch 0, 1, 2, 3, 4, 5,
or 6 for Enhanced Relays.
Menus branch 0, 1, 2, 3, 4, or
5 for Standard Relays.
The default screen is programmed
by entering the number of screens to
the right of the target screen
(default_menu) and down from the
top screen of the menu branch
(default_screen).
default_screen
number of screens down from
the top screen (0) of the menu
branch
PDISPLAY Command
Purpose:
Read or program the default HMI display screen.
Syntax:
PDISPLAY[=<default_menu>,<default_screen>]
Comments:
Access area password one, two, or three required to change settings. Default setting is
0,0.
PDISPLAY Command Exampless
1.
Set the primary current display screen (menu branch 2, screen 2) as the default display.
PDISPLAY=2,2
2.
Set the target display screen (menu branch 0, screen 0) as the default display.
PDISPLAY=0,0
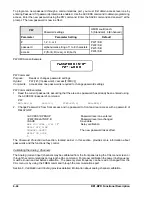
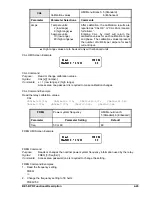
Output Contact Testing
The OUT command provides the means to test the relay outputs by pulsing the outputs either on or off.
Outputs are pulsed on or off for 200 to 250 milliseconds and can be tested individually or collectively.
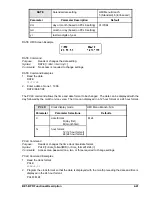
OUT
Output testing
HMI Menu Branch: N/A
Parameter
Parameter Selections
Comments
1/0
1 (on)
0 (off)
enable (enables test)
disable (disables test)
1 pulses OUTx on for 200 to 250 milliseconds.
0 pulses OUTx off for 200 to 250 milliseconds.
OUT=ENABLE enables OUT testing.
OUT=DISABLE disables OUT testing. Default
setting is OUT=DISABLE.
OUT Command
Purpose:
Pulses outputs on or off for testing purposes.
Syntax:
OUT[x=<1/0>/DISABLE]
Comments:
x = A (OUTA), 1 (OUT1), 2 (OUT2), 3 (OUT3), 4 (OUT4), OR 5 (OUT5)
Entering OUT=1 or OUT=0 will pulse on or pulse off all outputs.
Access area one or four password is required to test outputs.
Summary of Contents for BE1-BPR
Page 31: ...BE1 BPR Application 2 17...
Page 42: ...3 4 BE1 BPR Human Machine Interface Figure 3 4 BE1 BPR Relay Vertical Mount Front View...
Page 43: ...BE1 BPR Human Machine Interface 3 5 Figure 3 5 BE1 BPR Relay Vertical Mount Rear View...
Page 49: ...4 6 BE1 BPR Functional Description Figure 4 2 Enhanced BE1 BPR Menu Display Screens...
Page 50: ...BE1 BPR Functional Description 4 7 Figure 4 3 Standard BE1 BPR Menu Display Screens...
Page 94: ...5 4 BE1 BPR BESTlogic Figure 5 1 BESTlogic Function Blocks...
Page 121: ...BE1 BPR Installation 7 3 Figure 7 3 Overall Dimensions Vertical Mount...
Page 122: ...7 4 BE1 BPR Installation Figure 7 4 Overall Dimensions Side View Vertical Mount...
Page 123: ...BE1 BPR Installation 7 5 Figure 7 5 Panel Drilling Diagram Vertical Mount...

