


7. Advanced
7.3.4
Time of Day (TOD)
CCD
Constant Contrast Dimming
ECR
Extended Contrast Ratio
What can be done ?
The projector can be set to display typical scenes by performing an optimal adjustment of the dimmer (CCD) and the lens diaphragm
(ECR).
Following presets can be selected via the hand held RACU interface :
•
Day
•
Dusk
•
Night
The OSD allows to set a custom value for the Time of Day (TOD) : 10000 corresponds to maximum light output (Day)
In practice, if the TOD value is lowered starting from 10000 (100%) to 0 (0%), the following sequence will be followed:
1.
In a
fi
rst phase, the dimming will be (mainly) done by the ECR (Enhanced Contrast Ratio)
2.
When the ECR is at its minimum value, the CCD (Constant Contrast Dimmer) starts further dimming the light output until it is 0
For the High Contrast (HC) versions, the minimum ECR value is calibrated in the projector to coincide with a
lens aperture of approximately f/6.4, which leaves a light transmission of around 25%.
Motorized dimming (at different stages in the projector) insures a better dynamic behavior through ECR (Ex-
tended Contrast Ratio) and CCD (Constant Contrast Dimming) by enabling the possibility to adjust the light
output level of the projector and preserving the dynamic range.
In projectors having the NVG option, the dimming process is controlled in a different way. See the concerning
Appendix.
Each time the projector is restarted, the Time Of Day (TOD) is automatically set to Day mode to get full light
output, thus avoiding the menu being invisible due to low light output!
How to adjust the Time of Day (TOD)?
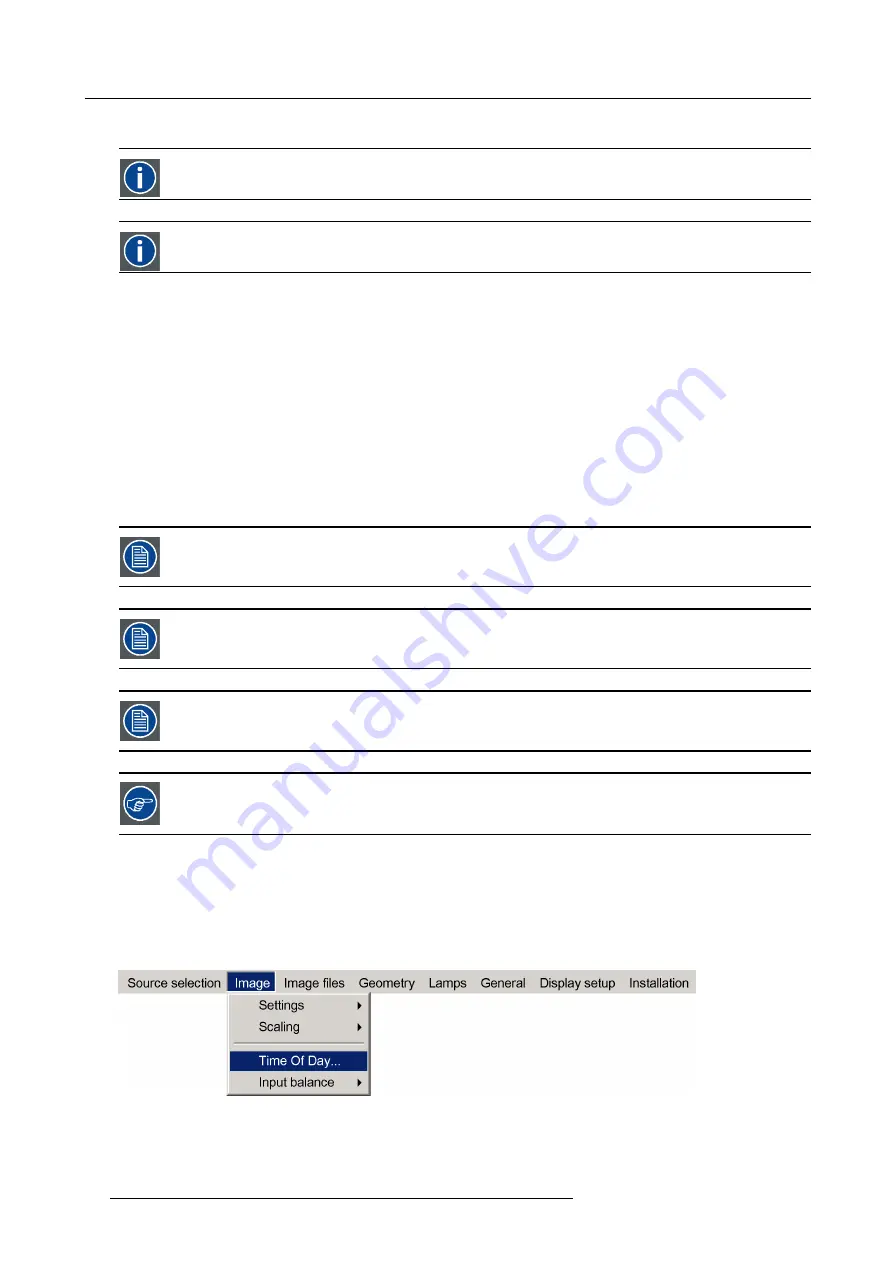
1. Press
MENU
to activate the Tool bar
2. Press
→
to select the Image item
3. Press
↓
to Pull down the
Image
menu
4. Use
↑
or
↓
to select
Time of Day
Image 7-11
5. Press
ENTER
84
R59770066 SIM 7Q SERIES 07/10/2013
Summary of Contents for SIM 7Q
Page 8: ...Table of contents 4 R59770066 SIM 7Q SERIES 07 10 2013...
Page 13: ...2 Packaging 2 PACKAGING Overview Unpacking R59770066 SIM 7Q SERIES 07 10 2013 9...
Page 16: ...2 Packaging 12 R59770066 SIM 7Q SERIES 07 10 2013...
Page 62: ...5 Setup 2 Now the zoom and focus can be adjusted 58 R59770066 SIM 7Q SERIES 07 10 2013...
Page 74: ...6 Getting started 70 R59770066 SIM 7Q SERIES 07 10 2013...
Page 194: ...7 Advanced Image 7 157 190 R59770066 SIM 7Q SERIES 07 10 2013...
Page 245: ...8 Maintenance Image 8 13 Electronics filter removing R59770066 SIM 7Q SERIES 07 10 2013 241...
Page 260: ...9 Troubleshooting 256 R59770066 SIM 7Q SERIES 07 10 2013...
Page 270: ...A NVG option for SIM 7Q 266 R59770066 SIM 7Q SERIES 07 10 2013...
Page 274: ...B NVG option for SIM 7Q HC 270 R59770066 SIM 7Q SERIES 07 10 2013...
Page 275: ...C GLD alignment C GLD ALIGNMENT Overview Gamma values R59770066 SIM 7Q SERIES 07 10 2013 271...
Page 277: ...D Image files D IMAGE FILES Overview Image files R59770066 SIM 7Q SERIES 07 10 2013 273...
Page 282: ...Glossary 278 R59770066 SIM 7Q SERIES 07 10 2013...
Page 286: ...Index locking 57 282 R59770066 SIM 7Q SERIES 07 10 2013...
Page 288: ...List of tables 284 R59770066 SIM 7Q SERIES 07 10 2013...


