105
1. Disassembly
Before disassembly the pump, make it clean and put the removed parts on the paper
or cloth. Don’t damage the parts.
(a) Hold the pump in a vice by lightly clamping the flange section.
(b) Remove bolts
11
, pump cover
⑤
, pump body
①
(Fig.7-9).
(c) Remove lining plate
⑥
, driving gear
②
and driven gear
③
.
(d) Remove seal ring
⑦
and ring
⑧
from the front and rear covers.
Caution: If the seal ring needn’t be replaced, don’t remove it from the front
cover.
2. Inspection
The disassembled parts except rubber parts should be washed with gasoline.
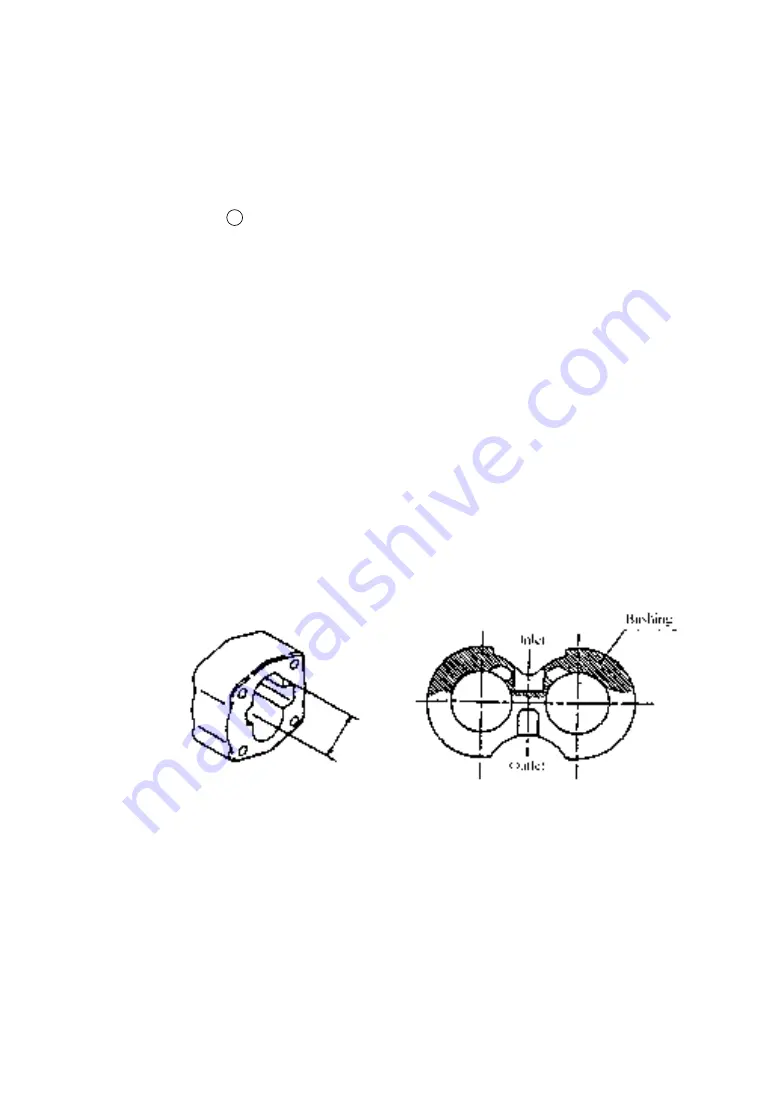
(a) Pump body inspection (Fig. 7-10)
If the scraping trace is up to 1/2 long of the inner periphery, it indicates that the
bearing and gear shaft are subject to excessive wear, replace the pump body.
(b) Lining plate inspection (Fig. 7-11)
Inspect the contact surface of the lining plate. If the surface is worn or its thickness is
smaller than the specified value, replace the lining plate.
Fig. 7-10
Fig. 7-11
(c) Front and rear cover (Fig. 7-12)
If the inner surface of bushings discolored, replace.
(d) Inspect the driving gear and the driven gear. If they are worn, replace them. (Fig.
7-13)
(e) Replace seal rings, bushing seals, snap rings, oil seals and spring snap rings as
require.
Summary of Contents for CPD10
Page 1: ......
Page 6: ...1 Ⅰ External view and specification External view of electric forklift truck ...
Page 26: ...21 2 General information when operating 3 Nameplate of forklift truck 4 Lubrication system ...
Page 27: ...22 5 Capacity chart 6 Inspections before starting 7 Adjust parking brake 8 Add hydraulic oil ...
Page 33: ...28 Fig 1 2 Gear box and differential 2 3t ...
Page 34: ...29 Fig 1 3 Differential ...
Page 57: ...52 Fig 4 2 Principle of electric system DC CPD10 25 ...
Page 58: ...53 Fig 4 3 Principle of electric system DC CPD30 ...
Page 60: ...55 Fig 4 5 Principle of electric system AC ...
Page 77: ...72 4 8 Harness Fig 4 10 Harness DC CPD10 30 ...
Page 78: ...73 Fig 4 11 Harness AC CPD10J 15J ...
Page 79: ...74 Fig 4 12 Harness AC CPD20J 30J ...
Page 81: ...76 Fig 5 1 Assembly diagram of lifting motor Fig5 2 Lifting motor ...
Page 101: ...96 3 Hydraulic oil circuit ...
Page 115: ...110 Fig 8 2 Inner and outer mast 2 3t ...
Page 124: ......


