CHAPTER 4
Getting to Know Your 2250 Light
33
Second Line:
•
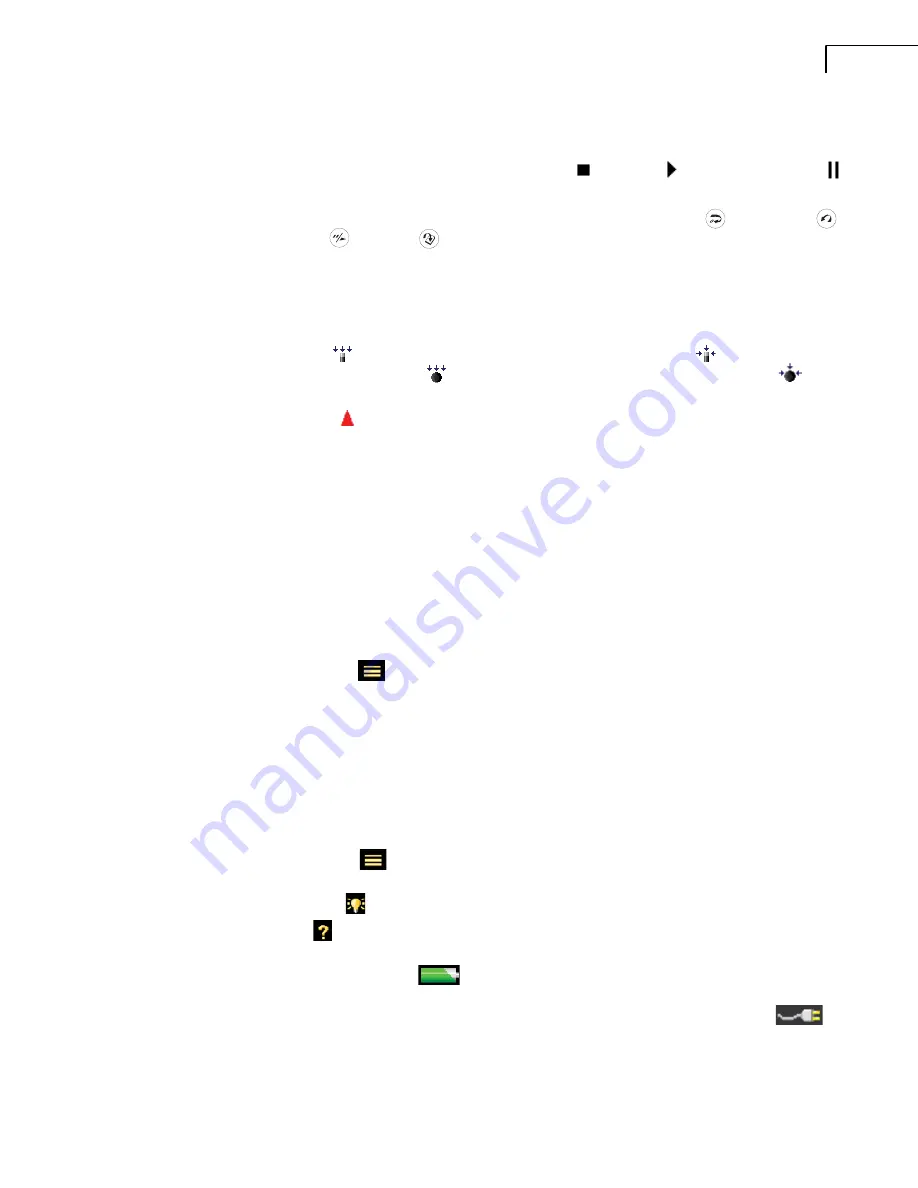
Measurement state represented as icons: Stopped
, Running
and the Paused icon
•
Elapsed time of the measurement
•
Feedback on the action of pressing the following pushbuttons:
Reset
,
Back-erase
,
Start/Pause
and
Save
•
Indication that the measurement microphone is uncalibrated. In this case the word
Uncal.
appears in the Status Field
•
Four icons are used to represent whether, or not, a windscreen is fitted and whether you are
measuring in a free-field or diffuse field. For example, no windscreen fitted, measuring in
a free-field –
; no windscreen fitted, measuring in a diffuse field –
; windscreen fitted,
measuring in a free-field –
; windscreen fitted, measuring in a diffuse field –
•
Immediate textual feedback on overload situation and latched overload indicated with an
overload icon
Third Line:
Used for Logging. See “Status Field” on page 101.
Central View Area
The Central View area contains the screens required for a particular measurement, such as bar
graphs, result readouts and various frequently used setup parameters (that is,
Meas. mode
). The
template defines the content of this area. More than one screen can be used for displaying the
information. Select the screen using the View Tabs at the bottom of the View area.
Changes made to the screens will only be applied temporarily, that is, until you select another
project template or open another project to re-use the screen from that project. However, if you
want the screen changes to be saved in the current template, select the
Save Template
option
from the Main Menu
.
Note:
If you make changes to the screen that you do not want to keep (and you have not yet
selected
Save Template
), you can undo them by selecting the template again from the Project
Template bar at the top of the screen.
Shortcut Bar
The Shortcut Bar, at the bottom of the screen, displays a number of fixed icons that are always
accessible. These include:
•
Main Menu icon
, giving access to the Main Menu. This allows you to navigate to a
specific function, see description earlier under Navigation Principles
•
Backlight icon
, allows you to select a backlight level
•
Help icon
, a quick way to get context-sensitive help from any screen by tapping on the
icon at the bottom. Closing the help window will return you to the previous screen
•
Battery/power status icon
, shows the condition of the battery. All green shows a
fully charged battery, while red means power levels are low. Tap the icon to get more
details of the battery condition. (When the Power Supply lead is connected, the
icon will be displayed in place of the battery icon.)
•
The clock in the lower right corner displays the current time. Tap the readout to get details
of the time and date, or to set the clock.
Summary of Contents for 2250 Light
Page 2: ......
Page 10: ......
Page 48: ...38 2250 Light User Manual...
Page 58: ...48 2250 Light User Manual...
Page 116: ...106 2250 Light User Manual...
Page 126: ...116 2250 Light User Manual...
Page 136: ...126 2250 Light User Manual...
Page 168: ...2250 Light User Manual 158...
Page 205: ......
Page 206: ......
Page 207: ......


