CHAPTER 2
Assembling Your 2250 Light
5
3)
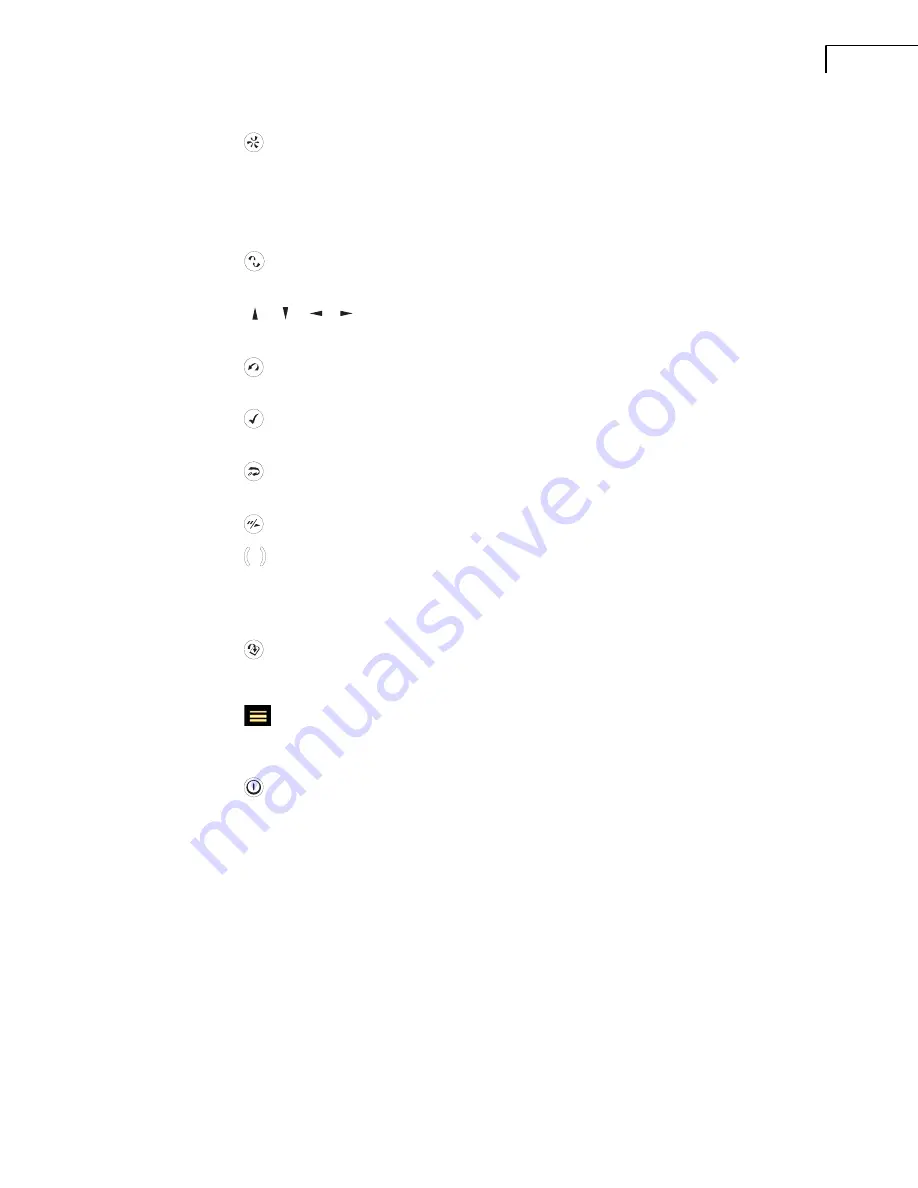
(Manual Event 1 Pushbutton):
This allows you to manually indicate events during a
measurement. Using 2250 Light software BZ-7130, BZ-7131 and BZ-7132, you can
control signal recording, while with BZ-7133 you can insert an event marker and control
recordings
Note:
Signal recording requires a Signal Recording Option BZ-7226 license as well.
4)
(Manual Event 2 Pushbutton):
A second pushbutton is provided to allow you to
mark a second type of event during a measurement
5)
, , ,
(Navigation Pushbuttons):
These move the active screen component
(Field Selector) and navigate the user interface
6)
(Back-erase
Pushbutton):
This allows you to erase the last 5 seconds of measurement
data or to insert an Exclude Marker (BZ-7133 Logging Software for 2250 Light only)
7)
(Accept
Pushbutton):
This allows you to accept any changes you make to the
instrument’s setup
8)
(Reset Measurement
Pushbutton):
This allows you clear the current measurement
from the screen
9)
(Start/Pause
Pushbutton):
Press this to start, pause or
continue with
a measurement
10)
(Status Indicator):
The red, yellow or green lights, (or LEDs), referred to as the
‘Traffic Light’ either side of the
Start/Pause
pushbutton, indicate important states of the
instrument during operation, that is, measurement stopped, paused or running. See Chapter
4 for further details
11)
(Save
Pushbutton):
This allows you to save measurement results
12)
Display Screen:
A high-contrast, black and white, touch-sensitive screen
13)
(Main Menu
Icon):
This calls up the Main Menu, which allows you to navigate
immediately to all the main functions of the instrument, such as
Setup
,
Explorer
(or Data-
browser),
Preferences
, and the
Calibration
procedure
14)
(Power-on Pushbutton):
Turns the instrument on and off. If held in for 1 second, the
instrument goes into standby mode; if held in for more than 4 seconds, it turns the
instrument off
15)
Stylus:
Stored in a holder on the side of the instrument, for use on the touch-sensitive
screen. You can choose to use the stylus or the pushbuttons, depending on your preference
and the measurement situation. (Also see section 4.4.5.)
16)
Top Socket:
This is the microphone input socket for 2250 Light. The Measurement
Microphone and Preamplifier (items 1 and 2 respectively) are connected directly to this
socket. For more details see section 2.3 that follows
17)
Tripod Mounting Thread:
Use this to mount 2250 Light onto the tripod and/or tripod
extension
Summary of Contents for 2250 Light
Page 2: ......
Page 10: ......
Page 48: ...38 2250 Light User Manual...
Page 58: ...48 2250 Light User Manual...
Page 116: ...106 2250 Light User Manual...
Page 126: ...116 2250 Light User Manual...
Page 136: ...126 2250 Light User Manual...
Page 168: ...2250 Light User Manual 158...
Page 205: ......
Page 206: ......
Page 207: ......


