8
MK20HD PLUS / MK20W
English
CEILING MOUNT INSTALLATION
The procedure given here is for the kind of installation where the unit is suspended from an overhead
surface, but the same steps are followed for an upright stand-alone installation.
● Before proceeding to install and connect the main unit, connect the video output cable,
interface cable, AC adaptor cable and coaxial cables in the space above the ceiling panel,
and then pass the cables through the cable holes.
● For a power outlet which is used on the ceiling, be absolutely sure to take measures to deal
with the tracking that may be caused by the accumulation of dust and other foreign matter.
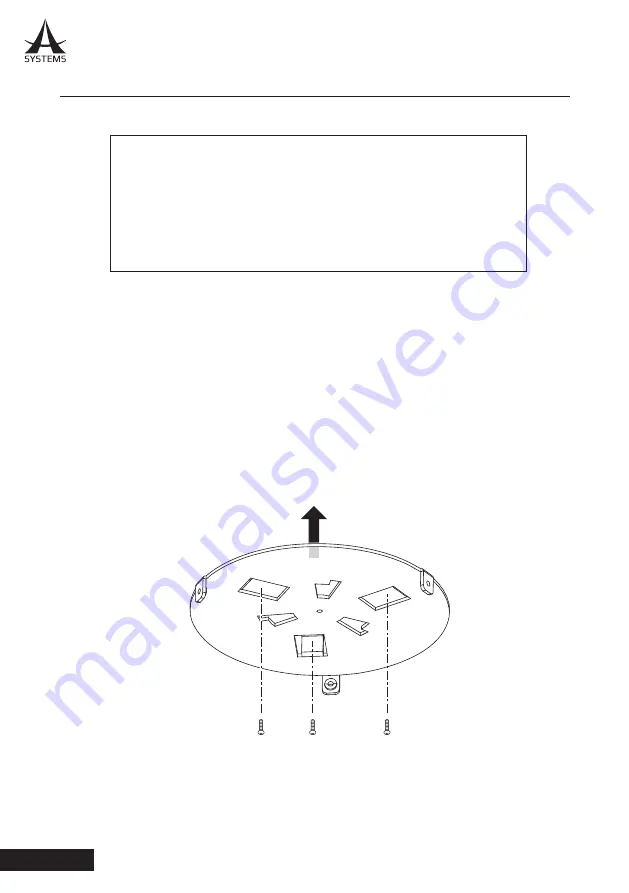
1. Mount the mount bracket (B) onto the installation surface.
● Depending on the condition, different mounting screws can be used to secure the camera in
place. Consult a technician on the proper screws to use.
● For proper clamping torque, securely attach the screws using the specified tools.
●
Do not use any other screws such as wood screws, nails, etc.
If the ceiling panel is not strong enough to bear the unit’s weight, use the
kind of mount bracket that is supported by anchor bolts between the concrete
ceiling and ceiling panel. The unit supports the ceiling mount bracket which
is used solely for combination cameras. Use this bracket to install the unit.
For installing the ceiling mount bracket, the ceiling must be drilled. It is also
recommended that you provide an inspection space or opening for access
purposes in the area near where the equipment is installed in order to
facilitate installation and the wiring connections work.


