


17
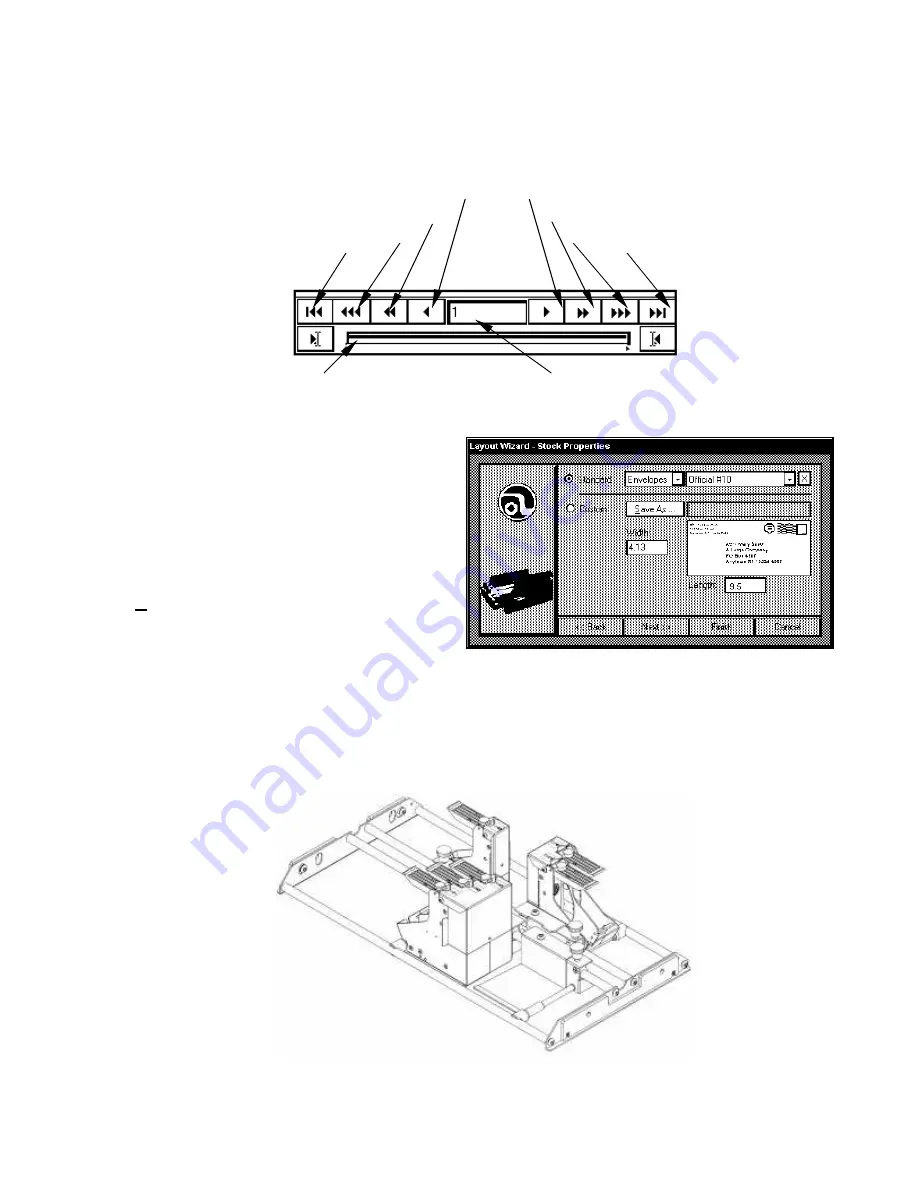
The Wizard will switch to the
“Database View – (file name)”.
The first record of the
database will be displayed. There is a series of arrows just below the record. These
can be used to step through the records as follows:
Click
Next>>
and the
“Layout Wizard – Stock Properties”
window will open. Select the
size and/or type of stock that you will
be printing on. There are many
standard envelopes available. Select
one by using the drop down menu
next to
Standard
or select
Custom
and enter the Width and Length of the
piece. You may save the custom size
by giving it a name and clicking on
Save As…
. When you have
completed this step, click
Finish
. The
“Layout Editor – Untitled” screen will
appear.
When a new template is initiated the “Layout Editor – Untitled” screen appears. When
the software was installed on the computer, the printing banks were set up according to
the Image Blaster’s configuration. The white lines in the display represent the print
cartridges and how they are positioned in your particular printer. The print cartridges are
arranged on two sets of rails as follows:
Move 1 Backward Move 1 Forward
Move 10 Backward Move 10 Forward
Move 10X Backward Move 10X Forward
Move to First Record Move to Last Record
Record Position Record Number
Summary of Contents for astrojet II plus
Page 1: ...ASTRO ASTROJET IMAGE BLASTER High Speed Inkjet Printer Installation Operating and Parts Manual...
Page 4: ...ii Notes...
Page 6: ...2 Notes...
Page 18: ...14 Notes...
Page 38: ...34 8 Click Okay and Yes to make structures permanent 9 Exit FoxPro...
Page 46: ...42 Notes...
Page 52: ...48 Notes...
Page 55: ...51 IMAGE BLASTER PARTS LIST...
Page 56: ...52...
Page 58: ...54...
Page 60: ......
Page 61: ...Notes...
Page 62: ...Copyright 2000 Astro Machine Corporation Elk Grove Village Illinois 60007 12 20 2000...


