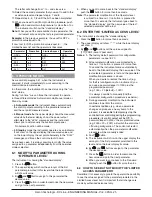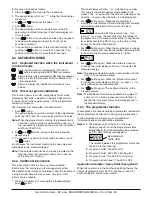
Ascon Tecnologic - KX Line - ENGINEERING MANUAL -Vr.4.0
PAG. 27
Shutter
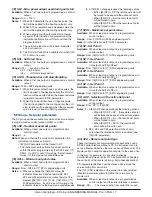
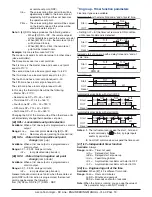
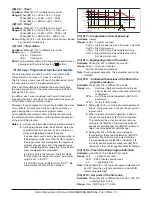
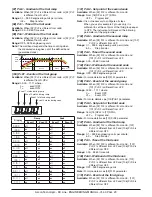
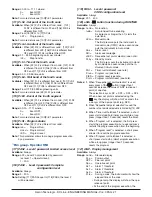
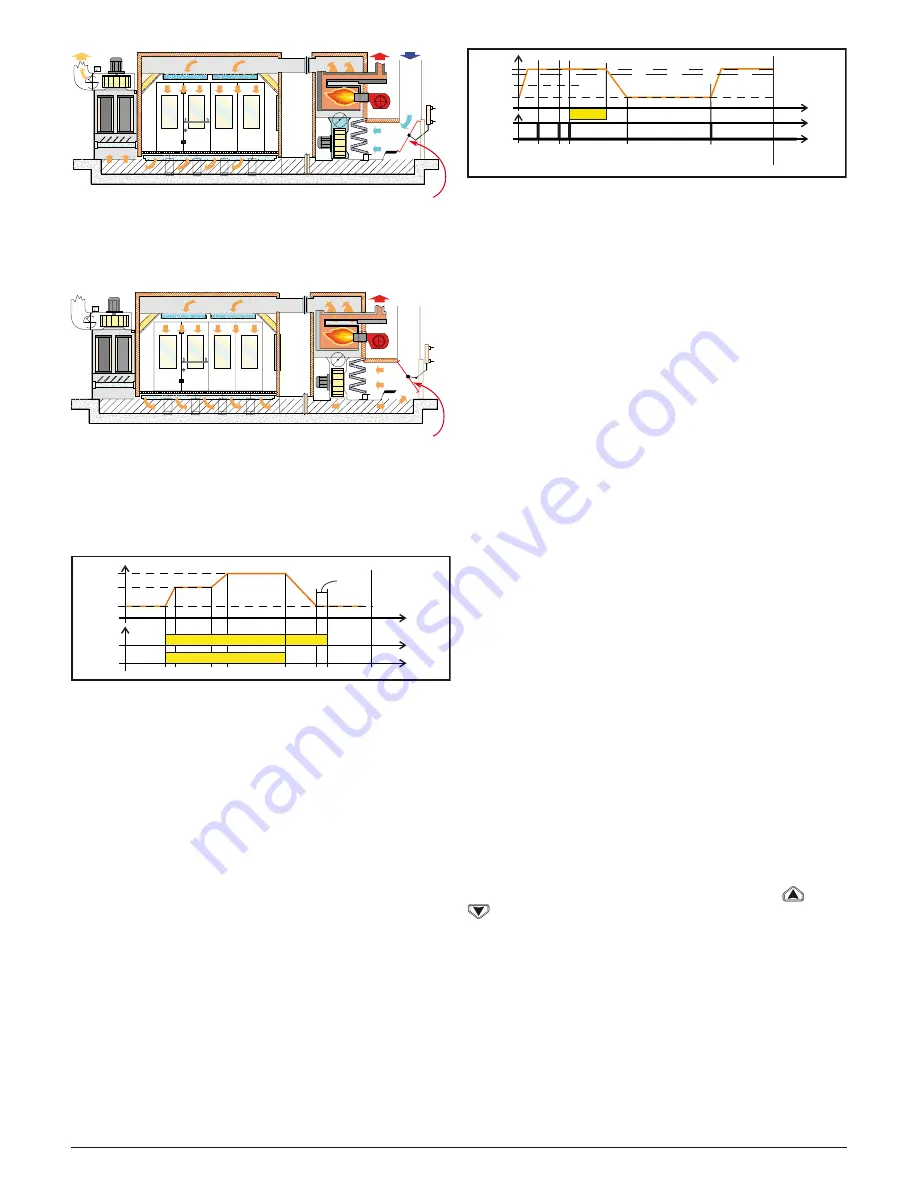
During the passivation and drying phases, the operator is
out of the booth and the system closes the shutter of the air
and recycles the internal air in order to reduce the power
consumption.
Shutter
When the drying time is finished, before the operator is
allowed to enter into the boot, you must be sure that:
1. The air in the booth has been refreshed
The temperature is lower than a limit.
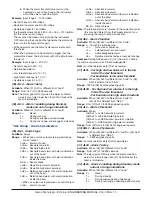
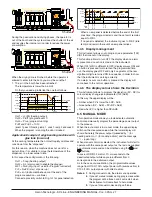
So that you need a profile like the one that follows:
Status
Run
Event 1
Event 1 = ON shutter closed
Program
OFF
OFF
Program Run
Time
Pr.S3 = 20°C
P.End
Temp.
Passivation
Drying
Pr.S2
Wait
Pr.S1
20°C
Time
Out 1 = H.rEG (heating output)
Out 2 = P.Et1 (program event 1)
Out 3 = P.run (program running)
Pr.E1and Pr.E2 = 10.10
(event 1 goes ON during ramp 1, soak 1, ramp 2 and soak 2)
When the program is running the door is locked
Application Example 2: edge bending machine with
glue tank (for wood)
At the working temperature the hot melt rapidly oxidizes and
runs down from the “dispenser”.
For this reason, when the machine does not work for a
certain time, it is suitable to move the temperature of the
dispenser to a lower value to idle.
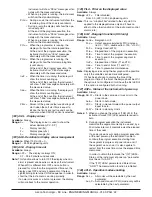
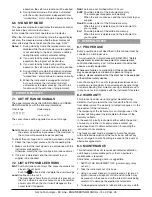
In this cases the configuration is the following:
Out 1 = h.reg (heating output)
Out 2 = AL (alarm used to enable the dragger)
diF.1 = P.run (dig. input 1 used for Program run/restart)
Pr.F = S.uP.S (start at power up)
Pr.E = cnt (Instrument behaviour at the end of the
program execution = continue).
Connect a proximity switch to Dig. In 1 for panel detection.
Temp.
Pr.S1
Wait
Pr.S1
20°C
Time
Cl
os
ed
Dig In 1
PWR
ON
Time
Cl
os
ed
Cl
os
ed
Cl
os
ed
Pr
og
.
En
d
Pr.t1
When a new panel is detected before the end of the first
soak time, the program restarts and the set point remains
equal to Pr.S1.
If no panel is detected, the instrument goes to Pr.S2 (idle
temp) and remain there until a new panel arrives.
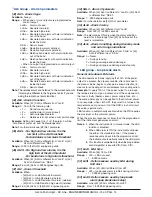
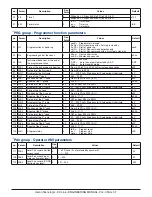
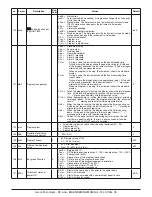
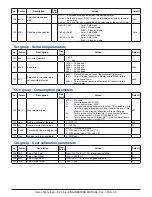
6.4.5 Display management
This instrument allows you to program (see parameter [124]
diS.t the time out of the display.
This function allows to turn OFF the display when no alarm
is present and no action is made on the instrument.
When [124] diS.t is different to OFF (display always ON) and
no button is pressed for more than the programmed time
out, the display goes OFF and only 4 segments of the less
significant digit are turned ON in sequence in order to show
that the instrument is working correctly.
If an alarm occurs or a button is pressed, the display will
come back to the normal operation.
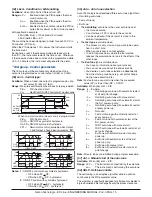
6.4.6 The display colour shows the Deviation
This instrument allows to program the deviation (PV - SP) for
colour display change (see parameter [123] AdE).
In this way the upper display will be:
–
Amber when PV is lower than SP - AdE.
–
Green when (SP - AdE) < PV<SP + AdE)
–
Red when PV is higher than SP+AdE
6.5 MANuAL MODE
This operative mode allows you to deactivate automatic
control and manually program the percentage power output
to the process.
When the instrument is in manual mode, the upper display
will show the measured value while the lower display will
show alternately the power output [preceded by
H
(for
heating action) or
C
(for cooling action)] and the message
oPLo
(open loop).
When manual control is selected, the instrument will start to
operate with the same power output as the last one supplied
by automatic mode and can be modified using the
and
buttons.
In case of ON/OFF control, 0% corresponds to the
deactivated output while any value different from 0
corresponds to the activated output.
As in the case of visualization, the programmable values
range from H100 (100% output power with reverse action) to
C100 (100% output power with direct action).
Notes: 1.
During manual mode, the alarms are operative.
2.
If you set manual modes during program execution,
the program will be frozen and it will restart when
the instrument will come back to Auto mode.
3.
If you set manual modes during self-tune

