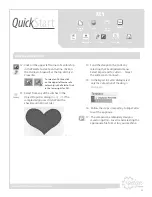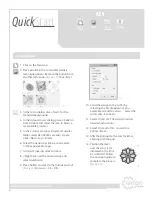
22
KEY
www.ArtisticCreativeProducts.com
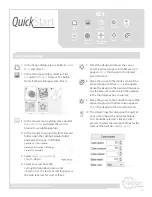
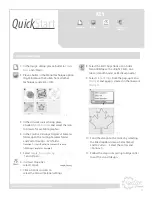
1. Click on the
New
icon.
2. In the
Techniques
dialog, select the
Embroidery and Cut options. Remove the
bullets from all other techniques. (
See Fig. 10
)
Click <Next>.
3. In the
Fabric
dialog, determine the color
and texture of the desired background,
or click <Next> for the Standard
background settings.
4. In the
Artwork
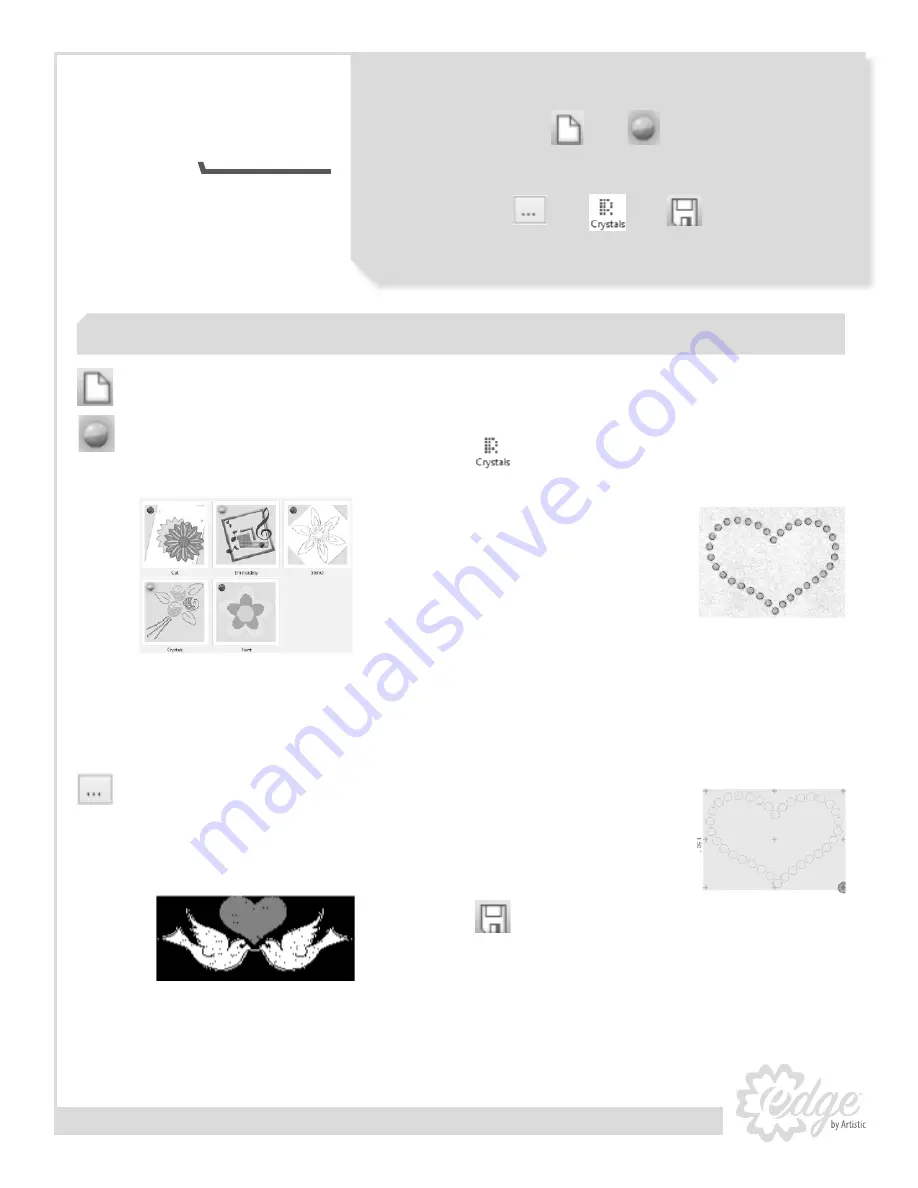
source dialog, place a bullet
in
From Embroidery
and select the icon to
browse for available designs.
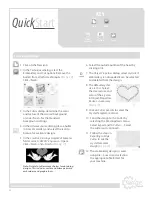
5. In the
Creative Drawings SimpleCut Samples
folder, select
CDW0173.ngs
and <Open>
Click <Next> and <Finish>. (
See Fig. 11
)
Note: SimpleCut offers many choices for obtaining
designs. This includes: vector and bitmap artwork
embroidery and graphic fonts.
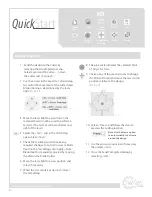
6. Select the outside outline of the heart by
clicking on it.
7. The
Object Properties
dialog select
Crystals
. If
embroidery is not needed it can be selected
and deleted from the design.
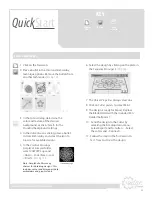
8. The default crystal
size is 10ss. Select
the desired size and
color of the crystals
in Object Properties.
Resize as necessary
(
See Fig. 12
).
9. Click on
Cutter
presets to select the
Crystal Template material.
10. Send the design to the Cutter by
selecting the File dropdown menu.
Select
Export
and
To Cutters
… Select
the cutter and <Connect>.
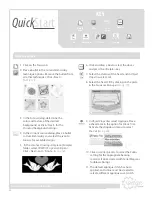
11. Follow the steps in
Exporting to Edge
Cutter
to cut the
crystal template
design (
See Fig. 13
)
12. The embroidery design is saved
using
File > Save As
and selecting
the appropriate file format for
your machine.
Create a crystal design
Fig. 10
Fig. 11
Fig. 12
Fig. 13
Bullet
New
From
Artwork
Crystals
Save
Quick
Start

