21
KEY
www.ArtisticCreativeProducts.com
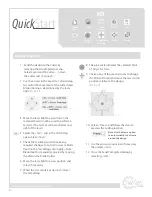
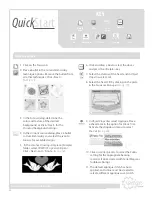
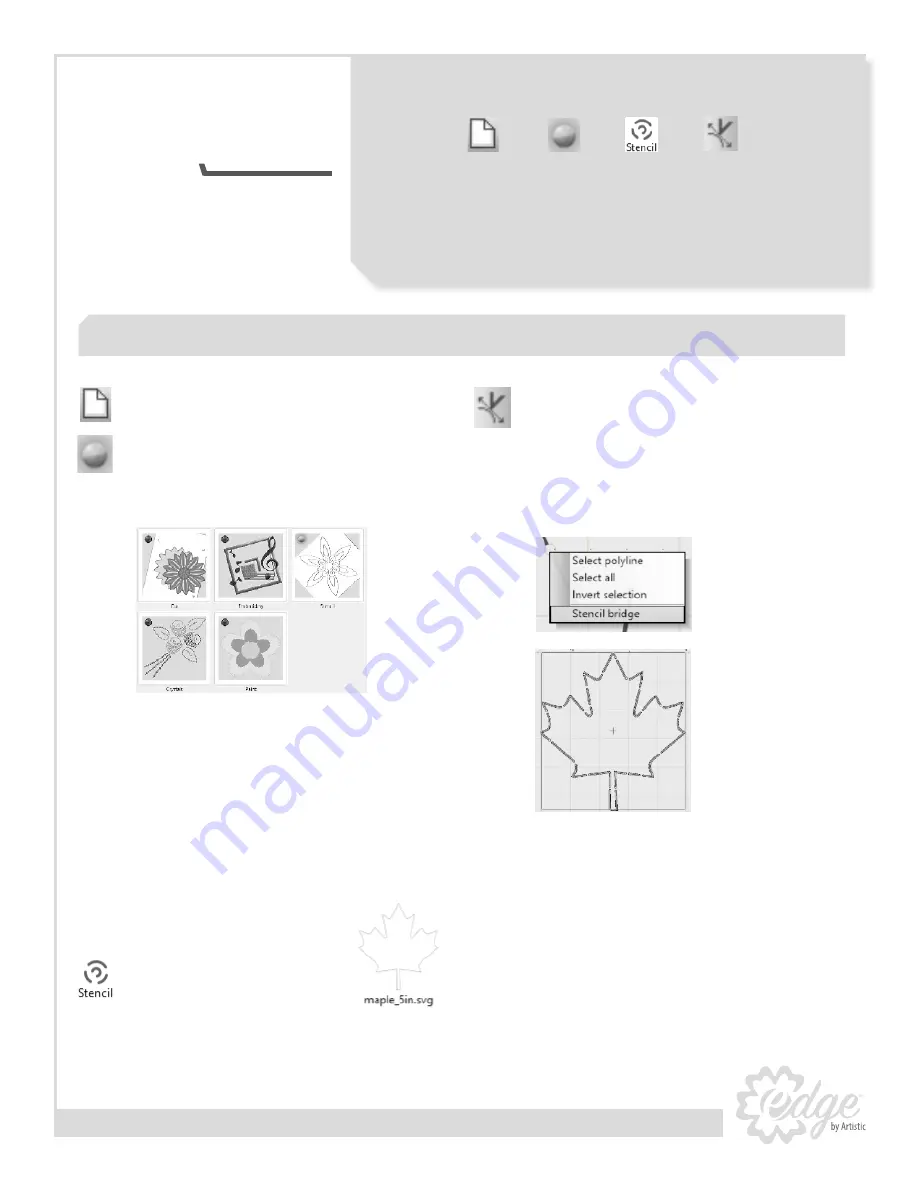
1. In the
Design
dialog, place a bullet in
Create
New
and <Next>.
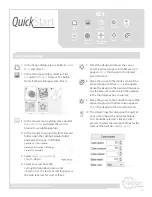
2. Place a bullet in the Stencil technique option
(Fig.6). Remove the bullets from all other
techniques and click <OK>.
3. In the
Artwork source
dialog, place
a bullet in
From Artwork
and select the icon
to browse for available graphics.
4. In the
Creative Drawings SimpleCut Samples
folder, open the Cutting Samples folder
and Vector Designs - SVG folder.
(
location C:\Users\Public\Documents\Creative
DRAWings SimpleCut Samples
)
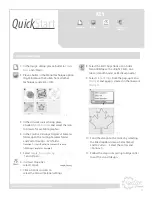
5. Select
maple_5in.svg
(
See Fig.
7
) and <Open>.
6. In
Object Properties
select Stencil.
7. Click on
Cutter
presets to
select the Stencil material settings.
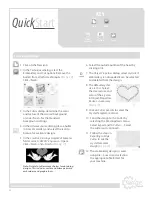
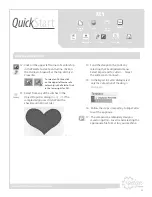
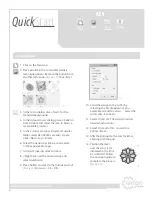
8. Select the
Edit Shape Nodes
icon. Add a
Stencil Bridge with a <Right Click> on a
Green (smooth node) or Red (cusp node.)
9. Select
Stencil Bridge
from the pop-up menu
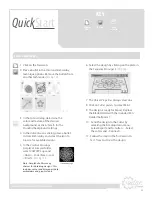
(
See Fig. 8
) and a gap is created in the linework
(
See Fig. 9
).
10. Send the design to the Cutter by selecting
the File dropdown menu. Select
Export
and
To Cutters
… Select the cutter and
<Connect> .
11. Follow the steps in
Exporting to Edge Cutter
to cut the stencil design.
Fig. 6
Fig. 7
Fig. 8
Fig. 9
Create a stencil design
Create New
Bullet
Stencil
Edit Shape
Nodes
Quick
Start

