17
2. Inspect the spark plug hole for any damaged threads.
Repair damaged threads using a “heli-coil” insert.
3. Place the cylinder head on the Surface Plate covered
with #400 grit wet-or-dry sandpaper. Using light
pressure, move the cylinder head in a figure-eight
motion. Inspect the sealing surface for any indication
of high spots. A high spot can be noted by a bright
metallic finish. Correct any high spots before assem-
bly by continuing to move the cylinder head in a fig-
ure-eight motion until a uniform bright metallic
finish is attained.
Cleaning/Inspecting/Measuring
Cylinder Distortion
1. Wash the cylinder in parts-cleaning solvent.
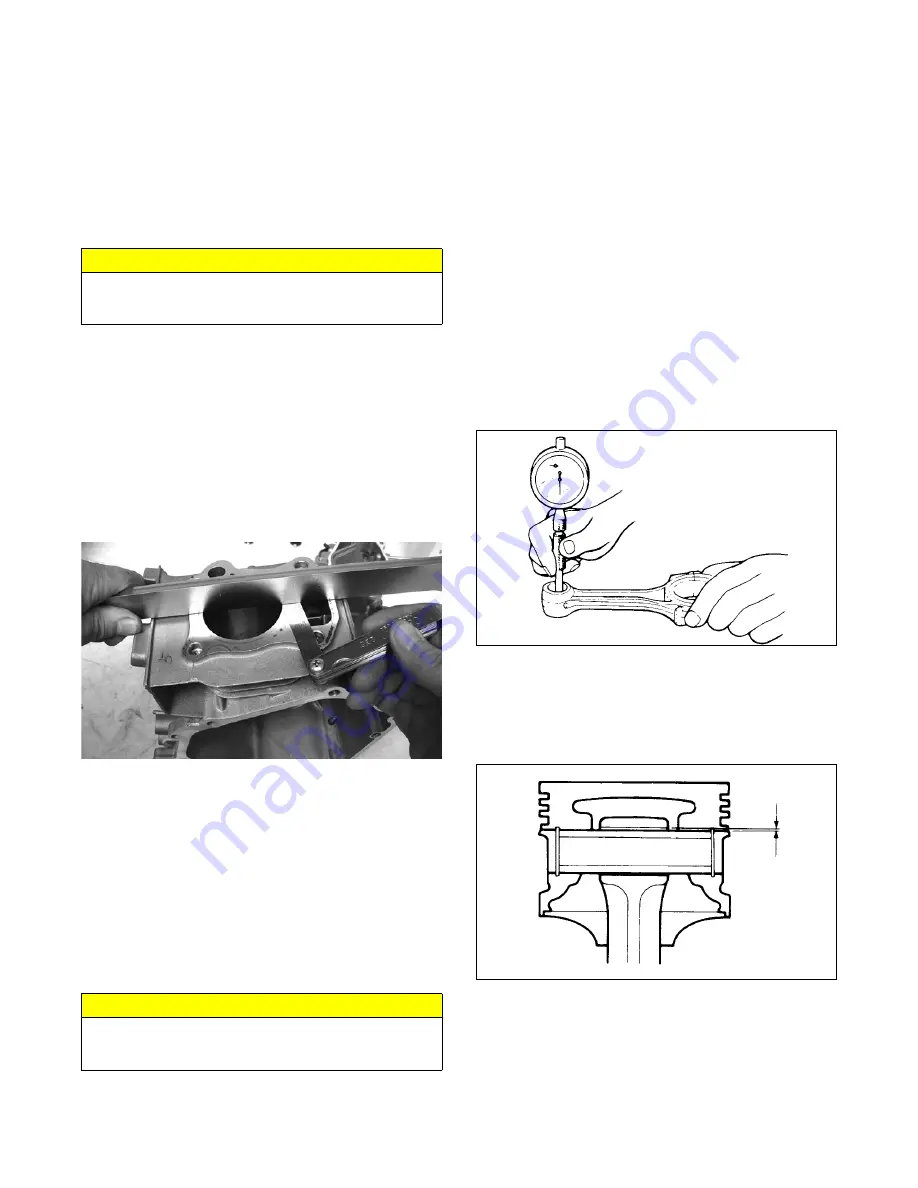
2. Check the gasket surface of the cylinder for distor-
tion with a straightedge and thickness gauge taking a
clearance reading at several places. If the largest
reading at any position of the straightedge exceeds
the limit, replace the cylinder.
3. Maximum cylinder distortion must not exceed
0.004".
IO087
4. Inspect the cylinder for pitting, scoring, scuffing,
warpage, and corrosion. If marks are found, repair
the surface using the Ball Hone (see Honing Cylin-
der sub-section).
5. Place the cylinder on the surface plate covered with
#400 grit wet-or-dry sandpaper. Using light pressure,
move the cylinder in a figure-eight motion. Inspect
the sealing surface for any indication of high spots.
A high spot can be noted by a bright metallic finish.
Correct any high spots before assembly by continu-
ing to move the cylinder in a figure-eight motion
until a uniform bright metallic finish is attained.
Honing Cylinder
1. Wash the cylinder in parts-cleaning solvent.
2. Inspect the cylinder for pitting, scoring, scuffing, and
corrosion. If marks are found, repair the surface
using the Ball Hone.
NOTE: To produce the proper 45° crosshatch pat-
tern, maintain a low drill RPM. If honing oil is not
available, use a lightweight, petroleum-based oil.
Thoroughly clean the cylinder after honing using
detergent soap and hot water and dry with com-
pressed air; then immediately apply oil to the cylinder
bore. If the bore is severely damaged or gouged, the
cylinder must be replaced.
3. If the cylinder bore measurement exceeds the limit,
hone the cylinder and install an oversized piston or
replace the cylinder.
MEASURING CONNECTING ROD
SMALL END BORE INSIDE DIAMETER
1. Using a small bore gauge, measure the connecting
rod small end bore inside diameter.
2. Measurement must be within 0.6301-0.6307".
GEN-0034
3. If the difference between the connecting rod small
end bore inside diameter and the piston pin outside
diameter exceeds the limit, replace both connecting
rod and piston pin. The measurements must be
within 0.0001-0.0002" of each other.
GEN-0035
CRANKSHAFT RUNOUT
1. Support the crankshaft using a set of V blocks; use a
dial indicator to read crankshaft runout.
NOTE: The contact point of the dial indicator
should be on the seal area of the crankshaft.
2. Total indicator reading must not exceed 0.0008".
CAUTION
Water or parts-cleaning solvent must be used in con-
junction with the wet-or-dry sandpaper or damage to
the sealing surface may result.
CAUTION
Water or parts-cleaning solvent must be used in con-
junction with the wet-or-dry sandpaper or damage to
the sealing surface may result.
Summary of Contents for 2018 ZR 200
Page 1: ......
Page 66: ...65 Wiring Diagram 0752 220 ...
Page 67: ...66 NOTES ...
Page 68: ...67 NOTES ...
Page 69: ...68 NOTES ...
Page 70: ......


