PART III: TESTING THE PCB AND SCREEN
You are probably anxious to test your newly populated PCB! However, before
powering everything up for the first time, it is wise to do a visual inspection of the
bottom of the circuit board.
III.1 Checking soldering
Start by looking for solder bridges -- places where excess solder might bridge
between adjacent connections, making unwanted electrical connections.
If you find any solder bridges, they are easily removed with the soldering iron,
though sometimes a solderer sucker/vacuum or solder wick may be needed to
remove larger amounts of excess solder.
If you have a multi-meter, now would be a good time to ensure there isn’t a short
between power (5V) and ground (GND).
You can test for continuity (or resistance) across the 5V and GND pads of the
prototyping area; ideally, you want to find no continuity or a very high resistance
(approx. 230 KOhm).
16
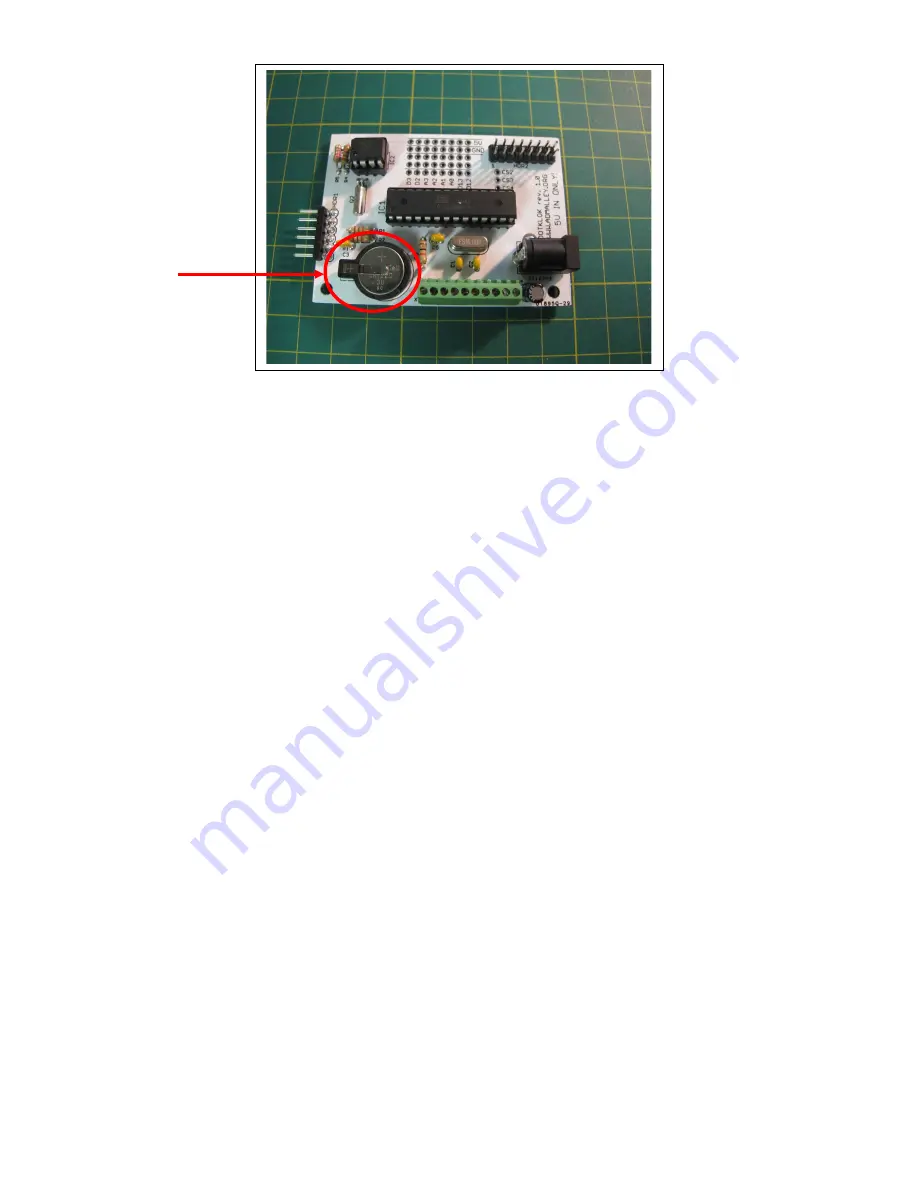
Note, inserted coin
cell slips under
metal tab with the
“+” side of the cell
facing upward


