33
Manipulating a logo
Logos on your Screen can be positioned anywhere, and keying
attributes are available only during capture (see also Logos &
Frames, p.24).
To position a logo :
1/ Select the logo you wish to move.
2/ In the Layout section, press the POS button, and move the
logo with the help of the joystick (see also Using The Joystick,
p.27).
3/ When you have reached the desired position, press the
TAKE button to view the result on the Main output.
WORKING WITH LOGOS
Adding a logo
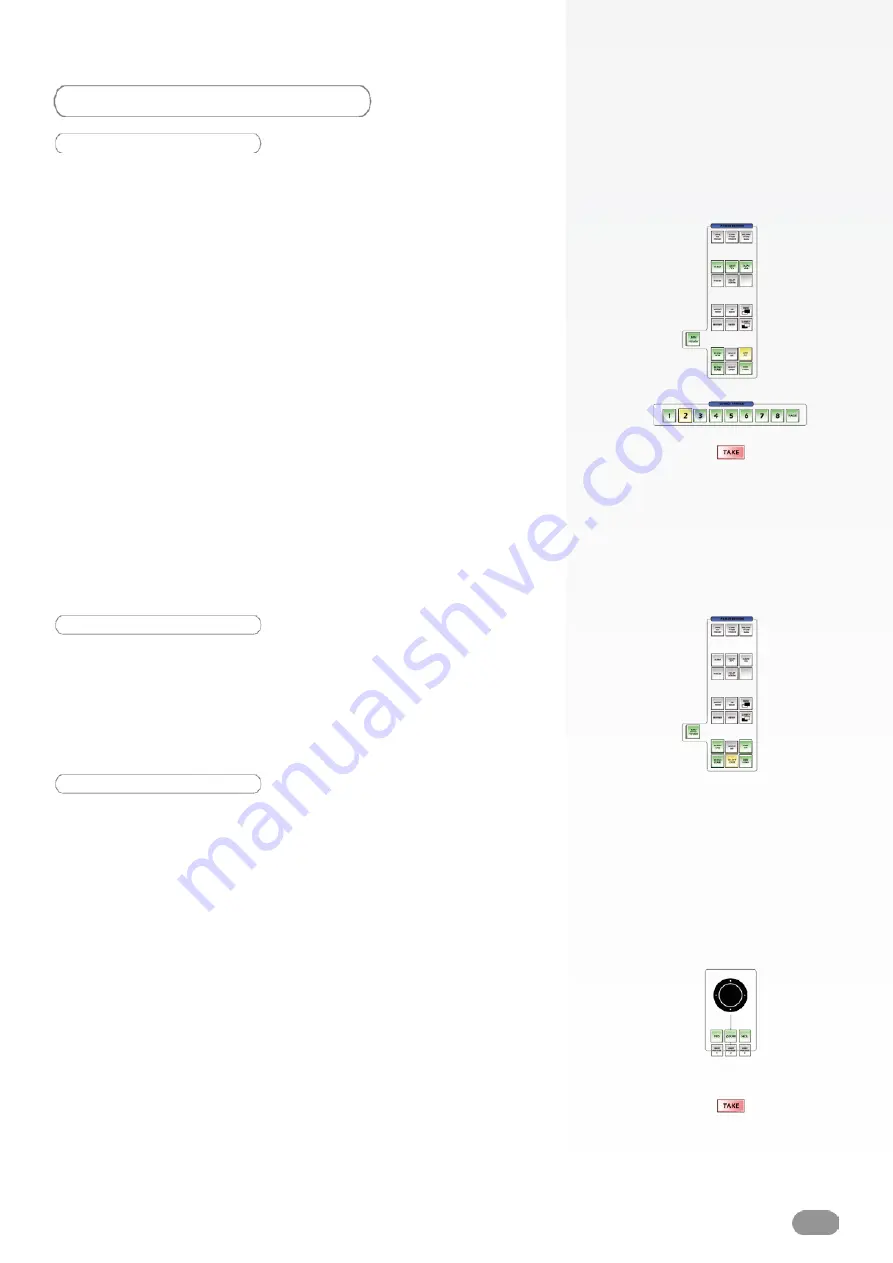
To add a logo to your Screen, proceed as follows :
1/ Press the ADD LOGO button to activate the Logo container
rectangle on screen. The tactile screen of the
ORCHESTRA
will display a yellow rectangle, indicating the logo size and
position.
2/ The blue Source Preview section light will blink to indicate
you can select the source you want to use as a logo. Press
a Source Preview button (1-8). The chosen logo should now
appear on your Preview output in the Logo rectangle, and on
the tactile screen of the
ORCHESTRA
in the shape of a yellow
rectangle above any Frame or live element.
3/ Press the TAKE button to view the result on your Main output.
4/ To add another logo, follow steps 1-3 again.
1/ To select the LOGO you wish to work with, press several
times on the SELECT LOGO button, or press on the LOGO
container on the tactile screen of the
ORCHESTRA
.
Selecting a logo


