background image

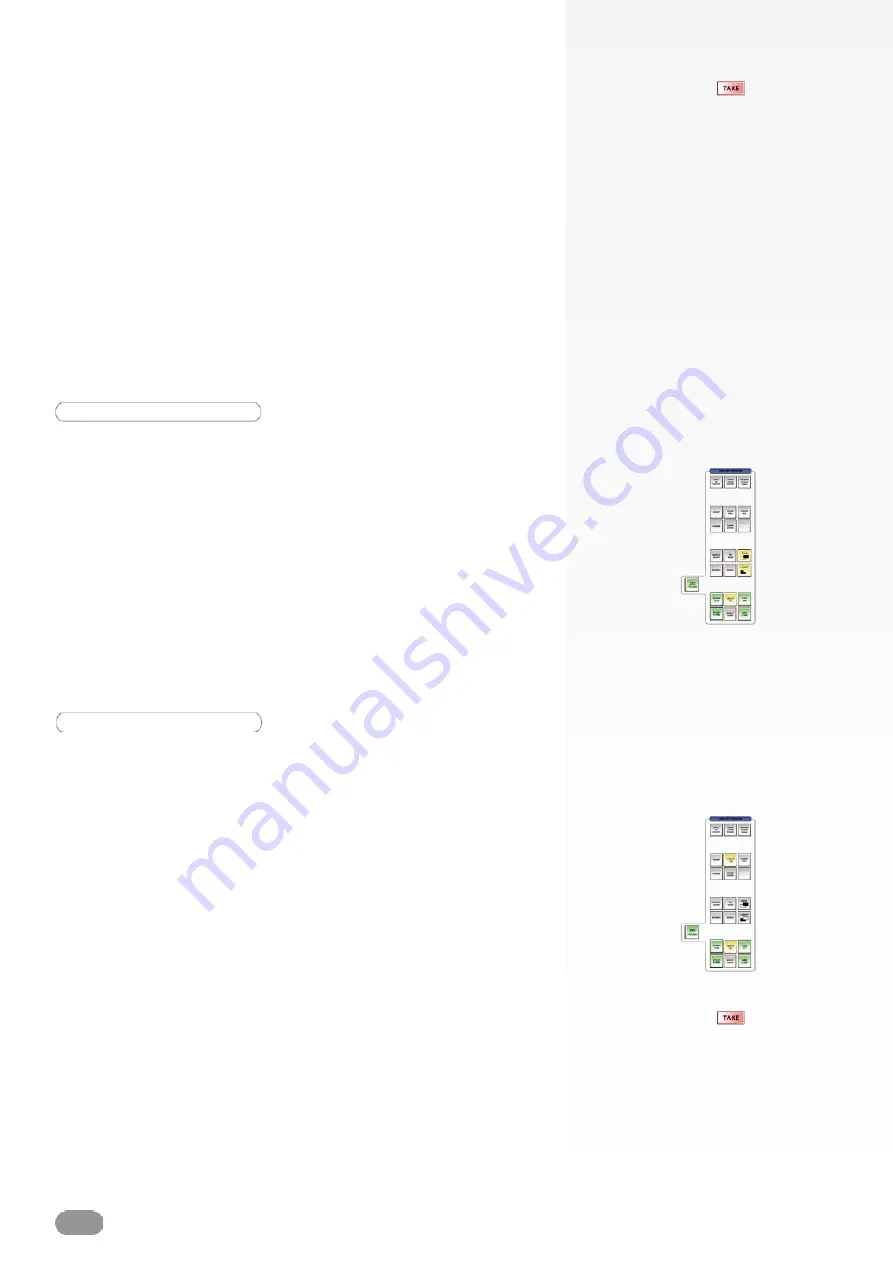
PIP depth

The PIP depth allows users to move PIPs up or down through 

the successive layer hierarchy. In other words, you can change 

the order of a PIP from under another PIP to over it, or vice-

versa.

1/ Select the PIP you want to move up or down.

2/ Press the LOWER button to move the PIP back in the order 

of logos on screen, press the RAISE button to move the PIP 

to front.

Clearing a PIP

To clear a PIP from your Screen, proceed as follows :

1/ Select the PIP you wish to clear. 

2/ Press the CLEAR button once. In the 

ORCHESTRA

 Settings 

section, the tactile screen will ask to confirm in the form of a 

message on a yellow banner at the bottom of the screen. Press 

the  CLEAR  button  again  to  confirm.  The  PIP  will  disappear 

from the Preview output.

3/ Press the TAKE button to view the result on your Main output.

* NOTE * : to clear all PIPs from your Screen, press the CLEAR 

PIPs button rather than the CLEAR button.

3/ When you have set the PIP zoom, press the TAKE button to 

view the result on the Main output.

To add a border to a PIP :

1/ Select the PIP you wish to add a border to.

2/ In the Preset Edition section, press the BORDER button to 

access border settings displayed on the tactile screen of the 

ORCHESTRA

 (see also Element Settings, p.27).

3/ Set border attributes in the PIP tab.

32

Summary of Contents for ORCHESTRA ORC50

Page 1: ...version 1 0...

Page 2: ......

Page 3: ...n with the all new Opus Opus LE Pulse Pulse LE SmartVu SmartVu LE or Di VentiX II unleash all your creativity for a new experience in show and event management by Analog Way TABLE OF CONTENTS INTRODUC...

Page 4: ...ORCHESTRA FRONT PANEL ORCHESTRA OVERVIEW 15 User configuration System configuration Show configuration 18 OPERATIONAL CONFIGURATION STARTING WITH THE ORCHESTRA 18 SHOW SETTINGS Screen setup Edit devi...

Page 5: ...ating a PIP PIP depth Clearing a PIP Clearing all PIPs WORKING WITH PIPs Adding a Live Background Clearing a Live Background LIVE BACKGROUNDS WORKING WITH LOGOS Selecting a logo Adding a logo Manipula...

Page 6: ...essing Memory pages TRANSITIONS User Effects Take T Bar Step back toggle Take Cut APPLICATION NOTES AND TIPS ABOUT APPLICATION NOTES 40 40 APPLICATION NOTES 41 Soft Edge setup SOFT EDGE BLENDING 34 36...

Page 7: ...S 47 After sales services Analog Way offices worldwide Regional contact information Analog Way website CONTACT INFORMATION 47 5 WARRANTY AND SERVICES INFORMATION 46 ANALOG WAY LIMITED WARRANTY 46 SERV...

Page 8: ...ute modification is easy thank to the direct input output selection access Also equipped with a USB port the complete configuration of your events can be saved for future use With its new Interface Hu...

Page 9: ...second time to confirm These will blink yellow while waiting for confirmation Finally some of the ORCHESTRA buttons SOURCE PREVIEW for example will turn pale yellow when they have been selected are ac...

Page 10: ...equipment from the main power Apply the following guidelines The equipment connected to the network must have a release system easily accessible and located outside the unit Unplug the power cord do...

Page 11: ...nch de la prise murale Appliquer les consignes suivantes Le mat riel reli a demeure au r seau doit avoir un dispositif de sectionnement facilement accessible qui doit tre incopor l ext rieur de l appa...

Page 12: ...azione Per assicurarsi che totalemente l apparecchio non pi collegato il cavo deve essere disconesso della presa murale Seguire le instruzioni seguenti Il materiale collegato a residenza alla rete dev...

Page 13: ...eses Kabel aus der Netzsteckdose ausgesteckt werden Bitte beachten Sie die folgenden Hinweise Wenn Ger te dauerhaft am Netz bleiben m ssen sie ber eine leicht zug ngliche Trennvorrichtung verf gen die...

Page 14: ...ser desconectado de la toma de corriente Aplicar las siguientes consignas El material conectado a residencia a la red inform tica debe de tener un dispositivo de seccionamiento f cilmente accesible q...

Page 15: ...in the packing foam of the device 1 x ORCHESTRA remote controller 1 x Power supply cord 1 x Quick Start guide 1 x User manual 1 x Rack mount ruler and screws 2 x Adjustable feet THE ORCHESTRA REAR PAN...

Page 16: ...13 to 185 F Operating humidity 10 to 80 non condensing Input voltage range 100 240 VAC 50 60 Hz Typical consumption 50 W CE Compliancy test following EN 55022 2006 A1 2007 EN 55024 1998 A1 2001 A2 200...

Page 17: ...allow to navigate through the interface to access source or element settings for example The Layout section of the ORCHESTRA allows users to quickly access position size and zoom settings for any adju...

Page 18: ...the ORCHESTRA allows users to select and work with sources on the Preview output of the device connected to the ORCHESTRA 3 pages with 8 live sources per page 24 sources in total are available When wo...

Page 19: ...changes you have made on your preview screen The Transition section of the ORCHESTRA is also comprised of a Take Cut button for instant transitions from Preview to Main and a handy Step Back button t...

Page 20: ...r 3 On the User page choose the user you have just created and press the OK button again The ORCHESTRA will display its home page System configuration OPERATIONAL CONFIGURATION The ORCHESTRA System Co...

Page 21: ...knob to increase decrease keyboard luminosity 3 Wriggle and turn the joystick then let it return to its initial position If need be press the Calibrate button which will adjust the neutral position of...

Page 22: ...it and start piloting it do the following 1 In the Type dropdown menu on the tactile screen select the kind of device you want to use in your Screen in this case a Di VentiX II 2 In the Mode dropdown...

Page 23: ...the slave device has an optional video card installed for example a Di VentiX II with option VO 8044 1 In the Screen Setup page of the ORCHESTRA press Edit Video Out 2 Select the display mode for the...

Page 24: ...ce in the Edit Inputs page see the Input Configuration chapter p 22 and the Working With A Matrix chapter p 38 3 The Enable checkbox allows you to activate default or de activate sources De activating...

Page 25: ...lect the slave device you wish to work on and rotate the corresponding knobs to determine black levels for your Soft Edge 5 Press the Blending tab to fine tune your Soft Edge Select a device in the dr...

Page 26: ...values up or down to fine tune your source 3 When you are satisfied with your image settings press the OK button to return to the Screen Setup page Logos Frames The Logos Frames page allows users to...

Page 27: ...logo parameters are set press Store The ORCHESTRA will display a progress status bar while the device memorizes the logo 7 Press the OK button to return to the Screen Setup page NOTE to record a logo...

Page 28: ...he OK button to return to the Screen Setup page To reset all settings on the slave device 1 In the Screen Setup page of the ORCHESTRA press Controls 2 Press Default Values 3 Confirm by pressing Yes on...

Page 29: ...he SIZE button then tilting the joystick left to zoom out or right to zoom in and so on Or you can press the POS button then tilting the joystick in different directions moves the zoomed source around...

Page 30: ...ent page or turn the last knob of the Settings section On the Element page you will find a list of several accessible tabs The Transition tab default which allows users to determine how a layer comes...

Page 31: ...view the result on your Main output Clearing a background To clear a Live Background from your Screen proceed as follows 1 Press the BKGND LIVE button to select the Live Background you wish to clear f...

Page 32: ...utton to activate the Background Frame container rectangle on screen The tactile screen of the ORCHESTRA will display a yellow rectangle indicating the selected area 2 The blue Source Preview section...

Page 33: ...Joystick p 27 3 When you have resized your PIP press the TAKE button to view the result on the Main output To zoom into and out of a PIP 1 Select the PIP you wish to zoom in or out of 2 In the Layout...

Page 34: ...ion the tactile screen will ask to confirm in the form of a message on a yellow banner at the bottom of the screen Press the CLEAR button again to confirm The PIP will disappear from the Preview outpu...

Page 35: ...Logo container rectangle on screen The tactile screen of the ORCHESTRA will display a yellow rectangle indicating the logo size and position 2 The blue Source Preview section light will blink to indi...

Page 36: ...o move up or down 2 Press the LOWER button to move the logo back in the order press the RAISE button to move the logo to front PRESET MEMORIES Saving a Preset Memory A Preset Memory can be viewed as a...

Page 37: ...1 Press the RELOAD FROM MAIN button in the Preset Edition section of the ORCHESTRA 2 Choose a Preset Memory to load your preset into 3 Press the RELOAD FROM MAIN button again to confirm and return to...

Page 38: ...STRA allows users to bring the Preview screen onto the Main screen Typically a user will work on a preset on the Preview output then switch that preset to the Main output by pressing the TAKE button T...

Page 39: ...T button has exactly the same function as the TAKE button other than it overrides all transitions between presets with a cut effect For example a PIP with a slide in from left effect will simply appea...

Page 40: ...LAN settings accordingly TIP please be sure your LAN settings correspond to those of your matrix device 6 Press the OK button to come back to the Matrices page which should now display the matrix you...

Page 41: ...e Matrix Output dropdown menu 4 Repeat steps for Inputs 2 4 matrix outputs 2 4 5 Press the OK button to return to the Screen Setup page So far you have set a series of links between your slave device...

Page 42: ...make the use of our machines an experience as pleasant as possible the Analog Way team are constantly aiming to create easy to follow examples update information and furnish our website with useful us...

Page 43: ...41...

Page 44: ...42...

Page 45: ...43...

Page 46: ...in the right order as follows 1 Switch ON your Unit s 2 In the Control menu do an Erase Memories on all units 3 In the Control menu do a Default Values on all units 4 If you do a Softegde with only o...

Page 47: ...adjust the Left and Right menus to get the luminance in the left and right areas of the projection to match the luminance of the overlapping area This adjustment must be done on a black projection no...

Page 48: ...d to return for repair please call the regional Maintenance center Customer Service and ask to receive a Return Material Authorization number RMA Three regional maintenance centers are available depen...

Page 49: ...05 Ubi Techpark Lobby A Singapore 408564 Tel 65 6292 5800 Fax 65 6292 5205 sales analogwayasia com Before calling your regional maintenance center please gather the following information Serial numbe...

Page 50: ...u about take back of the product You might be charged for the costs arising from take back and recycling For Spain Please contact the established collection system or your local authority for take bac...

Page 51: ...subject to change without notice The illustrations and screens described in this manual may be exaggerated or simplified for easy recognition and may be slightly different from the actual unit ANALOG...

Reviews: