76
USER MANUAL
USER MANUAL
USER MANUAL
USER MANUAL
USER MANUAL
USER MANUAL
USER MANUAL
USER MANUAL
14.2.2.4
Set a colored background
In addition to the eight background sets, each Screen is able to display a color in the background layer.
1.
In
Screens
, select background layer (BKG).
2.
In
Properties
, click
Source
to show the corresponding settings.
3.
In the Source dropdown list, select None.
4.
In Color, enter the hexadecimal color code or click the color preview to open the color picker.
Note: - The background color is always present and can be displayed during a background set Crossfade.
- By default, all Screens display a background with black color (#000000).
14.2.2.5
Remove a content from a layer
1.
In
Screens
, select one or multiple layers.
2.
Press the
Del
key to remove all layer’s content (this cannot be reversed).
The selected layers are empty but other properties are kept.
Tip: It is also possible to remove a content in other ways:
- Use the PGM or PRW buttons to clear the entire Screen
- Click next to the layer letter icons then click
to clear the corresponding layer.
- Go to Properties > Source, then click
or select None in the source dropdown list.
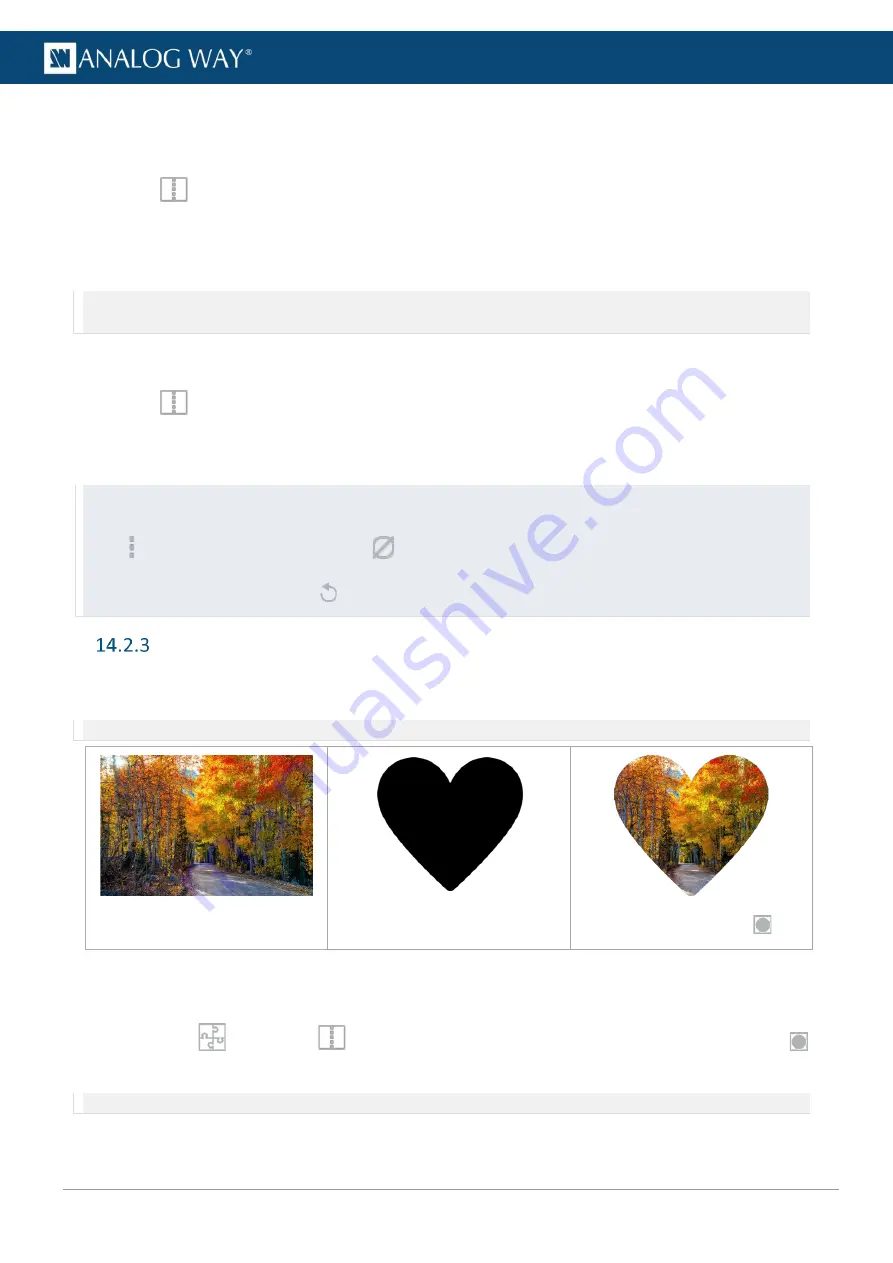
Cut & Fill effect
Cut & Fill keys the content of a layer using an input or an image as the alpha channel. Usually, the Cut content
(or mask), is a grey level content: the darker the grey level, the more transparent the Fill content.
Note: If a colored content is used as Cut, the Luma level of the content is used to key the Fill content.
Layer with Fill content
Cut content
Layer with Cut & Fill
14.2.3.1
Cut & Fill uses resource
The Cut & Fill feature must be enabled in the Preconfig as it uses the resources of two layers of same capacity.
If needed, go to
Preconfig
>
Screens / Aux Screens > Screens tab to add the Cut & Fill feature
to the corresponding layer. Only this layer will be able to use Cut & Fill.
Note: For more information on layer creation in Preconfig, see
page 41.


